An Introduction to Arduino
Arduino is a open hardware and software system that uses physical as well as digital influence to create and control a reaction through the use of electrical components. Some electrical components include buttons, wires, capacitors, servos, and LED bulbs. This is a programming kit that helps beginners learn to code and use electronic components to interact with their surroundings. In learning how to use Arduino and its applications, I will hopefully learn how to apply this knowledge to coding my Raspberry Pi in a similar manner. This will help my semester project become a success in all regards.
The First "Three" Projects
|
|
|
|
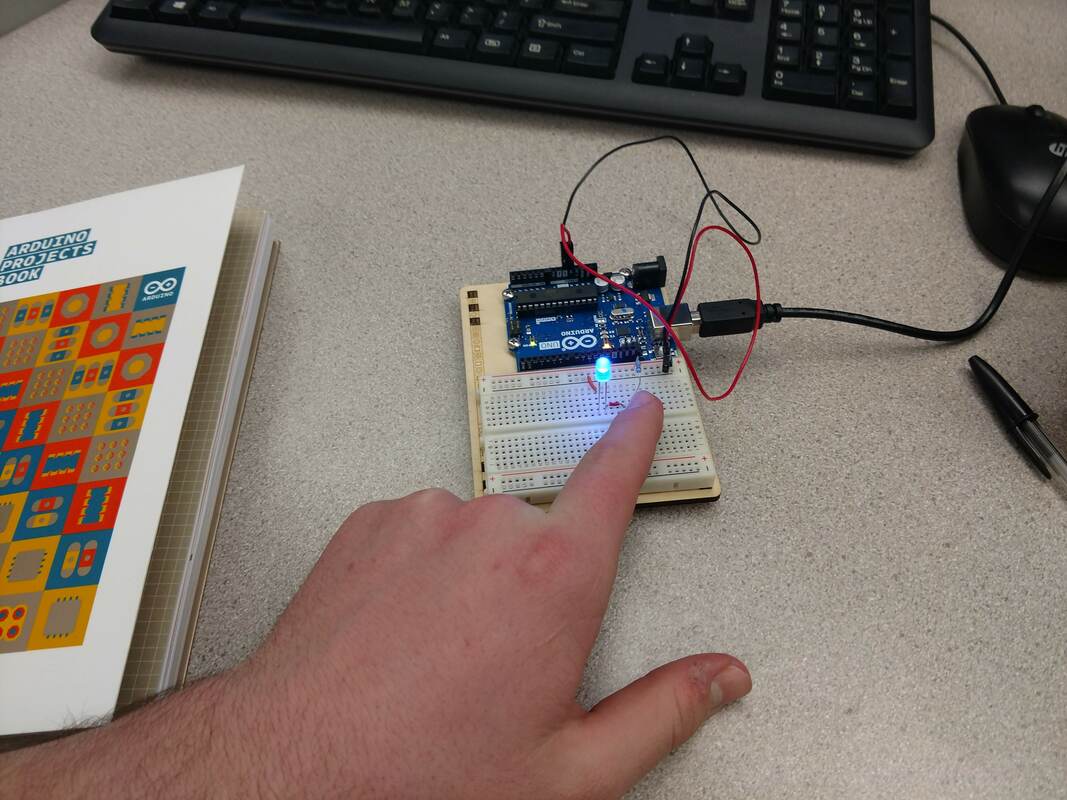
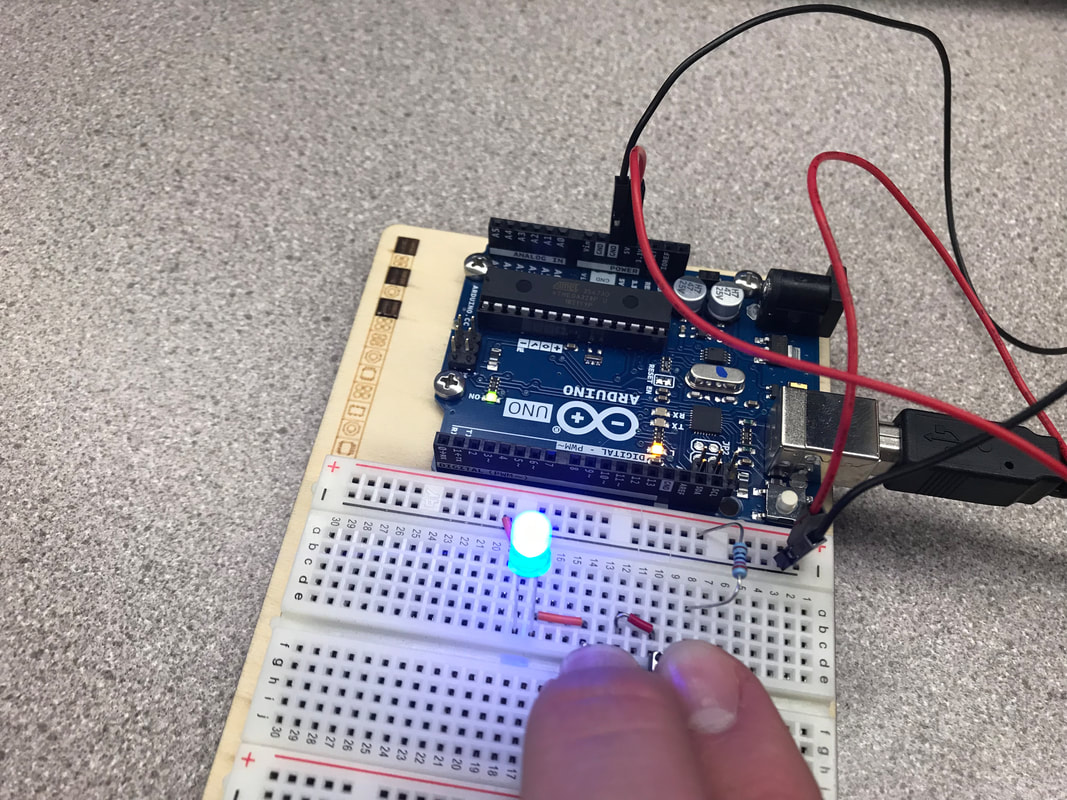
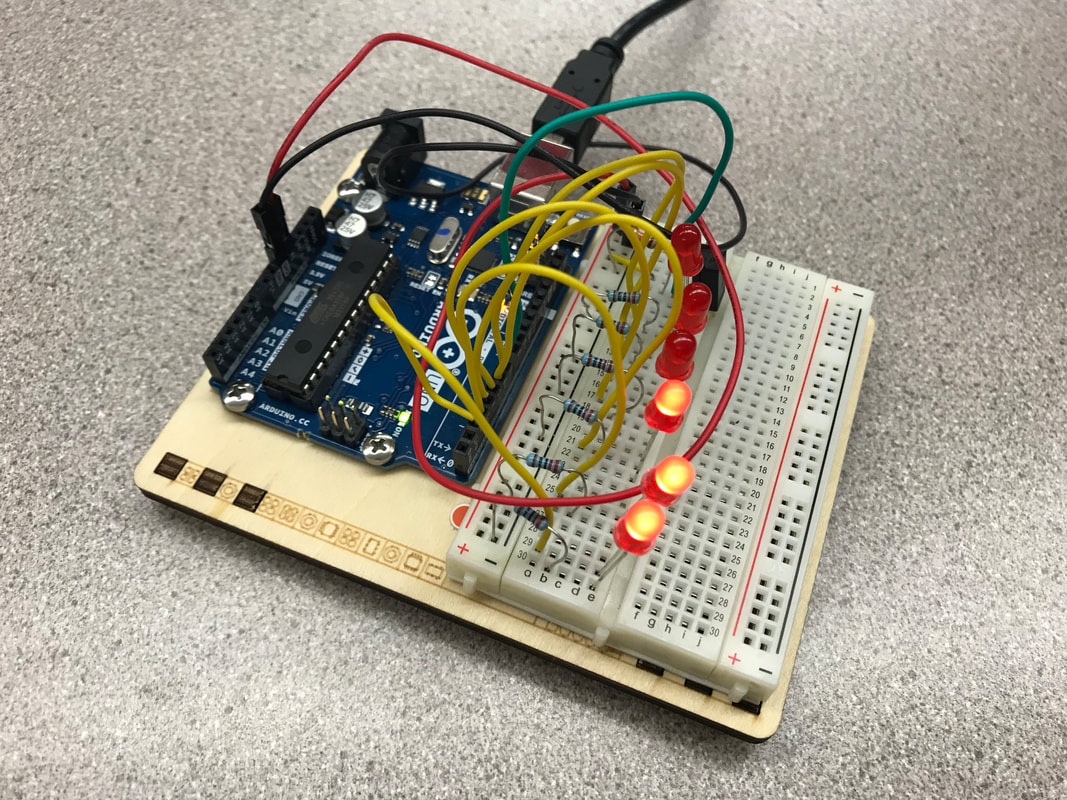
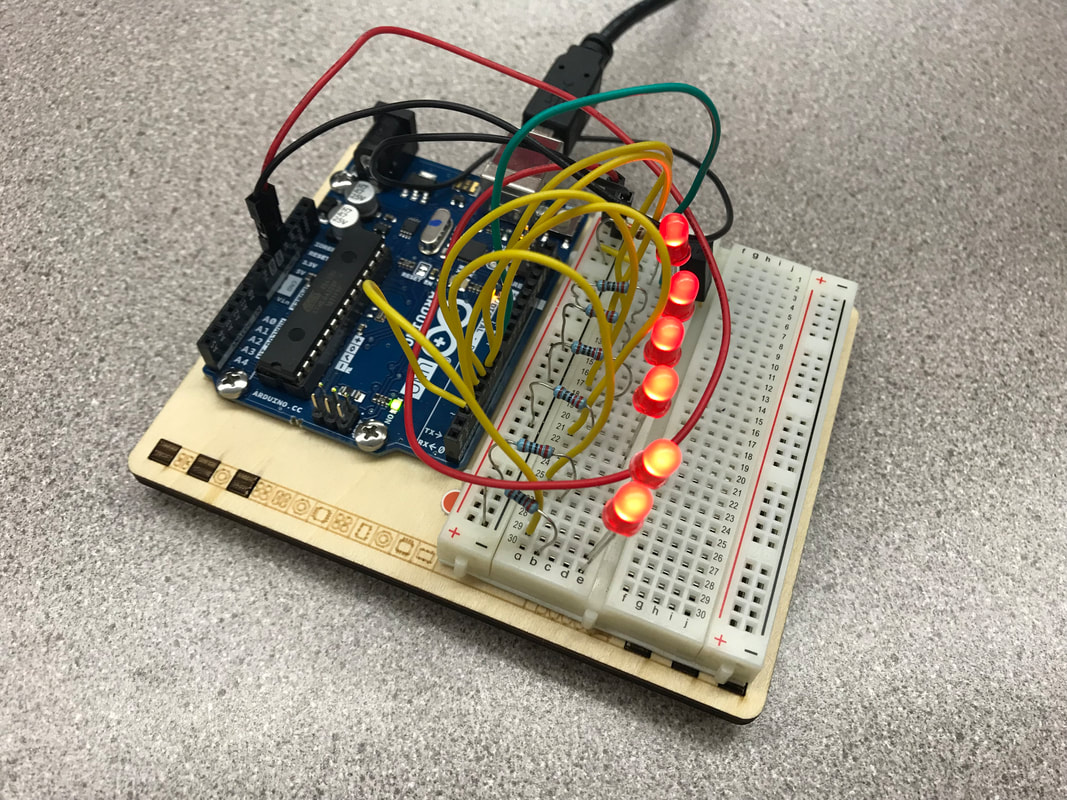
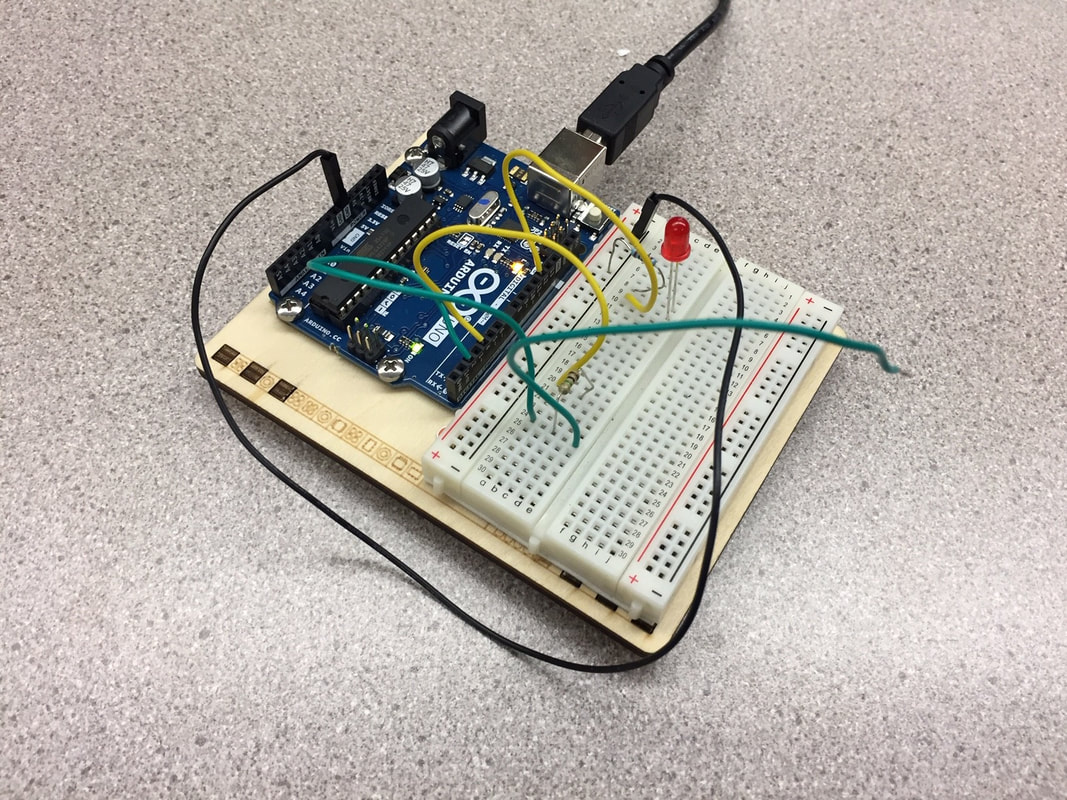
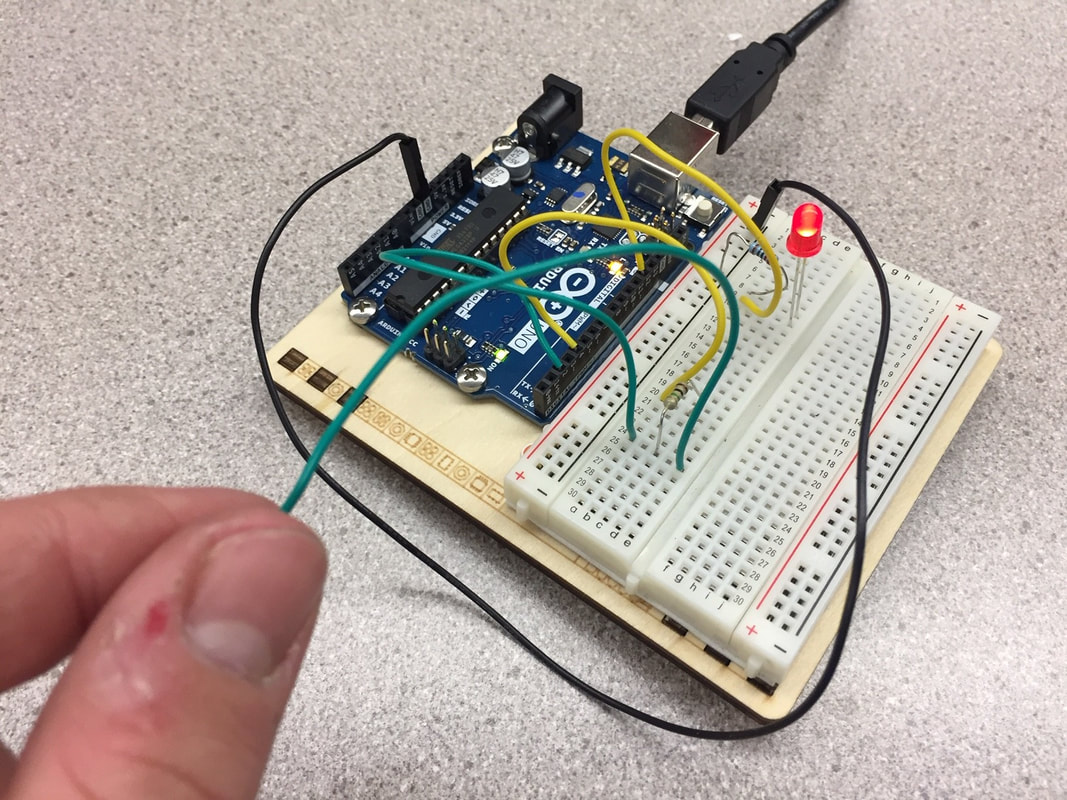
In the first three Arduino projects, I learned the basics about Arduino as a whole, such as terms for basic components. These projects helped me learn and visualize the various circuit types, such as series and parallel circuits. They are the bottom left and right pictures, respectively. These projects didn't really introduce me to the coding aspect of Arduino, rather it started by introducing me to the hardware aspect of this system.
Project 2
|
|
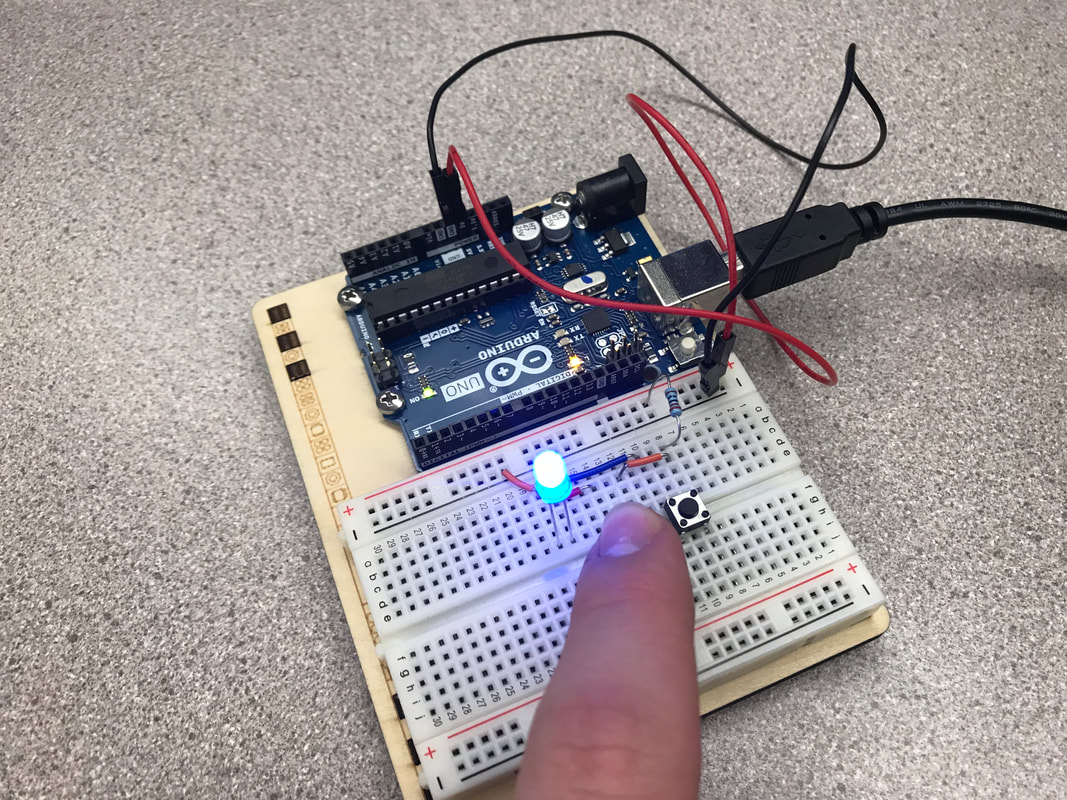
With the second Arduino project, the Spaceship Interface, I first learned how to work with and manipulate the Arduino coding interface in order to fulfill my needs. I learned how use delays and the input of a button to create a successful design.
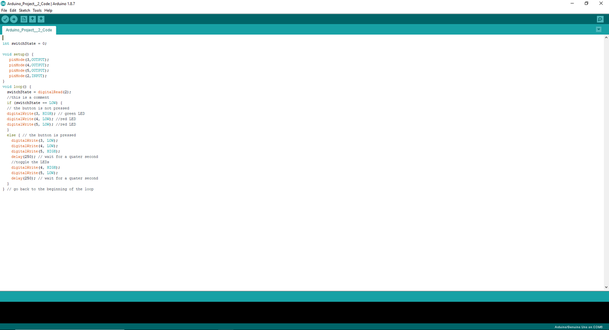
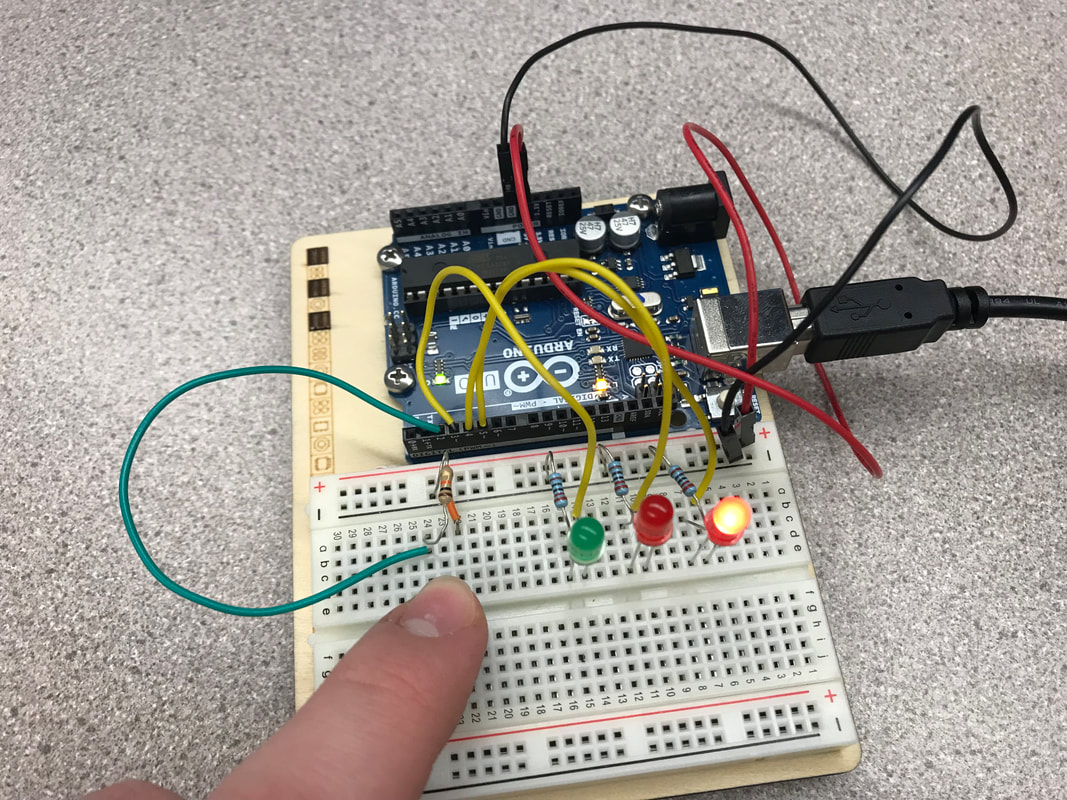
Project 3
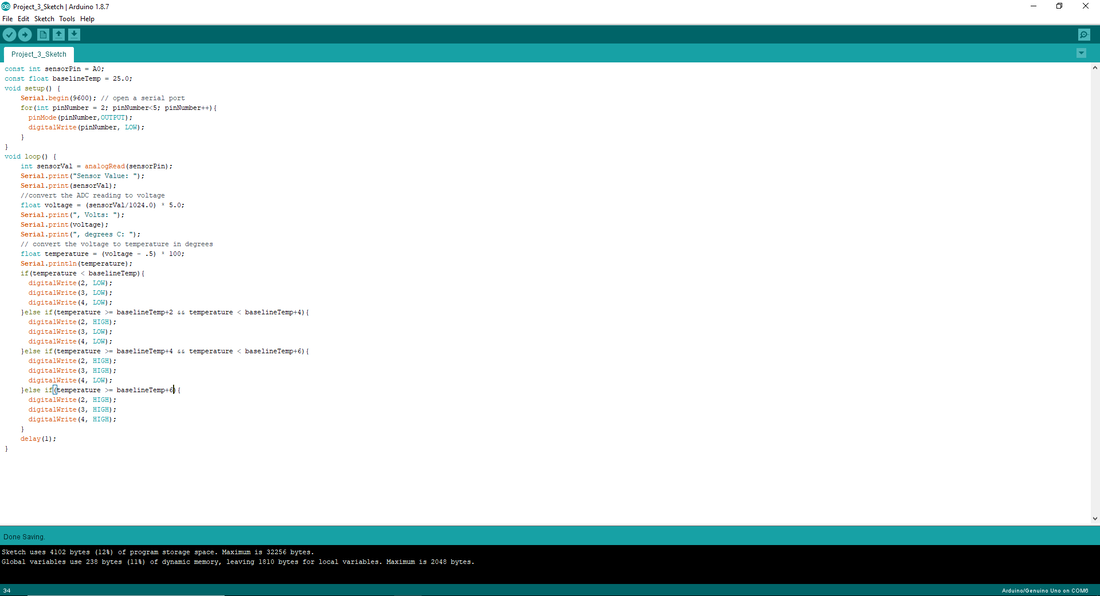
|
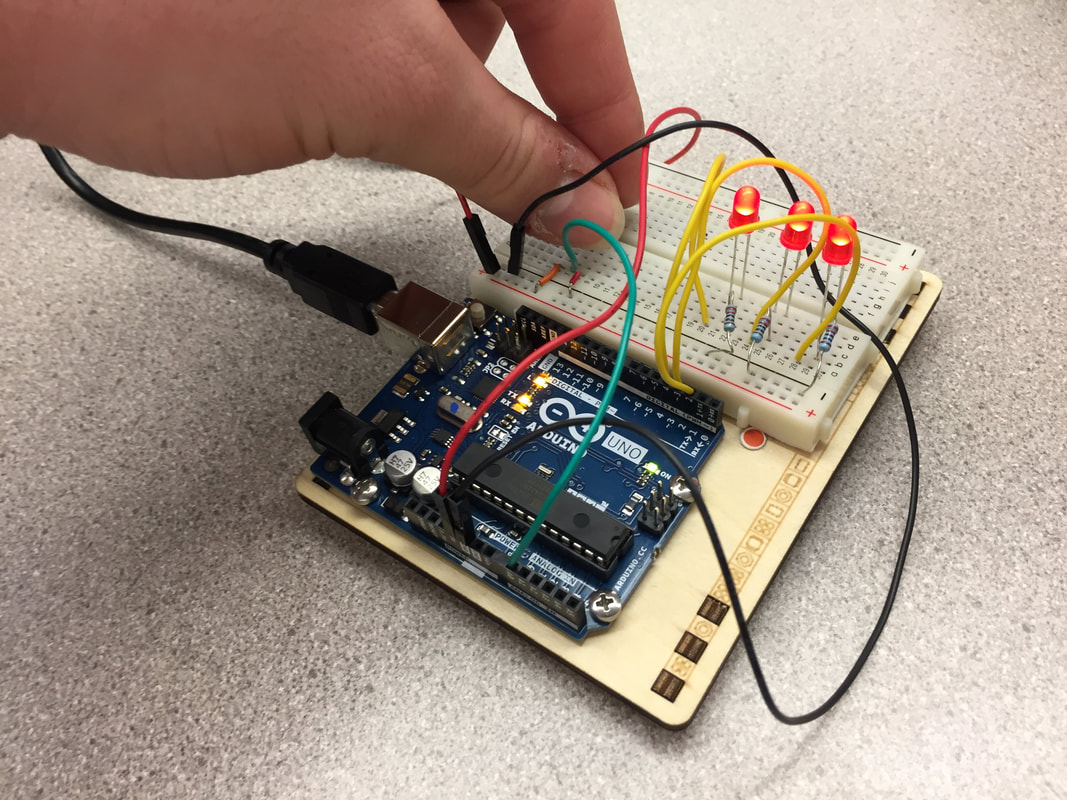
|
Project 3, the Love-O-Meter, was the first Arduino project that taught me to use my own physical input to create a heat-sensitive measuring device. This was different from the digital input of a button from earlier projects. Some problems that I had with this project was that it was hard to find the right values for the temperatures, so that the lights would light up at the right times This project helped set me up to use other forms of physical input in later projects.
Project 4
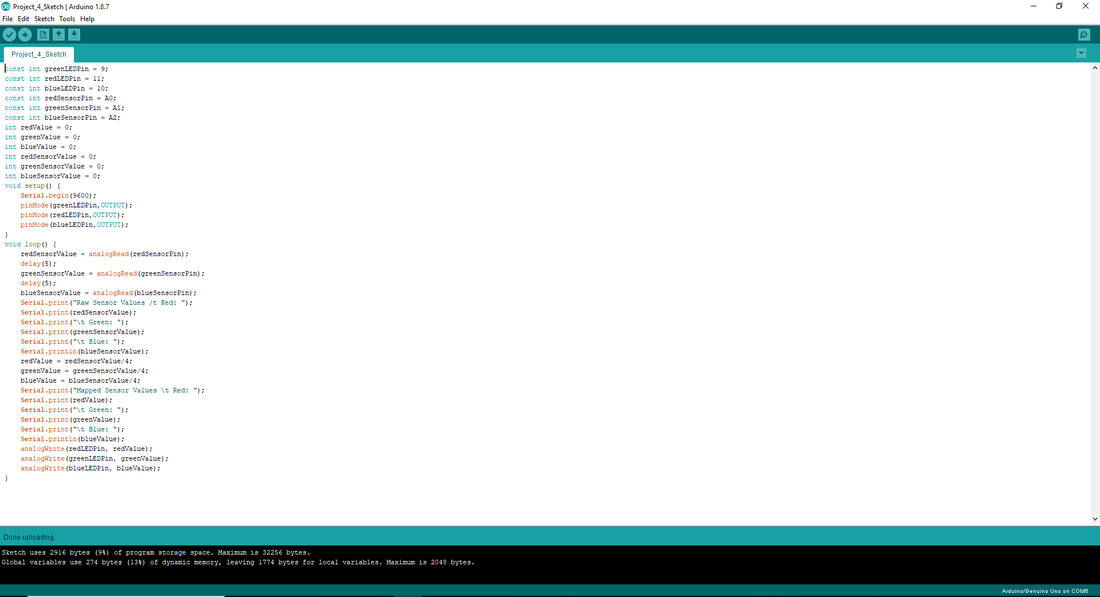
|
|
In project 4, the color-mixing lamp, I learned how to use different inputs of light into photo-transistors to mix a color in an LED. After some difficulty with keeping the photo-resistant gels, as well as moving the photo-transistors to have enough spacing, I finally managed to make a successful device.
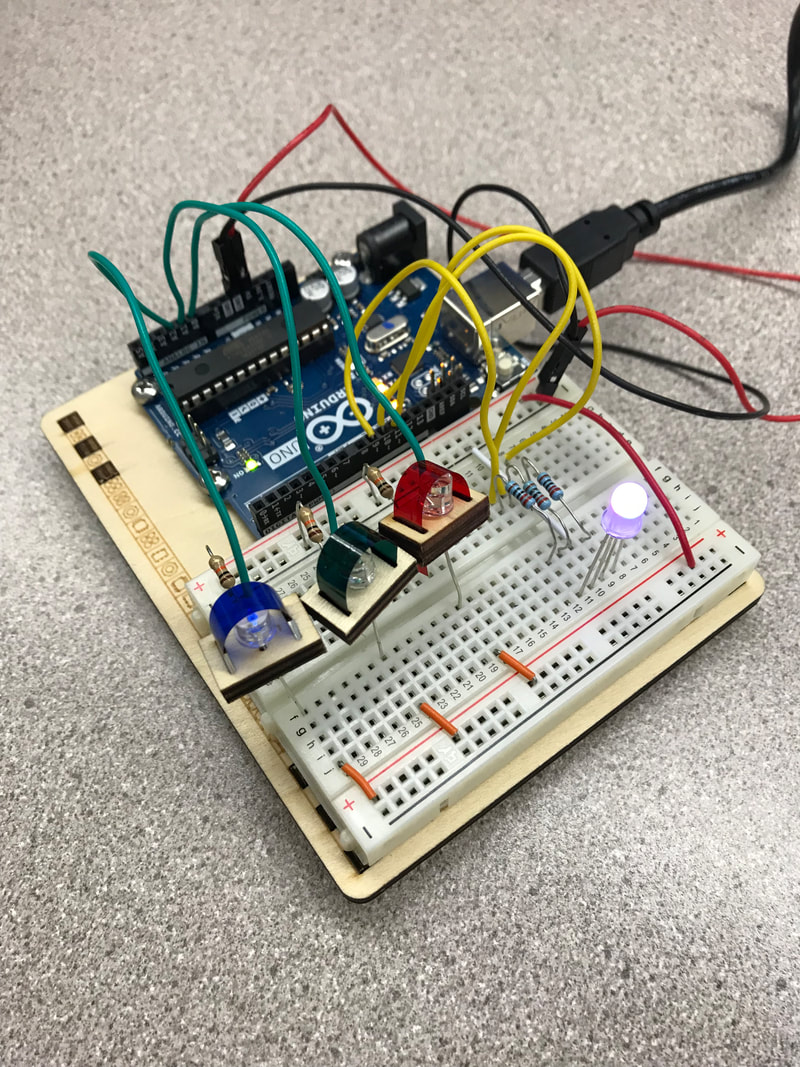
Project 5
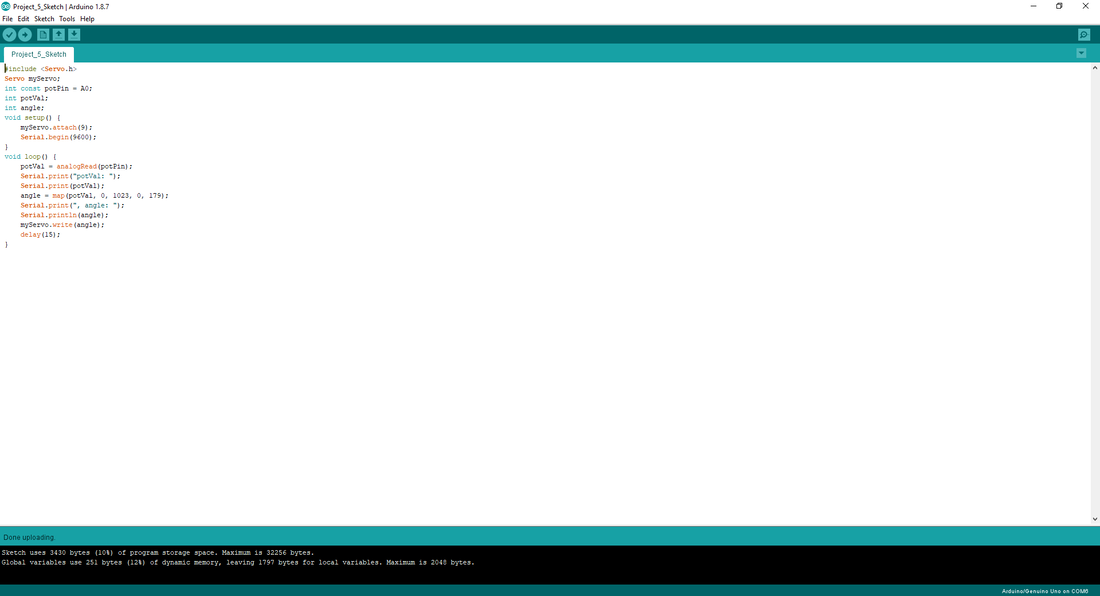
|
|
With project 5, the mood cue, I had a bit of difficulty that stopped me from having a successful test trial at first. First and foremost, I couldn't get the servo to run the way I wanted it to. It refused to turn smoothly. I then concluded that it was the servo wiring, as the colors didn't match the diagram's placement. I then switched the connection ports, but the servo still wouldn't move. It was then I realized that I forgot to change the capacitor's legs' position on the breadboard, so it was in the wrong row. After I fixed this, the servo project worked perfectly. With this project, I learned how to change the wiring diagram to fit my needs, as well as problem-solve solutions to difficulties that arose.
Project 6

|
|
Project 6, or the Light Theremin, was a project that I particularly enjoyed. It was a shorter length of code, and the build wasn't too complicated, but it allowed me to change the pitch of a piezo based on the lighting of the room. This project helped me further learn how to work with piezos, which helped me with future projects.
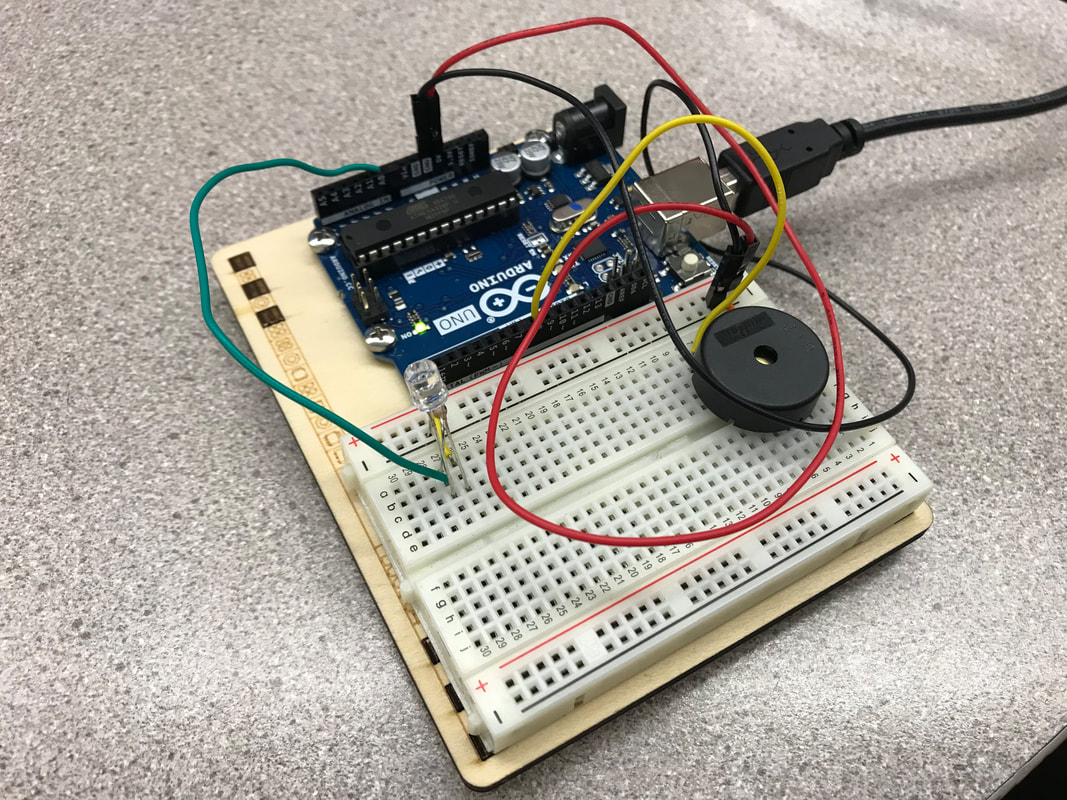
Project 7
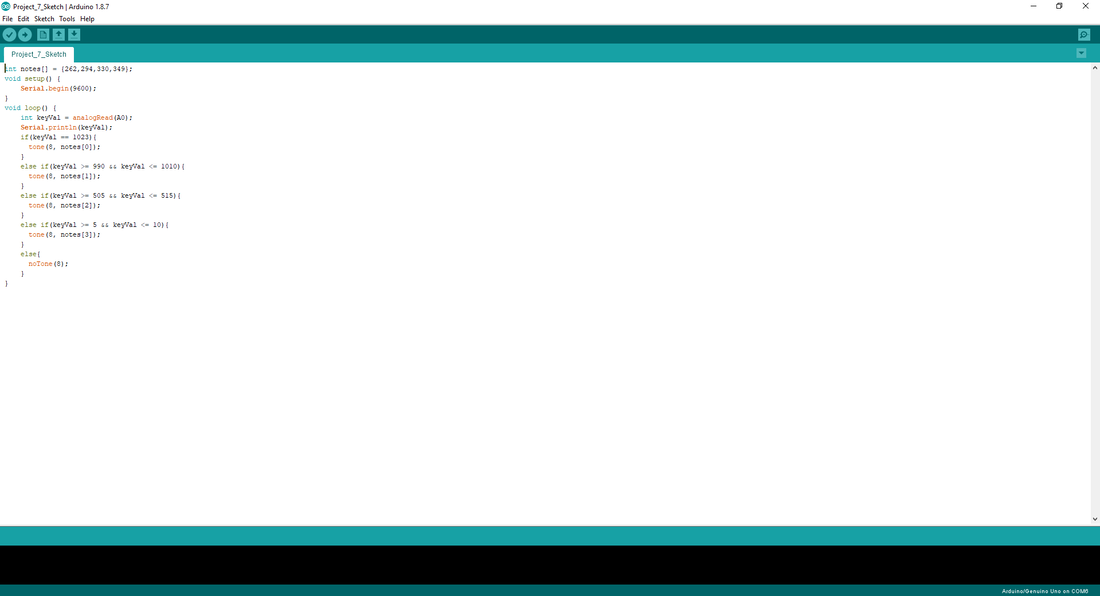
|
|
I was able to create a common interactive instrument with Project 7, the Keyboard Instrument. Using different types of resistors, along with a code providing varying pitches, I created a four key keyboard that operated on the push of a button.
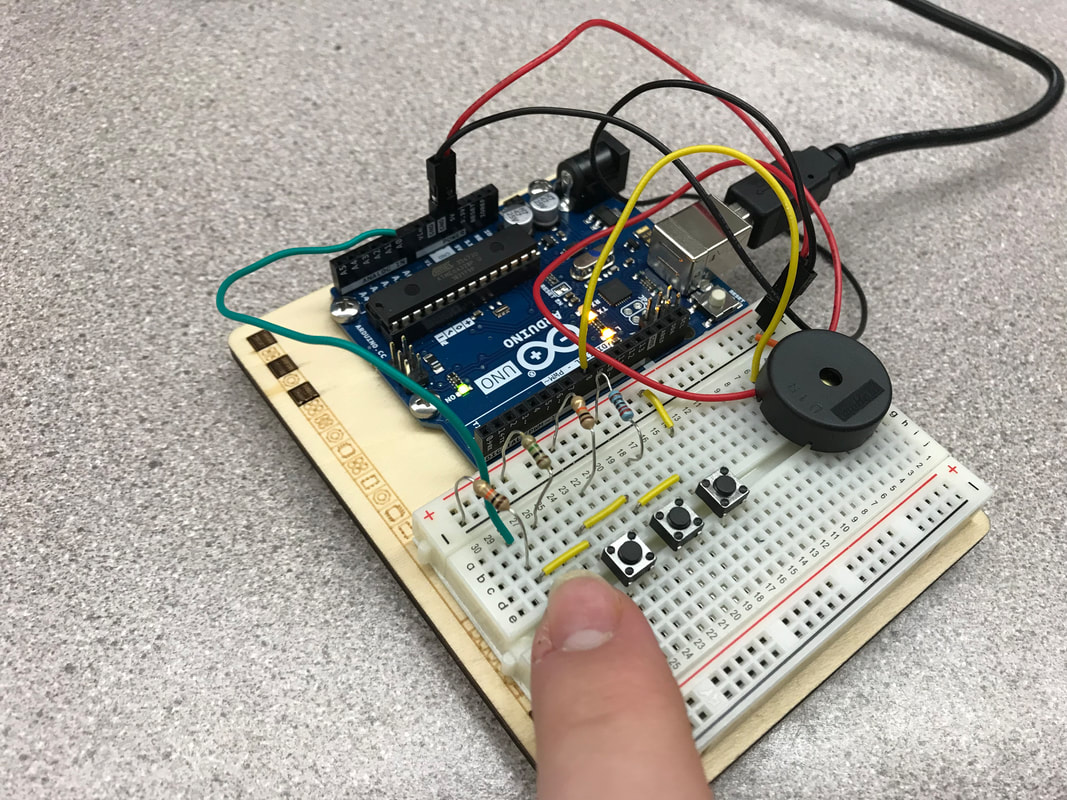
Project 8
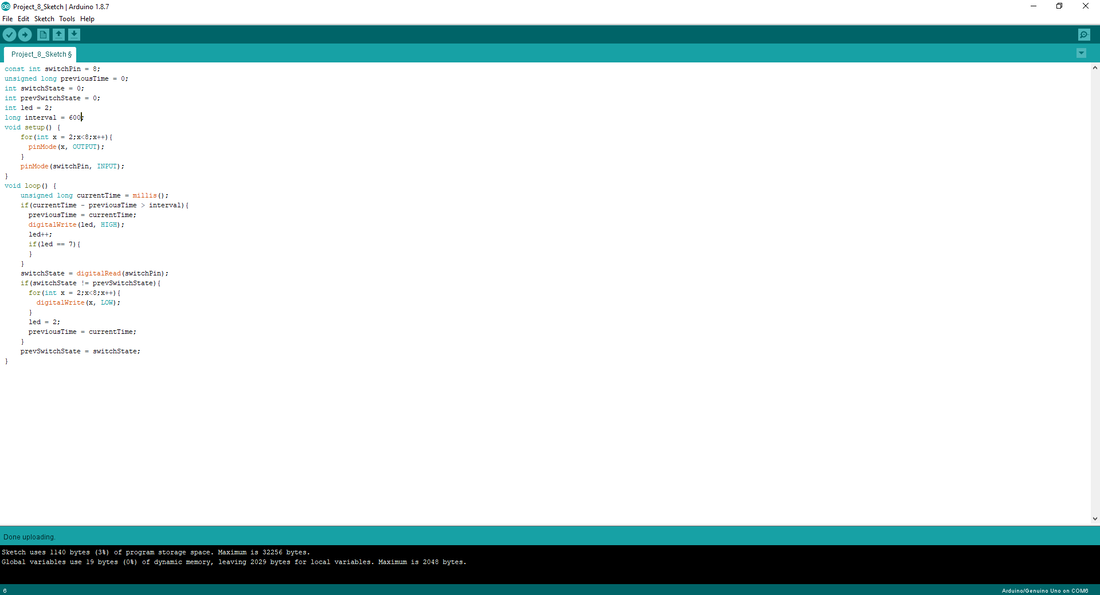
|
|
The digital hourglass was another favorite project, as it helped me figure out how to adjust with timers in order to create a sort of time measuring device. With this project, however, I had to speed the hourglass up, as I didn't want it to take an hour to test it. Other than that, I didn't really have any other problems with this project, which helped me in the long run.
Project 9
|
|
The Motorized Pinwheel was a project that was a bit harder than most. This was due to the fact that I had a hard time keeping both wires plugged in for the battery and the motor. I also had trouble with keeping the pinwheel cutout on the motor, but I improvised with tape and had more success. I was able to apply what I learned from this project to the next one, the Zeotrope.
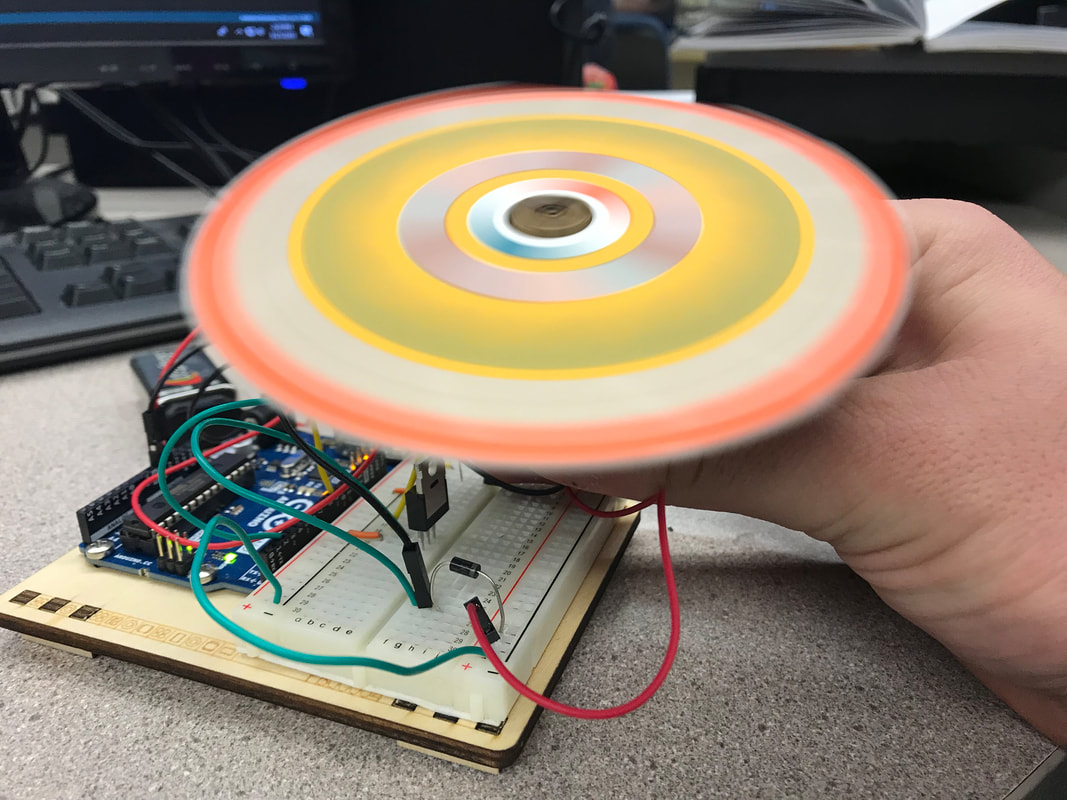
Project 10
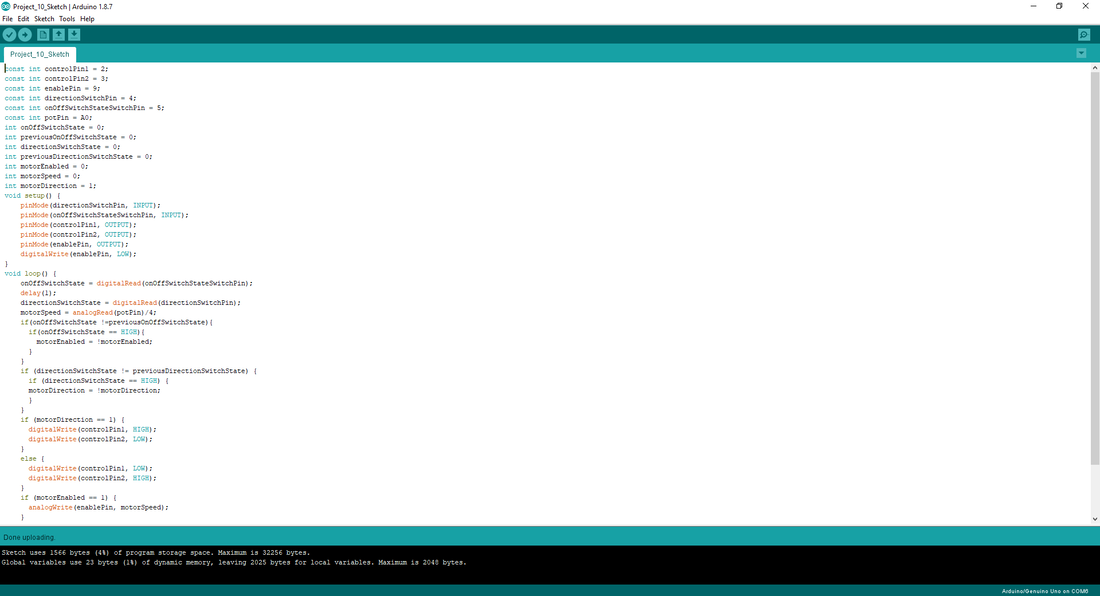
|

|
The Zeotrope was a more complex project, in both code and in physical wiring components. In addition, I had problems figuring out how the two switches worked, but I figured it out in the end. Although, I did learn how to use both switches and a potentiometer to control motor speed and direction, so the project was an educational learning experience overall.
Project 11
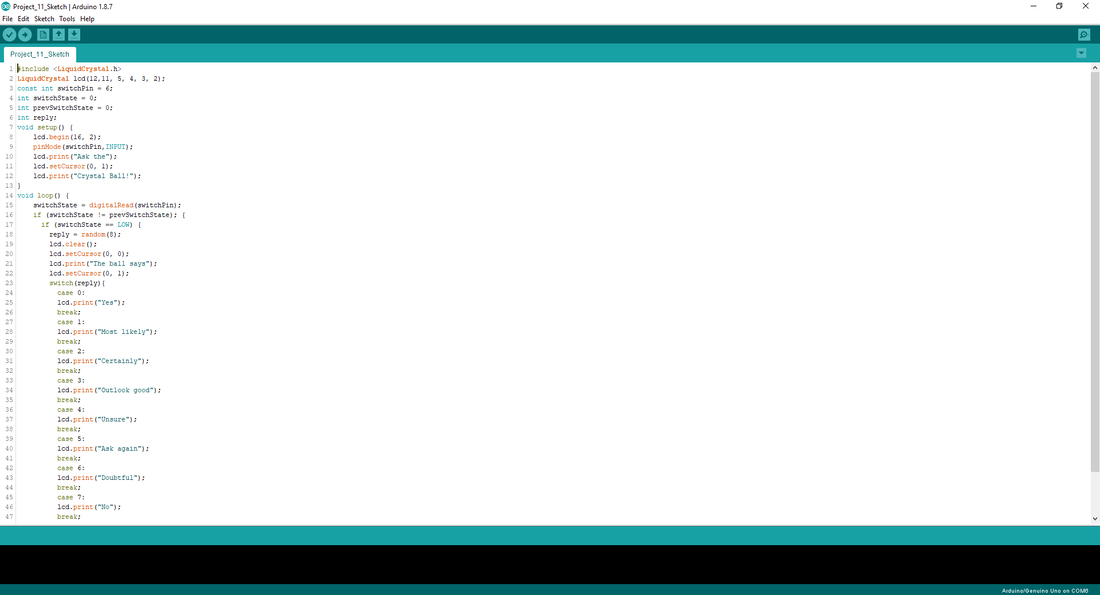
|
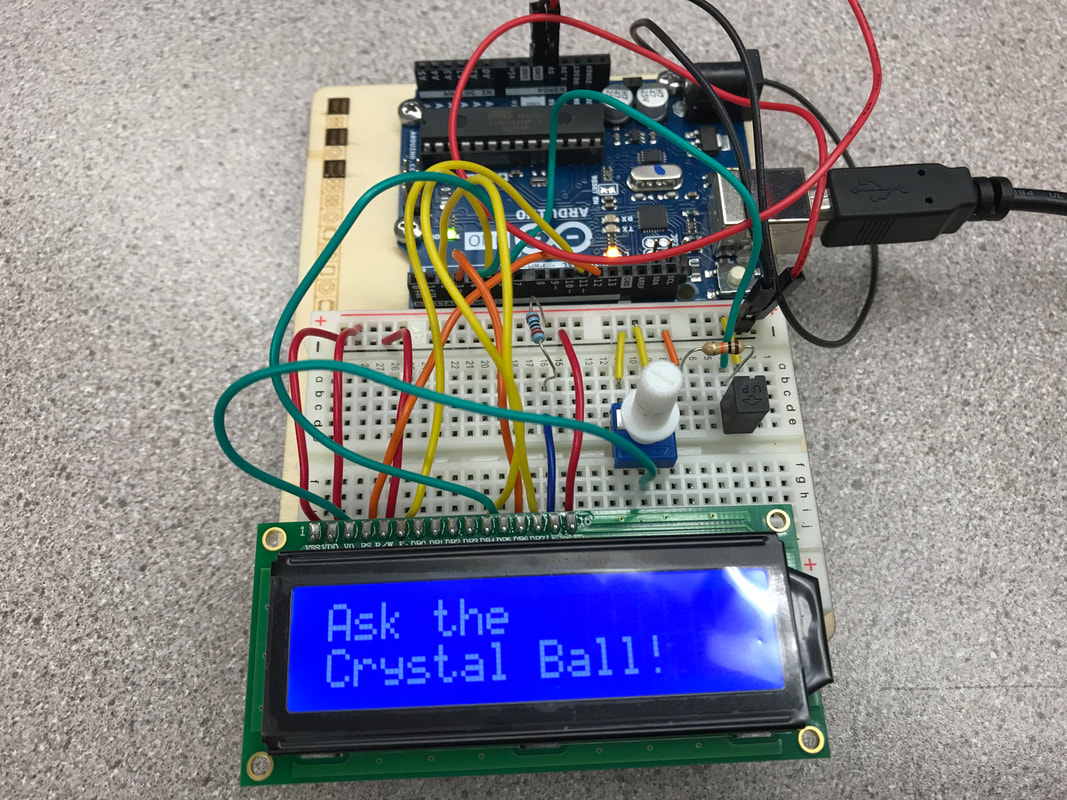
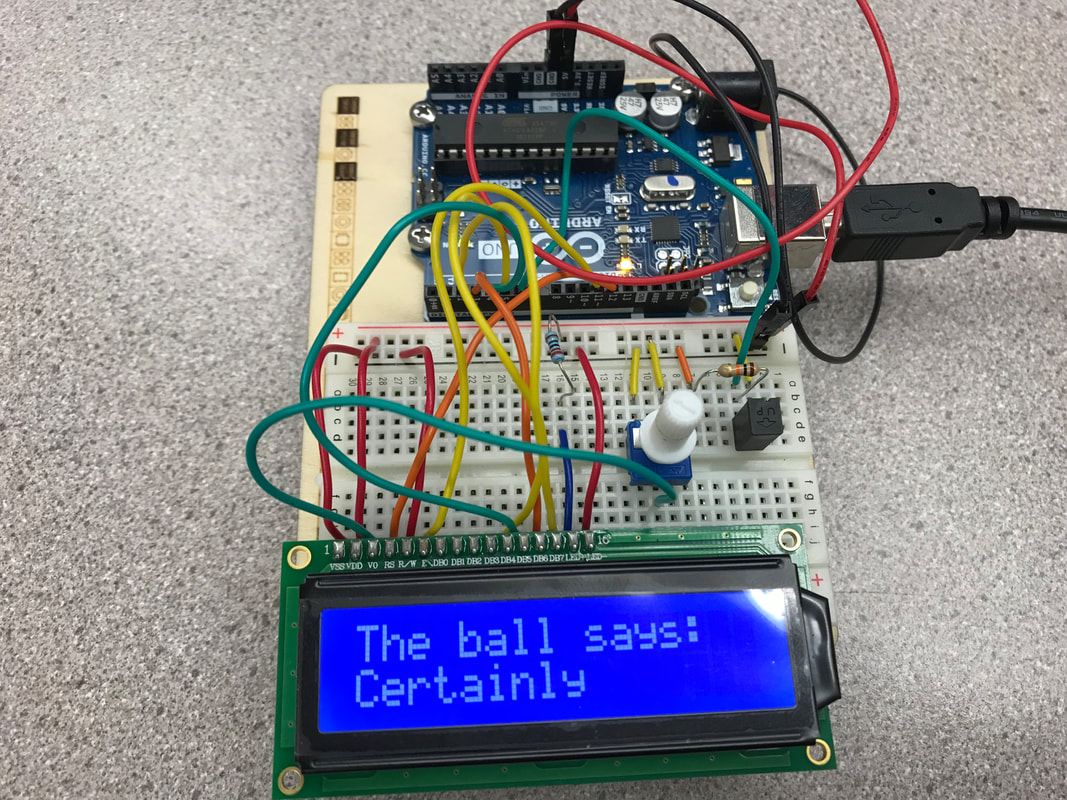
|
The Crystal Ball was a project that was complex like the Zeotrope, but in its own way. There were a lot of wires that crossed over each other, and made the build complicated overall. For the longest time, I couldn't get the prediction to pop up after the initial message was shown. It turns out that there was a capacitor that had a leg that was not in the correct location, so it didn't close the circuit. This was why the first part of the program worked, but not the second part. After I moved the capacitor to the correct spot, everything worked as I built and programmed it to.
Project 12
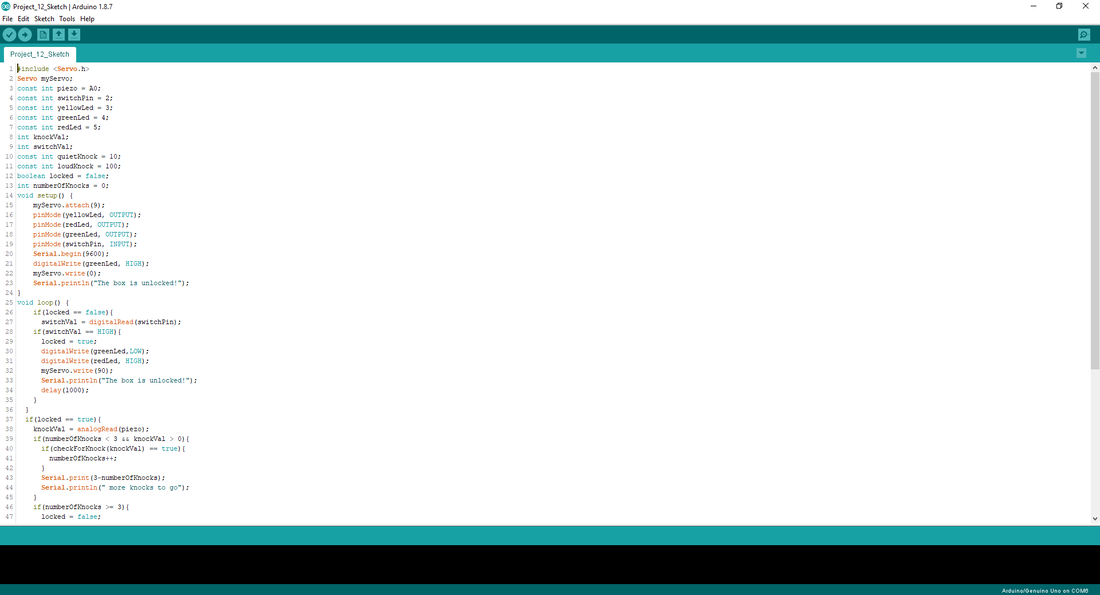
|
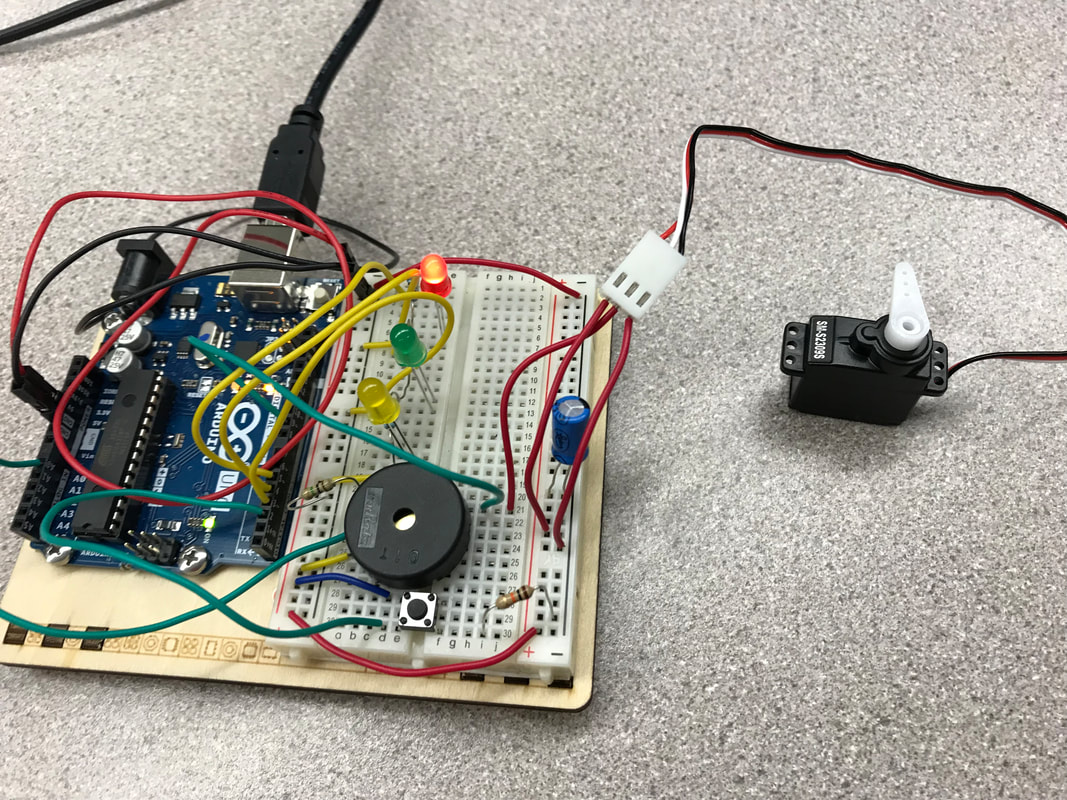
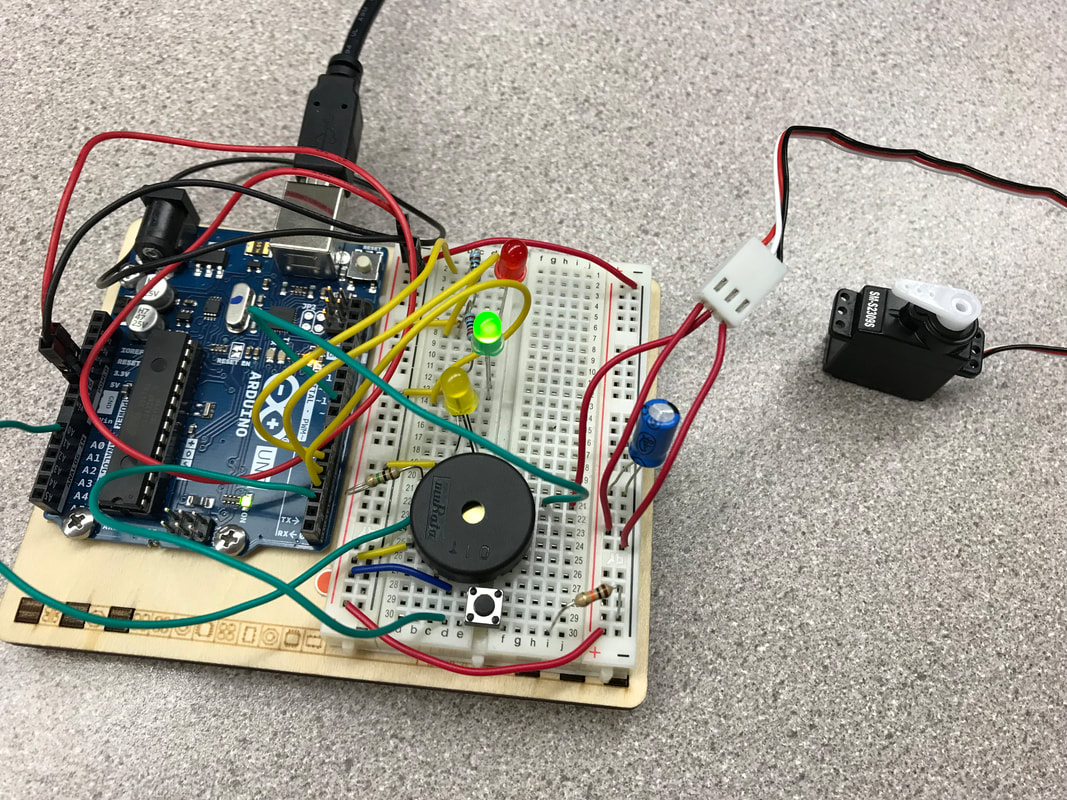
|
The Knock Lock, in my opinion, was one of the hardest Arduino projects. It had a lot of code behind it, besides the complex wiring diagram on the breadboard. This meant that I had a lot of room for errors, and I did. The lock would automatically unlock as soon as I pushed the lock button. It wasn't until after I checked the Serial Monitor did I realize my problem. The knock values that I set were low enough to include other knocks that the project picked up. This was why the project would deactivate as soon as I activated it. In addition, another problem that I had was that the wires for the servo were unable to be removed from the white female connector, so I instead put wires from their slots in the female connector to the designated ports on the breadboard. Finally, after lots of work and fixing, I got the Knock Lock to unlock whenever I wanted it to.
Project 13
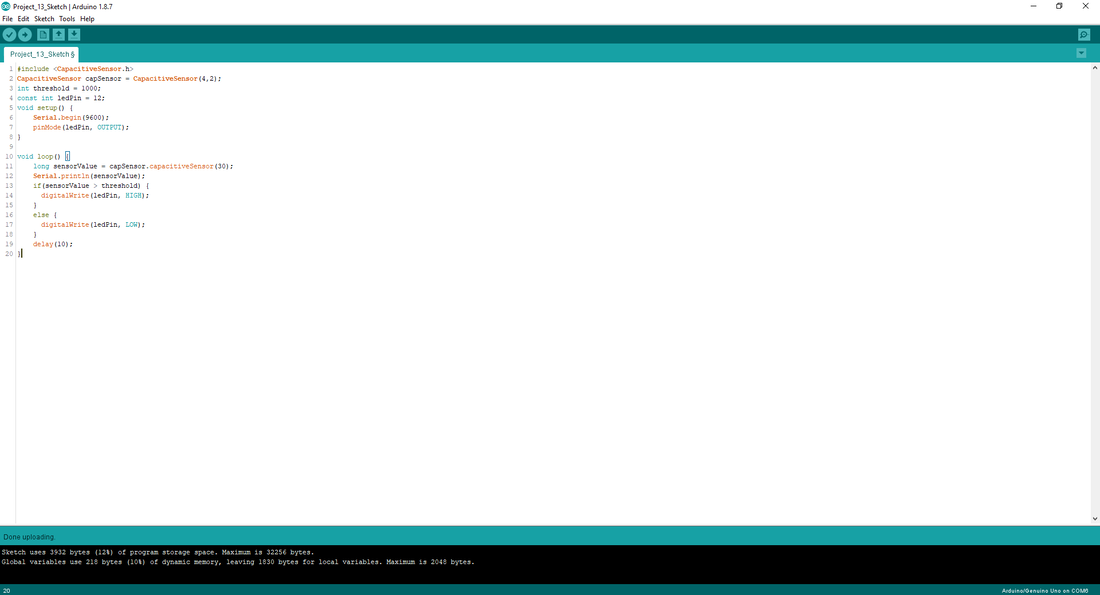
|
|
The Touchy-Feely Lamp, the final project, was a lot easier to code and build than the Knock Lock. Its code was very simple, the wiring was easy, and I got it to work on the first test trial. The only problem that I experienced was that I couldn't find the extension "CapacitiveSensor", and my code couldn't recognize it. After some help with Mr. Willauer, I realized that it had to be downloaded from the Arduino website. After that, my last project worked perfectly, acting as a capacitive sensor for a closed circuit.
Summary
Throughout the course of the Arduino projects, I learned a lot of things about coding, as well as working with electronic components. First and foremost, I learned how to manipulate and change the electrical diagram to better suit my needs. The most noticeable example is when I had to switch the wiring around for the mood cue when the wiring pattern didn't match the diagram. With this gained knowledge, I also learned that you had to switch every component involved in a piece of the device around in order to have it work, which can be illustrated with the incorrect placing of the capacitor's legs on the breadboard. In addition, I learned how to tweak a sketch's code to fit my surroundings. I learned this while I was working with the Love-O-Meter, and had to adjust the baseline temperature so that it would work properly. Finally, I learned how to download extensions to Arduino from their website to suit the requirements of the Touchy-Feely Lamp project, which broadened my applications of Arduino tenfold. With all of the knowledge that I gained from working with Arduino, I know that I will be able to apply this to my Raspberry Pi 2.0 in my semester project in order to create a successful semester project.
