Laser Notebook
Concepts and Sketches
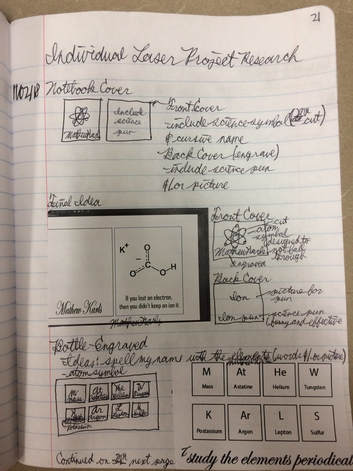
It can be noted that only the top 2/3rd of the page is relevant for this project. This page of my designer notebook contains the concepts, sketches, and final design for the project.
From Sketch to File
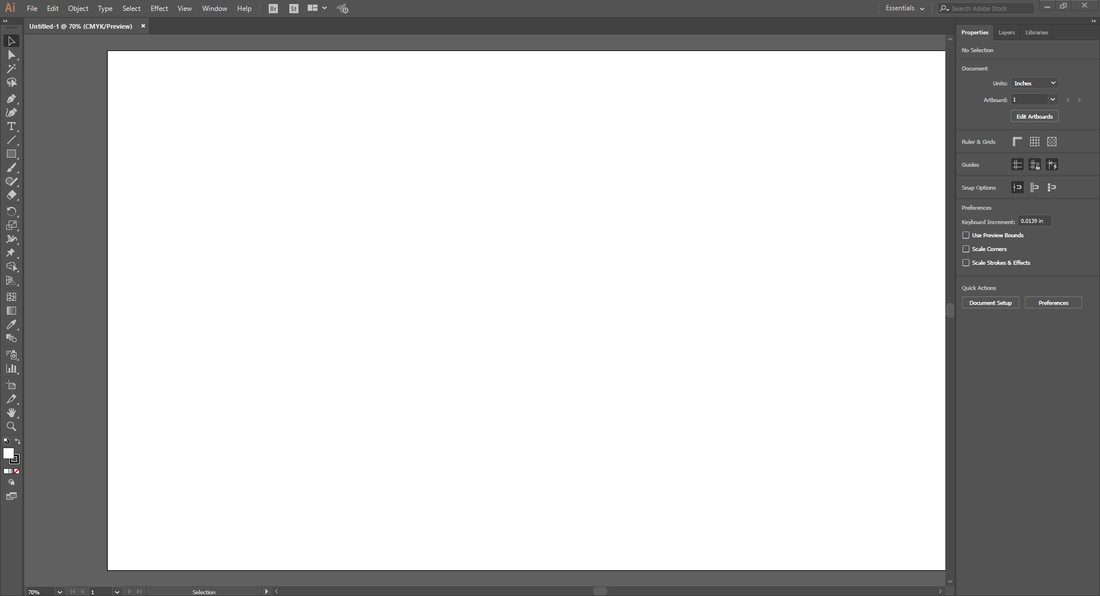
To begin, I created an art board to draw the covers of my notebook for the boundaries.
|
Next, I researched ideas, and added them to my notebook.
|

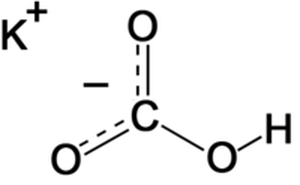
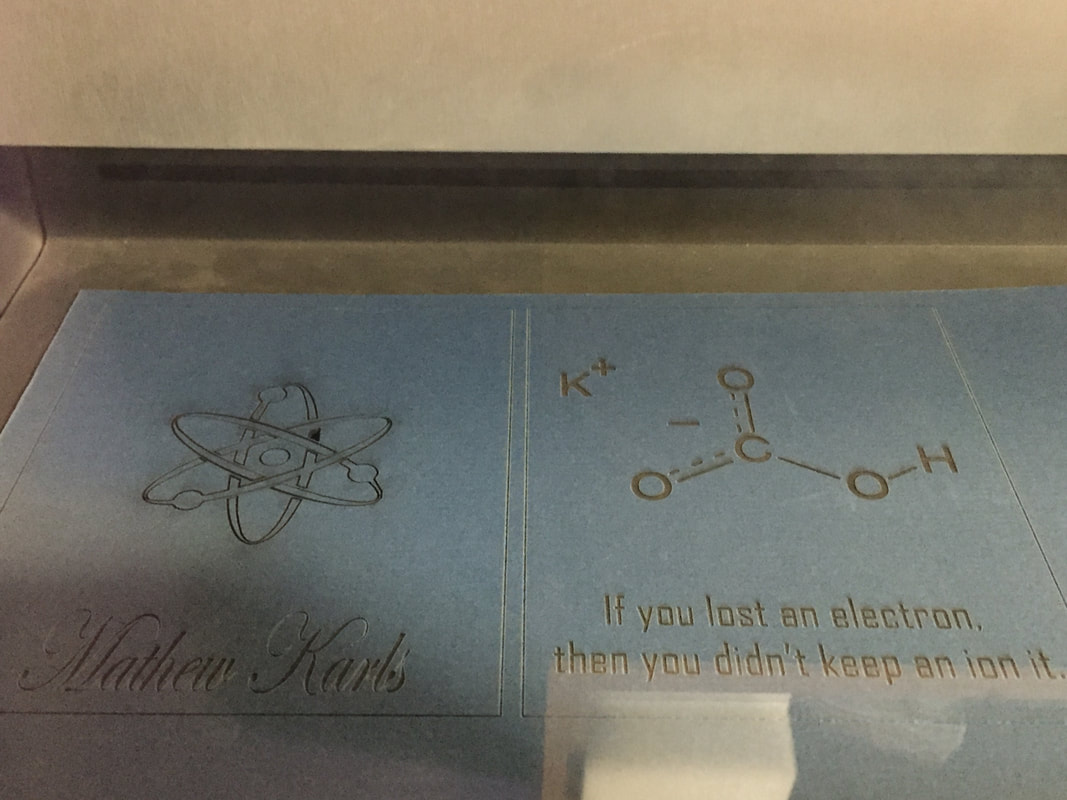
Here is the final notebook design.
|
Illustrator to Laser
After I opened the file on Illustrator, I opened the UCP desktop and opened the print menu.
|
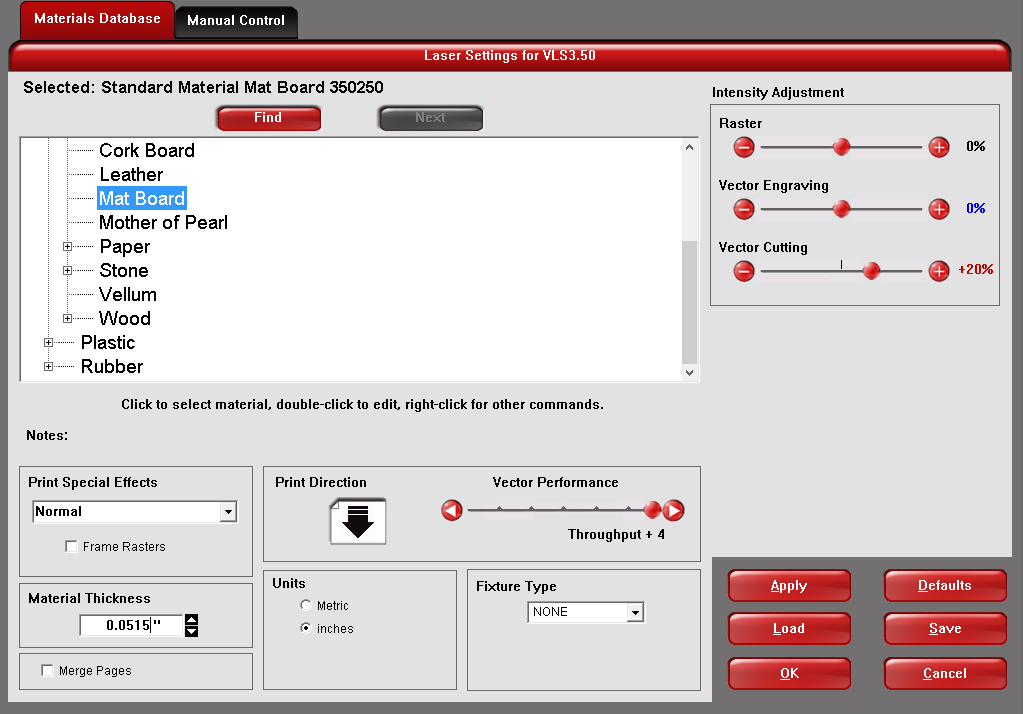
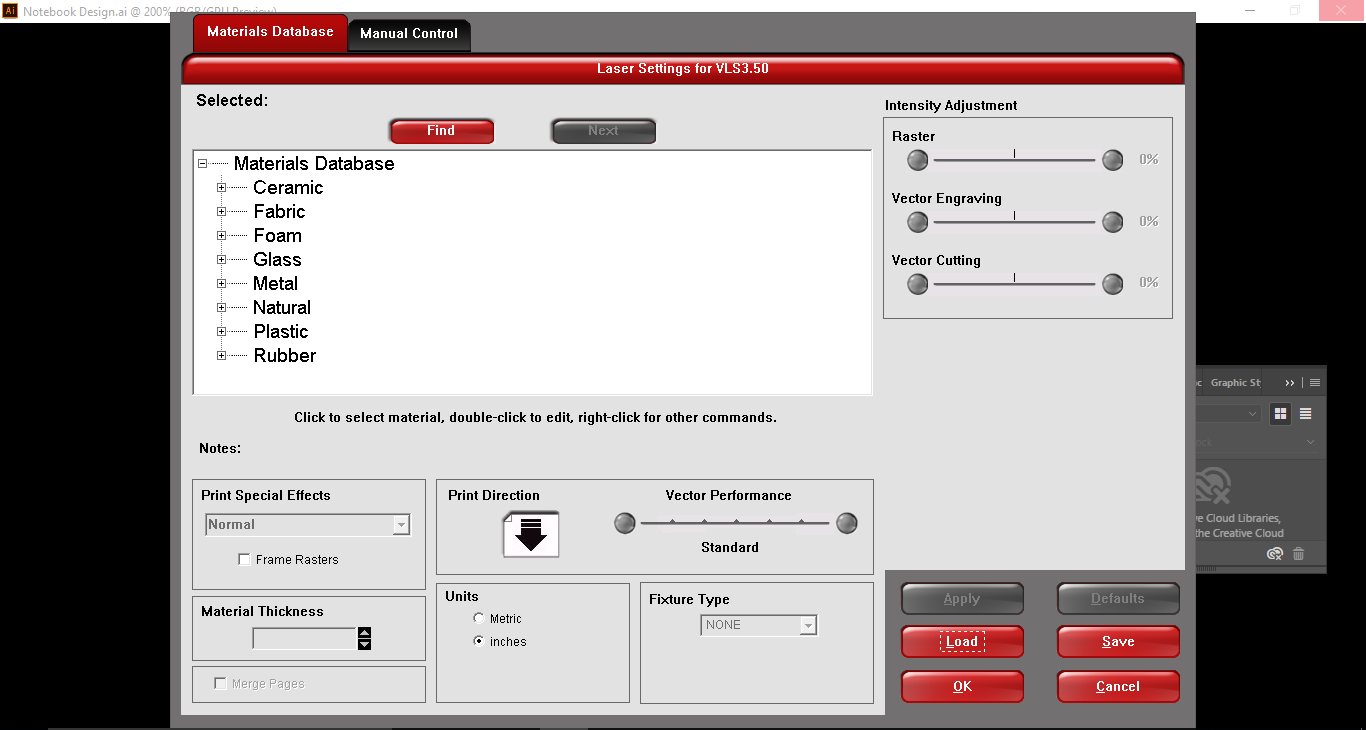
From there, I chose my material (mat board), and selected the thickness of the material.
|
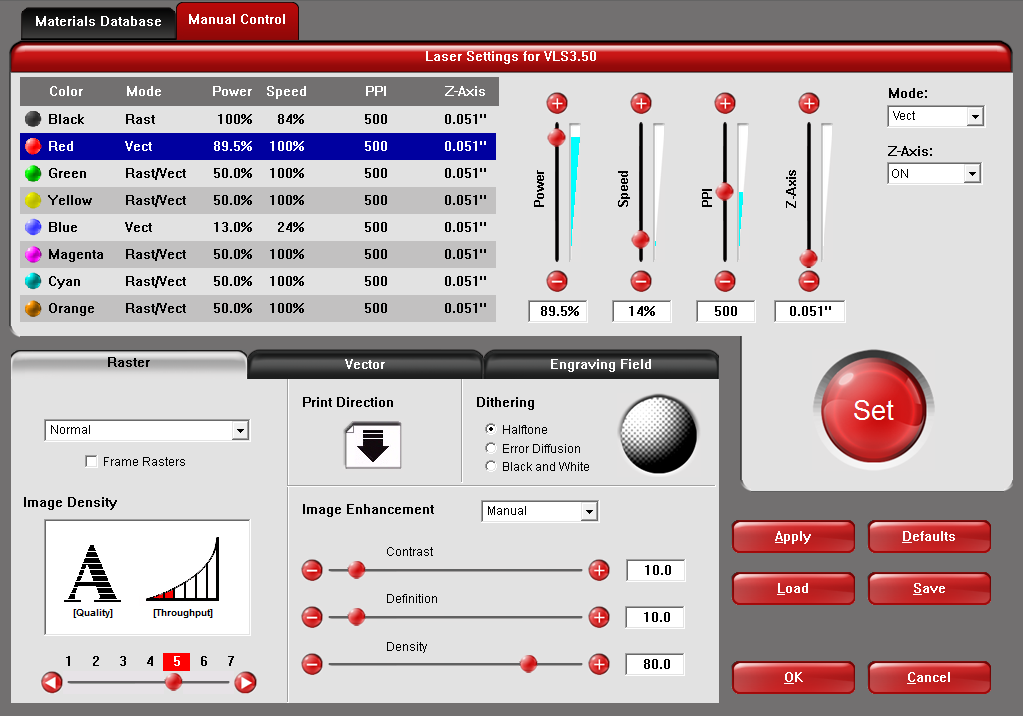
I then changed the appropriate color to red, and adjusted the speed to 14%.
|
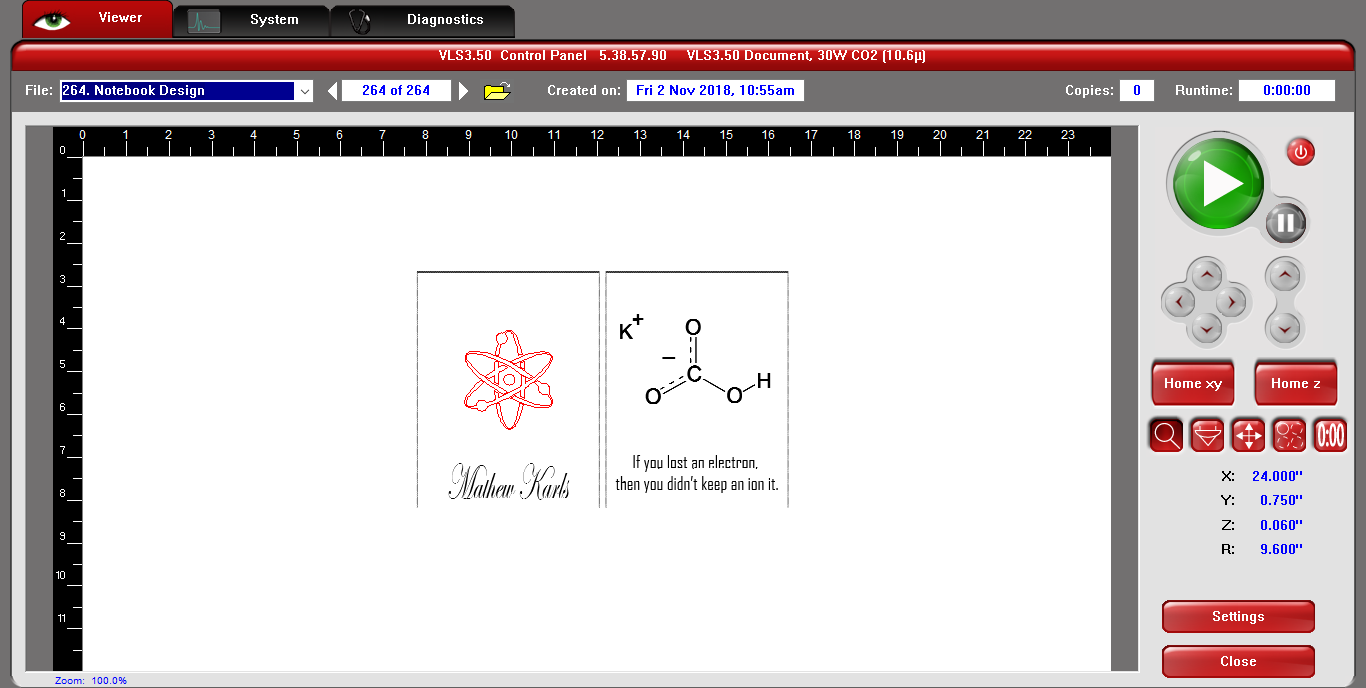
Next, I uploaded the file to the desktop.
|
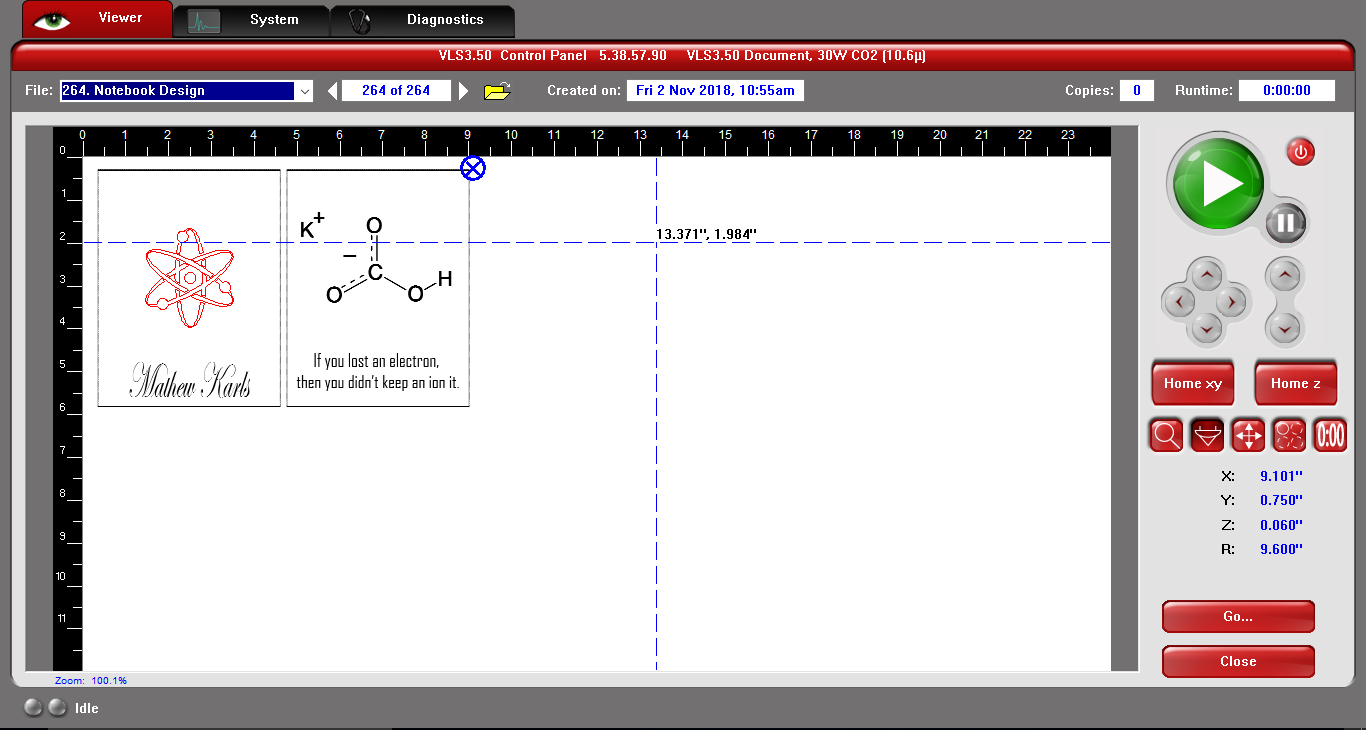
After moving the file into the corner of the material, I moved the laser around to determine that it would stay on the material.
|
I finally clicked the green play button to start the cutting.
|
Using the Universal Laser
Before I started using the laser, I opened the lid and lined the mat board up with the corner, and made sure the laser didn't go off the edge of the material.
|
After I clicked the play button, it started by engraving all of the black lines in my design.
|
To edit, click on the text
and add your own words. |
Here is the notebook cut out on the laser. It was only half-way through the engraving process did I realize that I forgot to change the line color to red instead of black. This meant the laser engraved the edges, not cut them out.
|
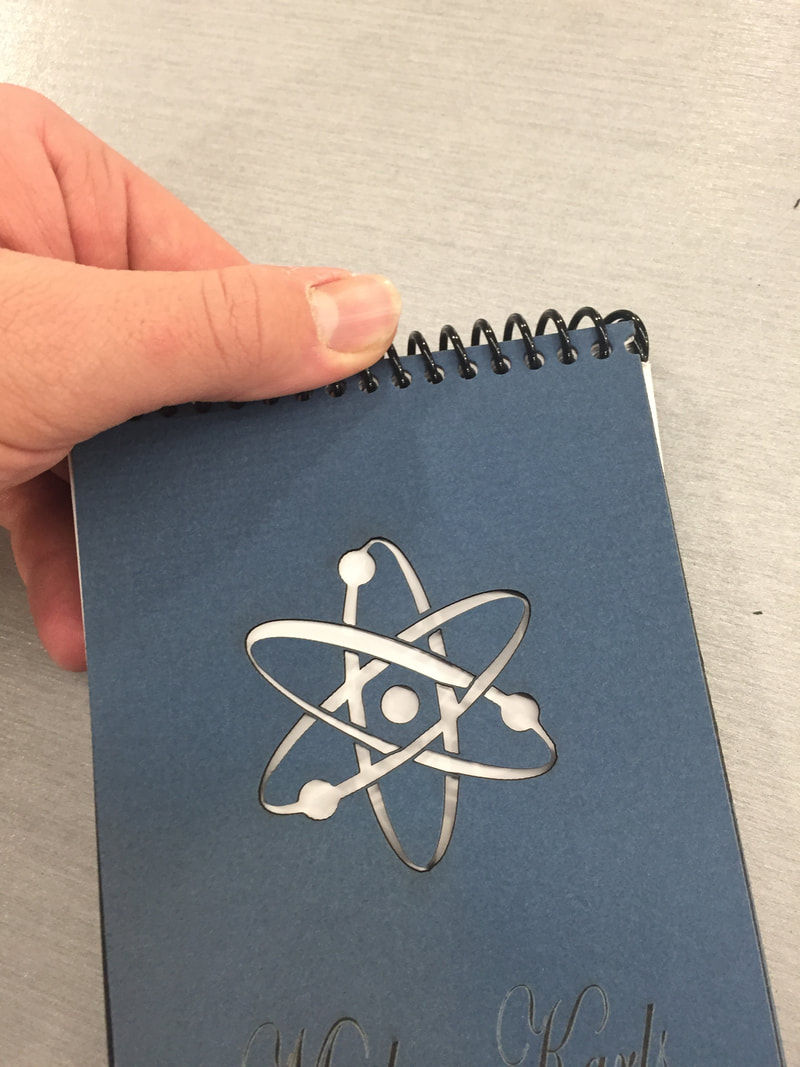
Here is me putting the notebook covers and paper together with a notebook spiral.
|
Final Product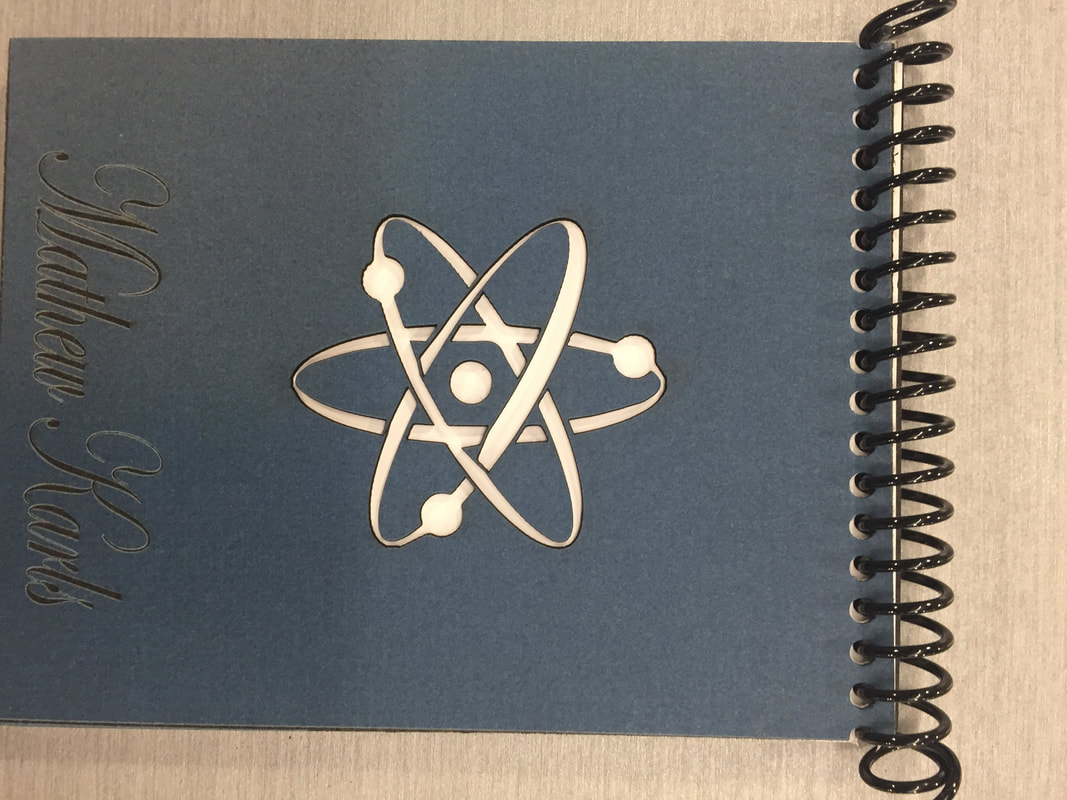
Here is the final notebook, all cut out and bound with paper.
|
Engraved Water Bottle
Research and Sketches

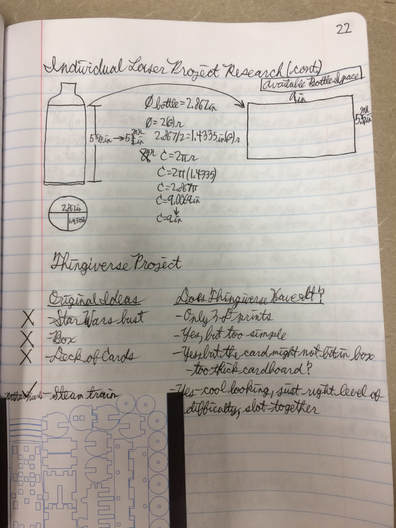
On the bottom 1/3rd of this page, I started my research by sketching what I wanted on the bottle, and including the final design made in Illustrator.
|
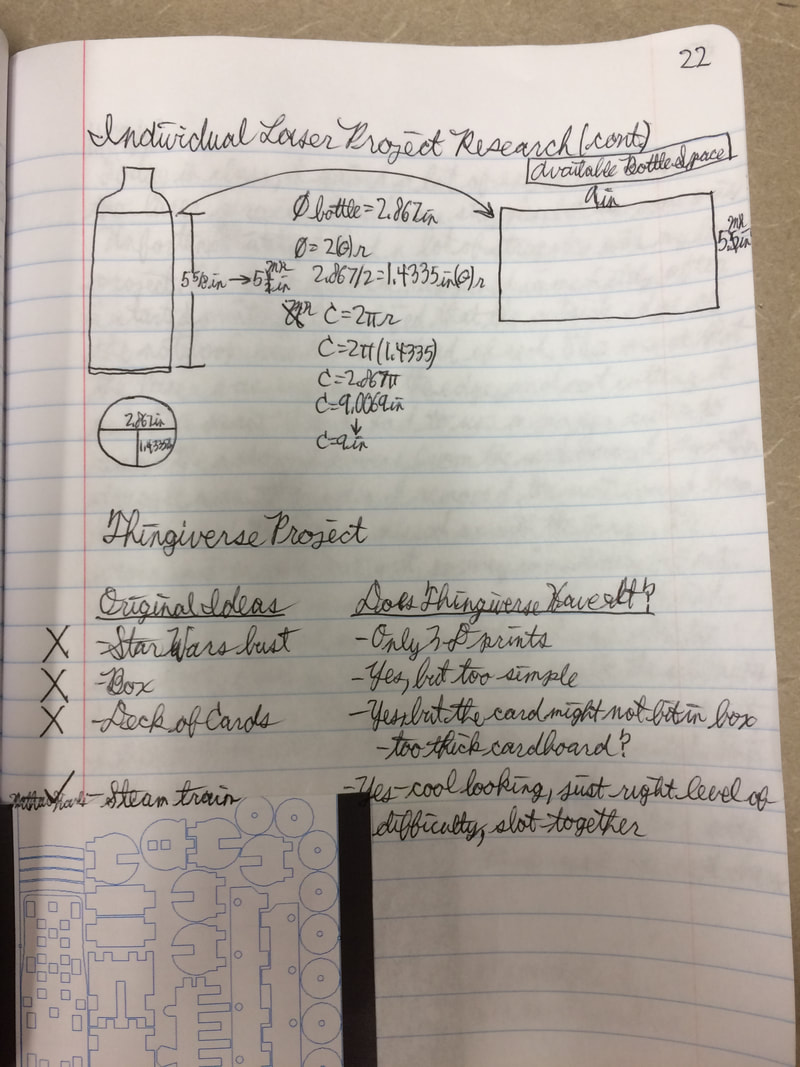
The top half of this page included research regarding the water bottle's available space for engraving.
|
From Concept to File
I started by opening a black art board and bordering off the engraving space.
|
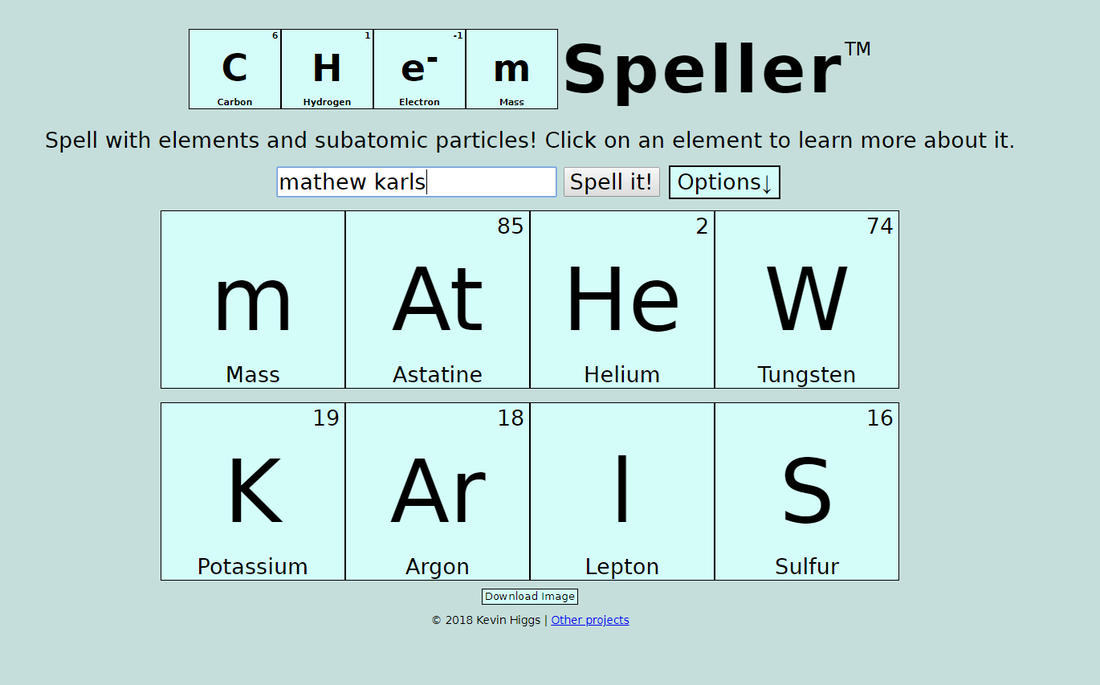
Using Chem-Speller, I spelled out my name using the elements. I then drew the boxes and inserted the letters.
|

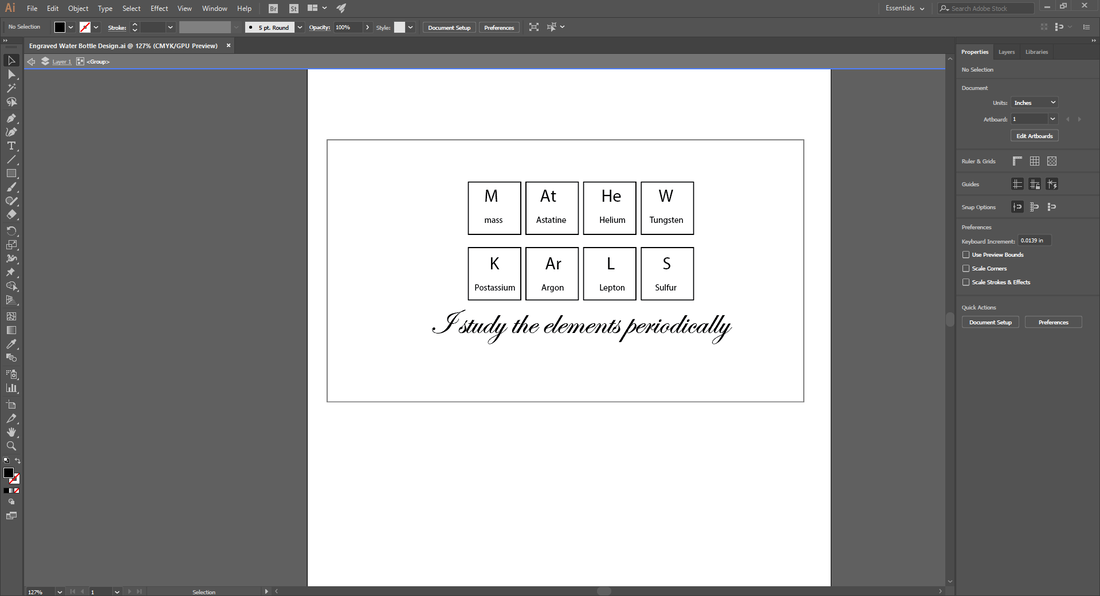
Here is the final Illustrator design.
|
Preparing the File
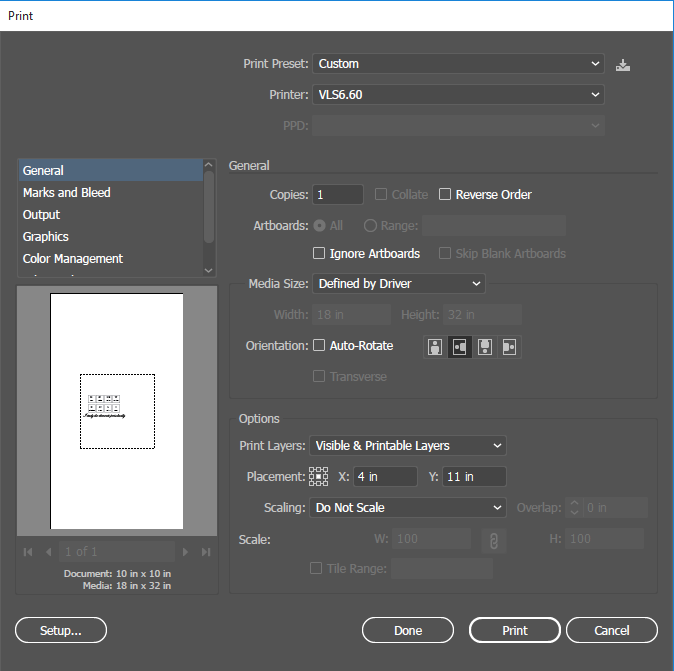
After opening the file on the laser computer, I opened the print menu.
|
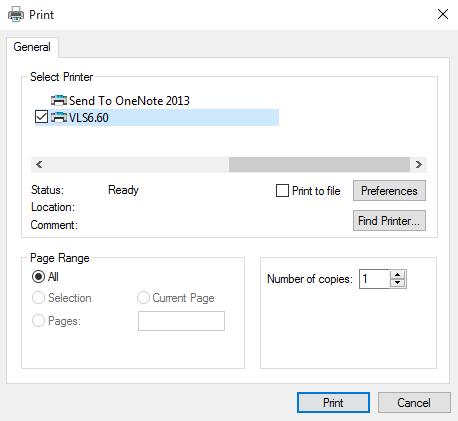
I then changed the printer to the laser, then clicked preferences.
|
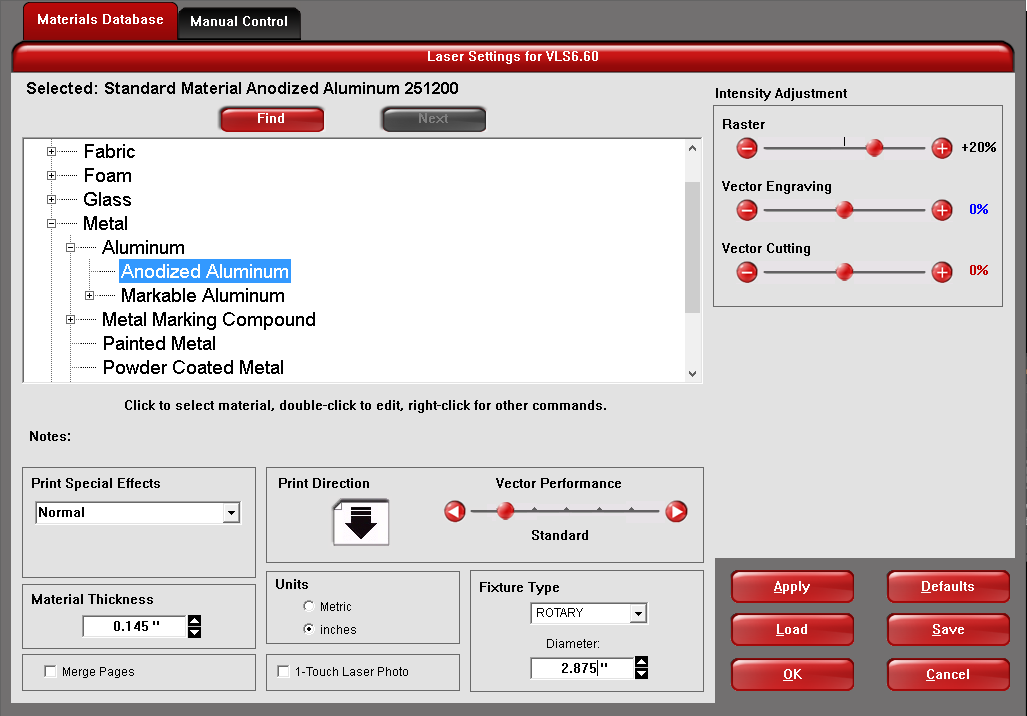
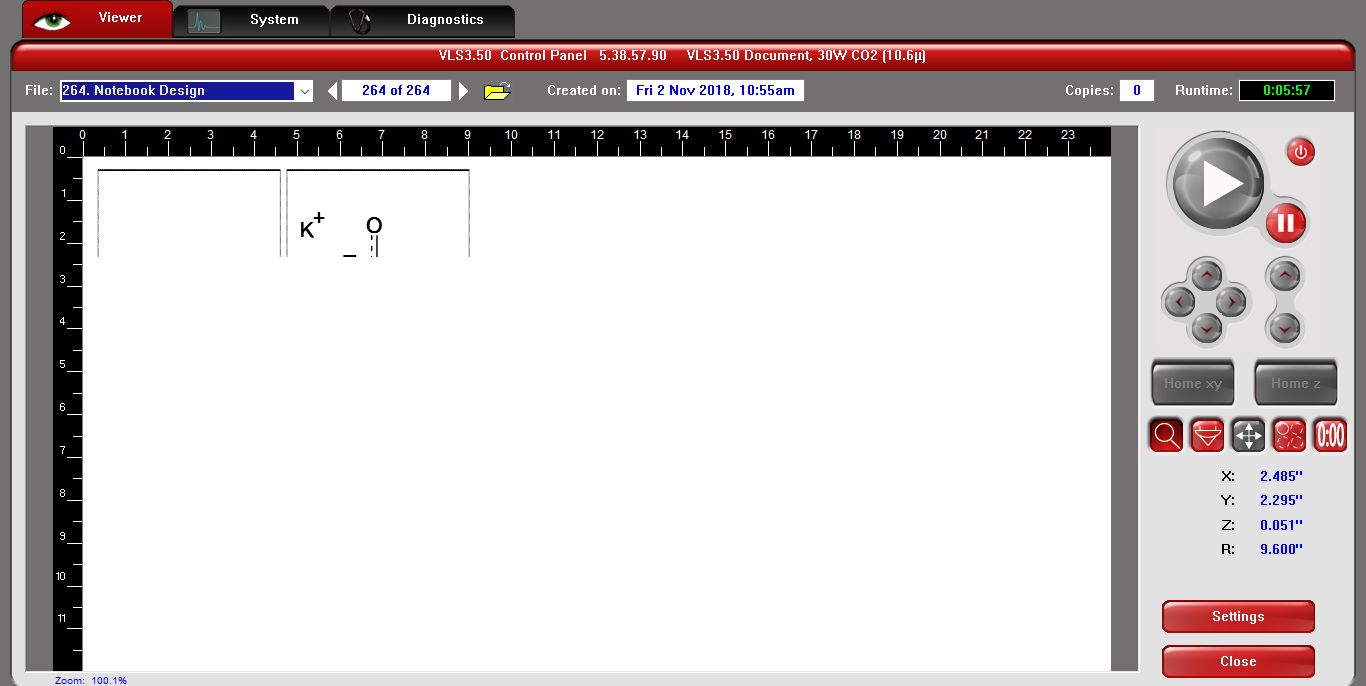
Under preferences, I chose the material (anodized aluminum), and imputed the radius of the water bottle.
|

I then adjusted the design along the center line to fit on the water bottle.
|
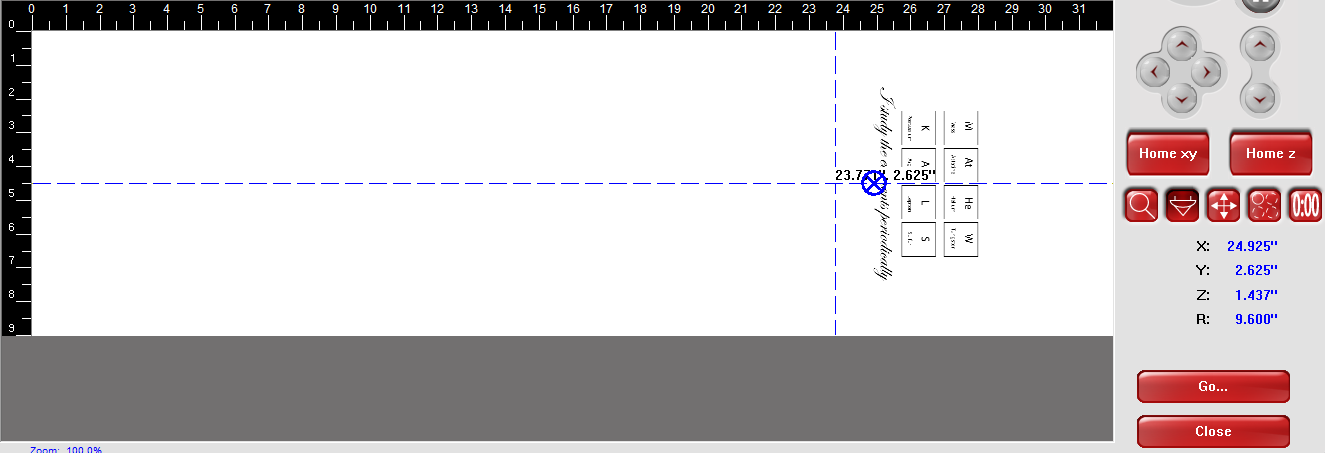
Next, I checked the laser to make sure it stayed on the water bottle and not on the laser base.
|
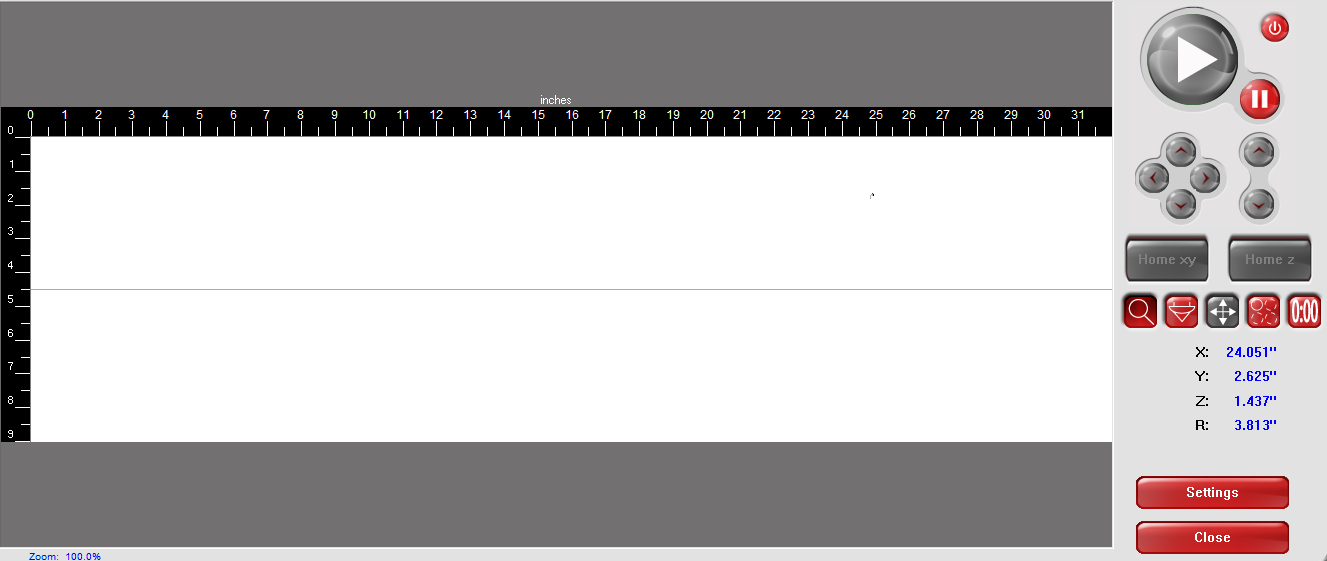
Finally, I started the engraving of the water bottle.
|
Using the Rotational Jig
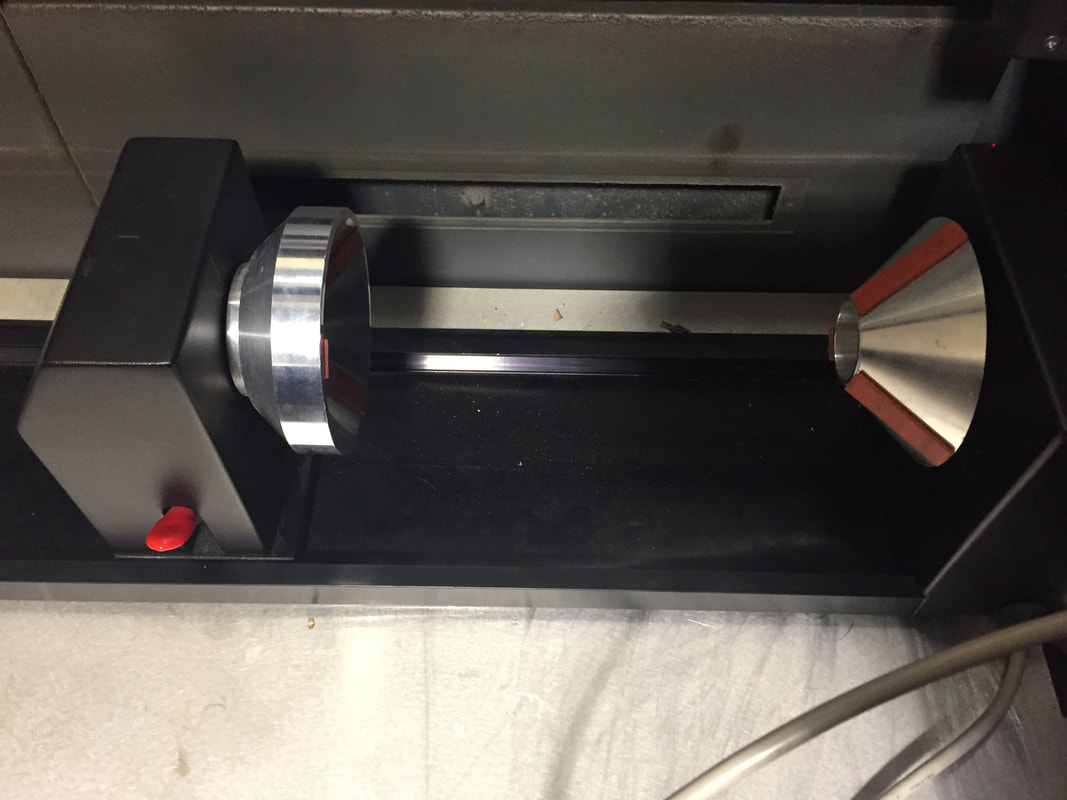
First, I opened the access door and removed the flat laser bed, and put the rotational jig in its place.
|
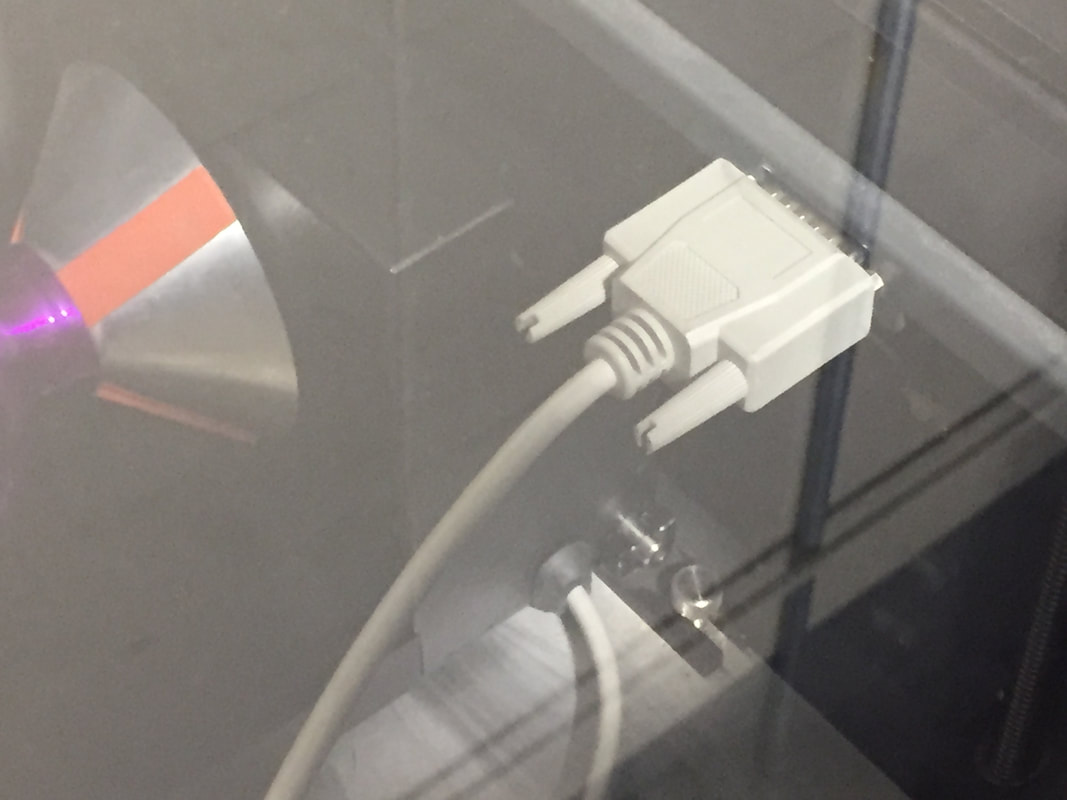
I then made sure that the pins were in the slots, and that the jig's cable was plugged into the slot.
|
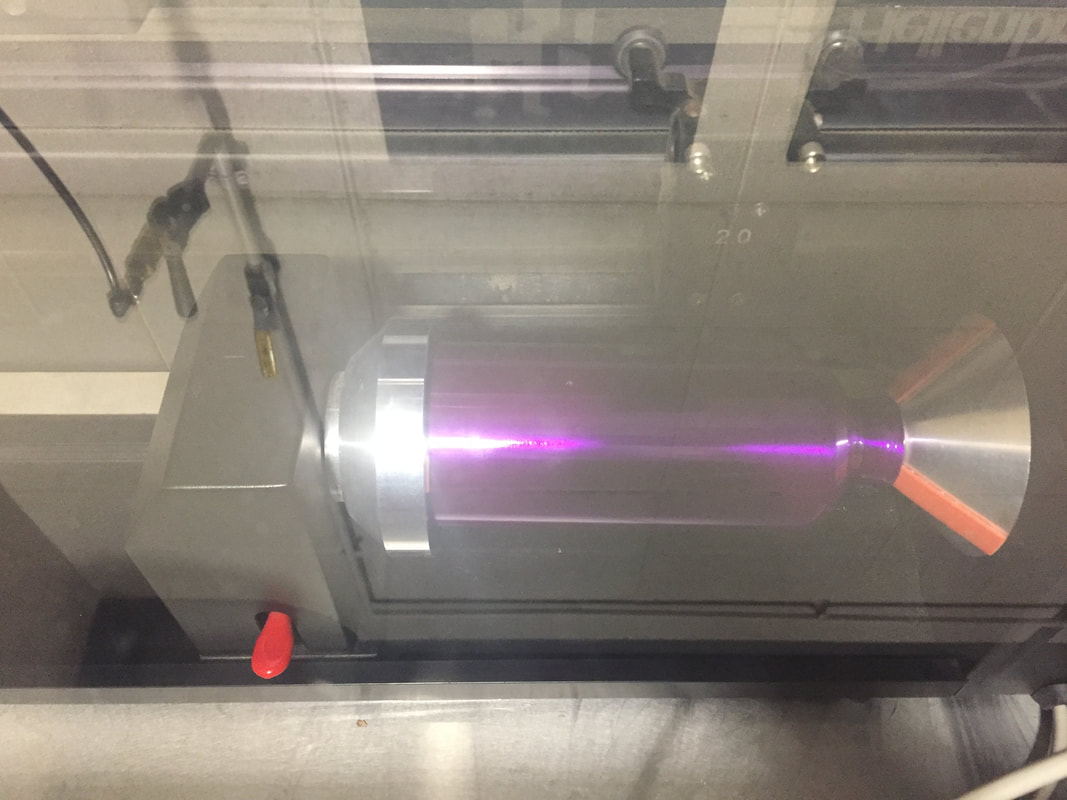
Next, I inserted the water bottle squarely, and made sure that it could rotate correctly.
|
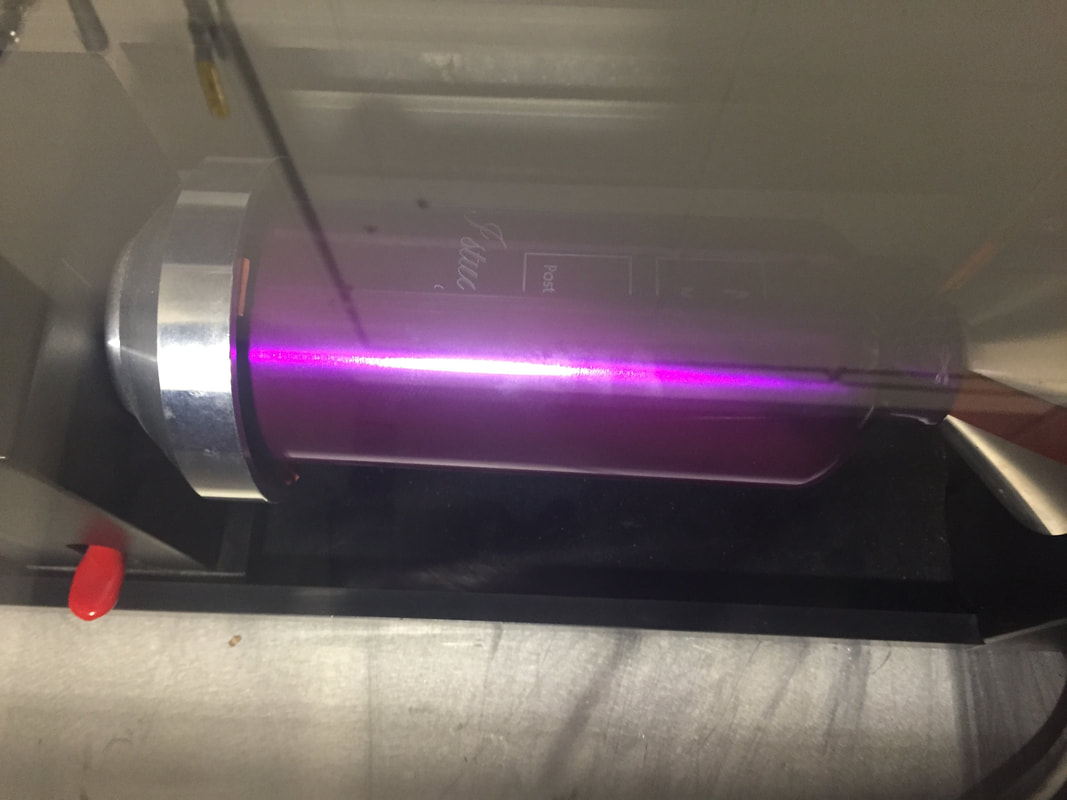
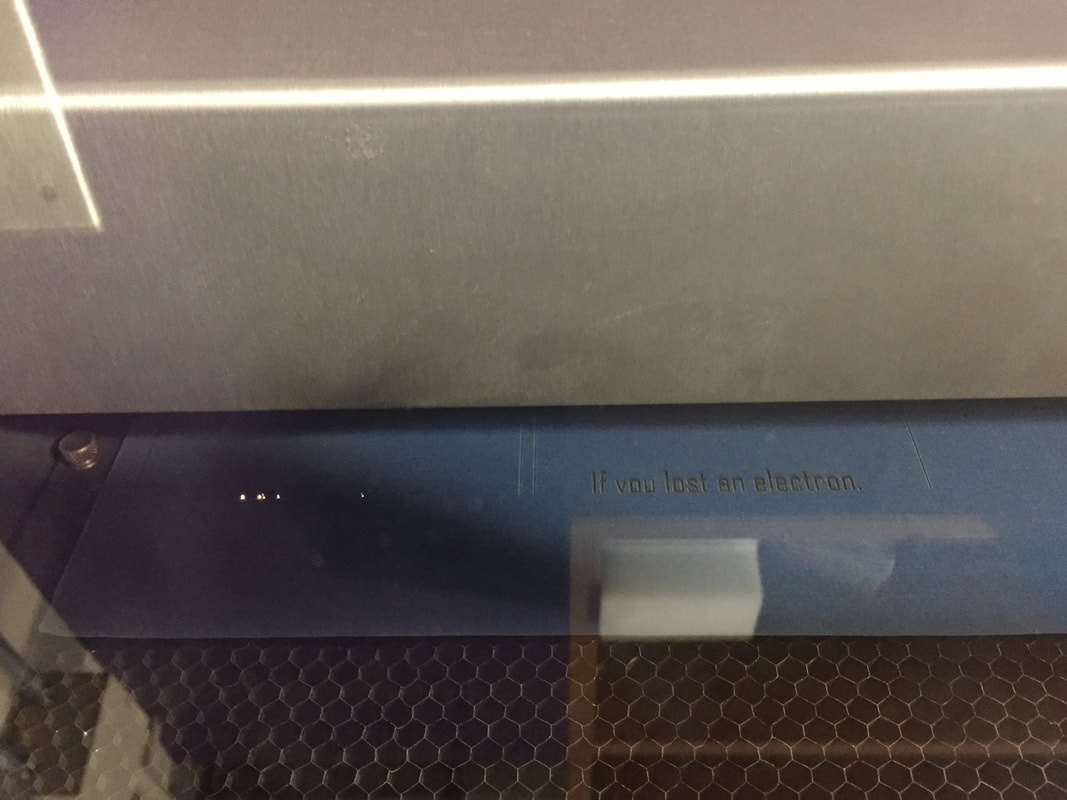
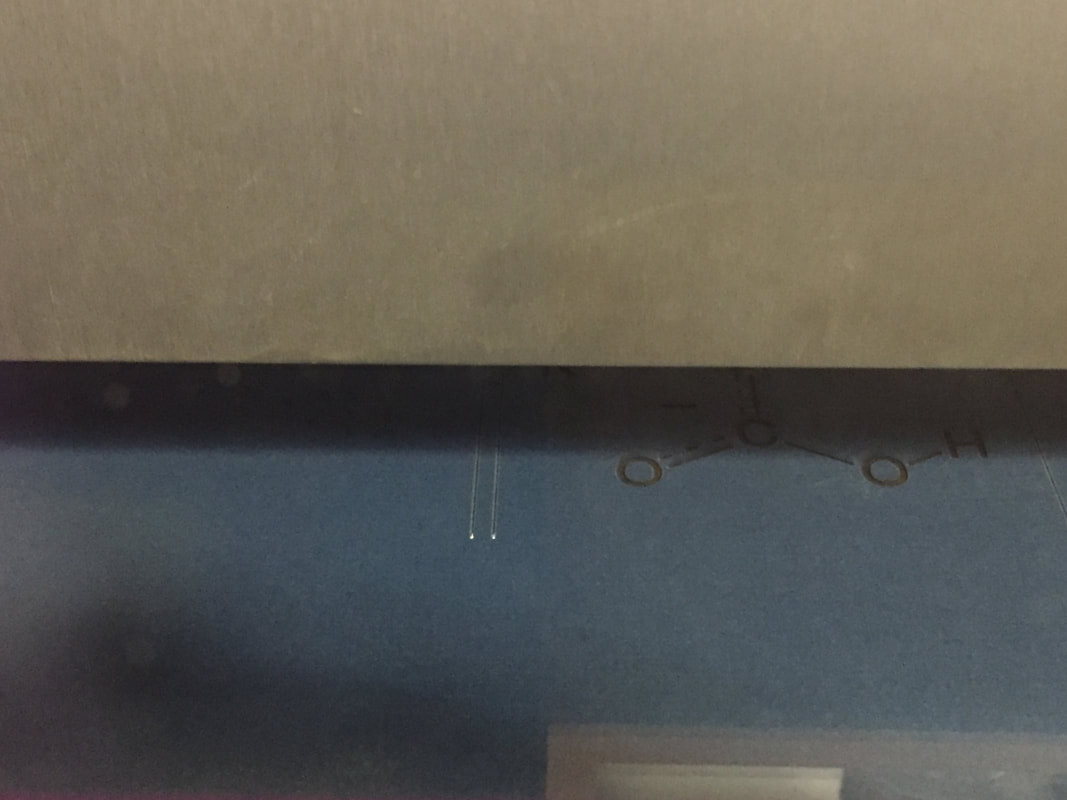
Here is the water bottle half-way engraved by the laser
|
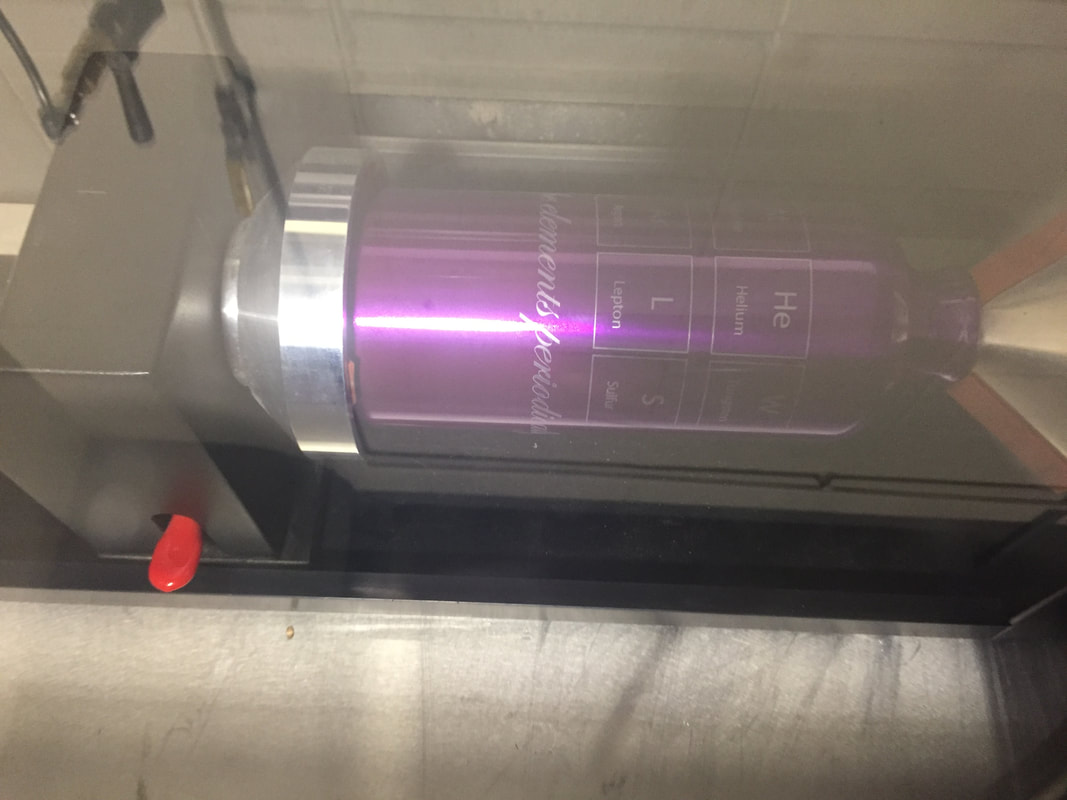
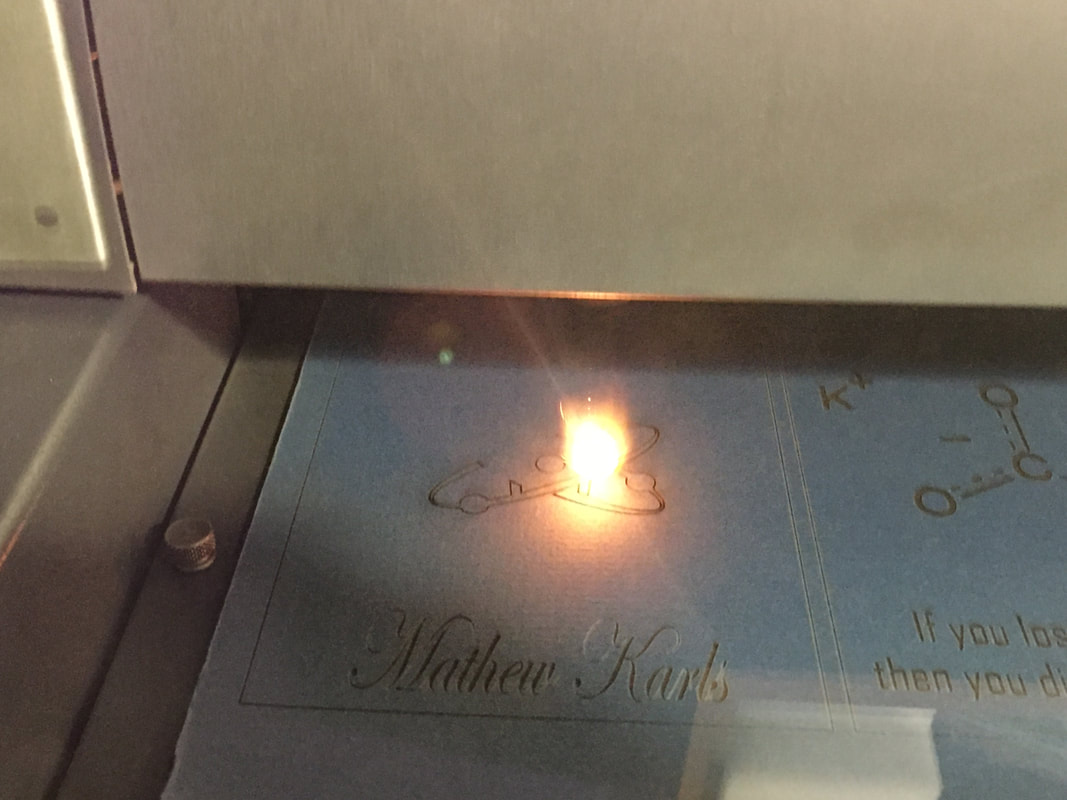
Here is the finished product on the jig. It spells my name out using the elements, and it includes an element pun.
|
Final Product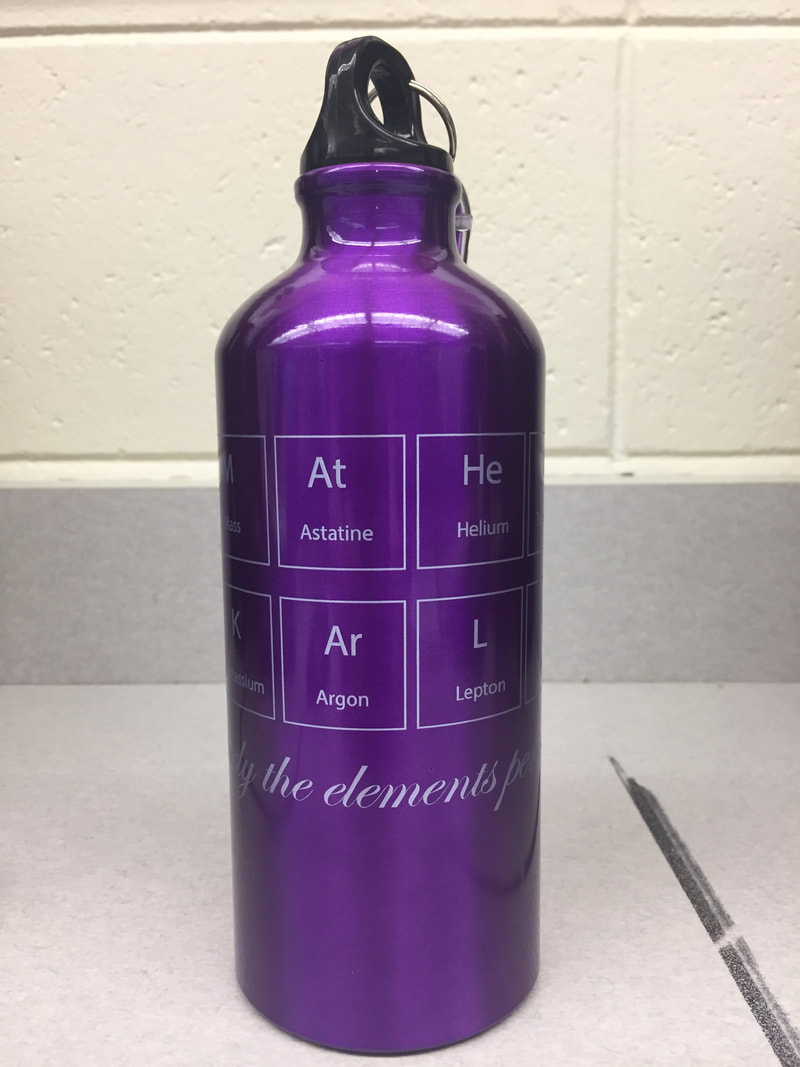
Here is the final product: a water bottle perfectly engraved to how I envisioned it.
|
Thingiverse Project
Research for This Project
This page of my designer notebook includes the original ideas I had for this project, as well as if Thingiverse had the project for me to make. At the bottom, I also included my final project.
Choosing a Project
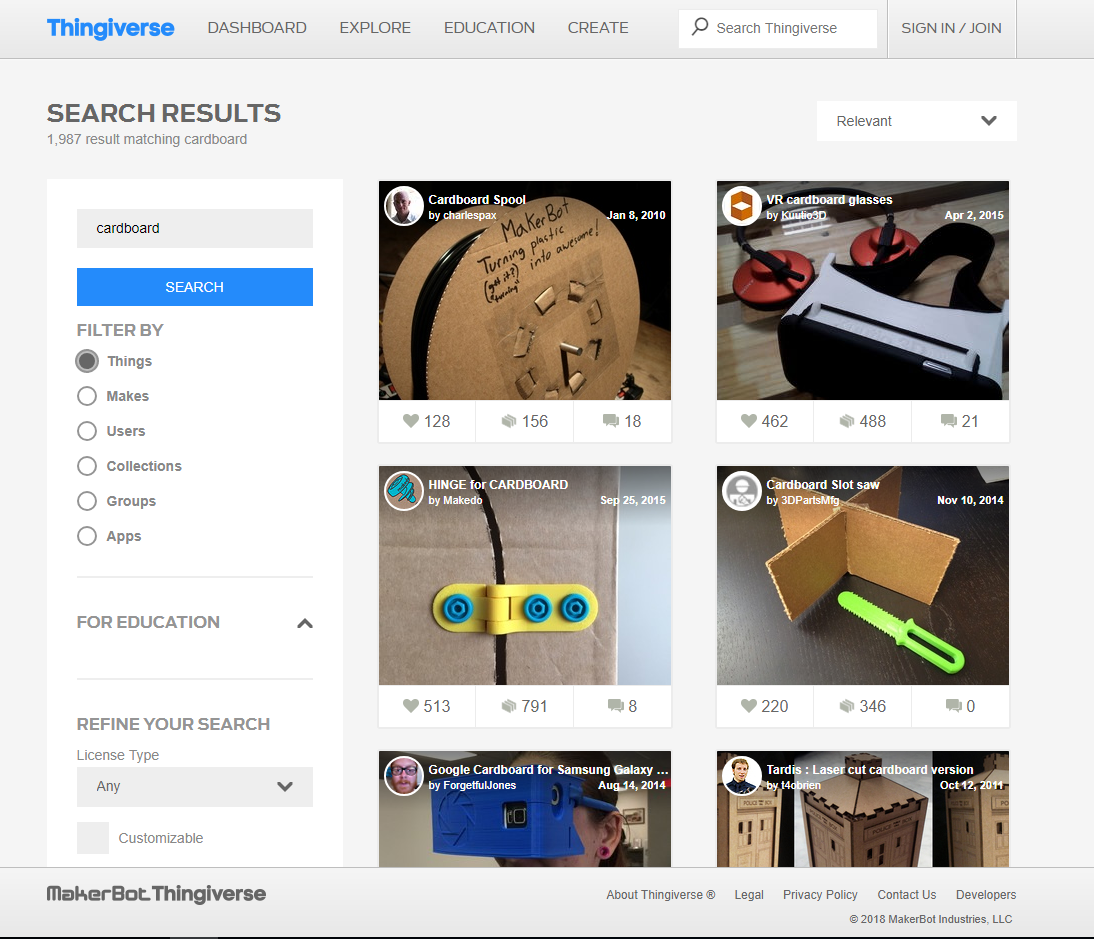
I started out by perusing Thingiverse, a site where you can find files to make almost anything. I found a shockingly low number of cardboard creations.
|
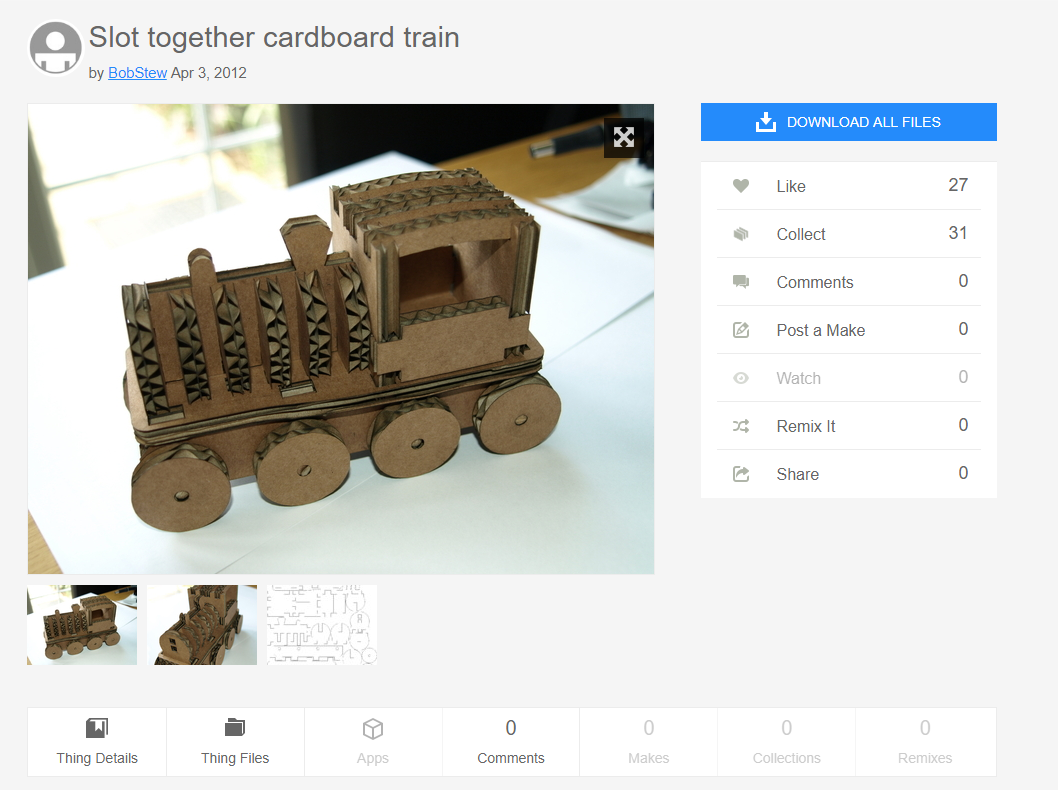
In the end, I decided to choose a cardboard train where the pieces slot together to form a 3-D project.
|
Here is the file for the train, thankfully Illustrator-compatible and all in one place.
|
Preparing the Design

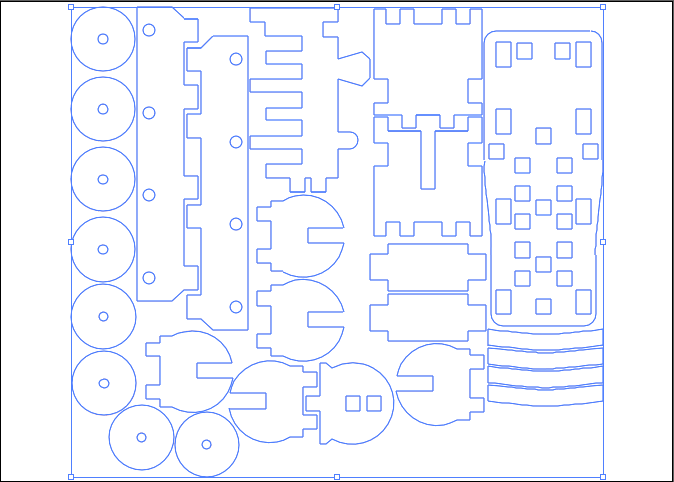
I created an art board to accommodate for the laser bed (18x32 inches), and to accurately scale the train file.
|
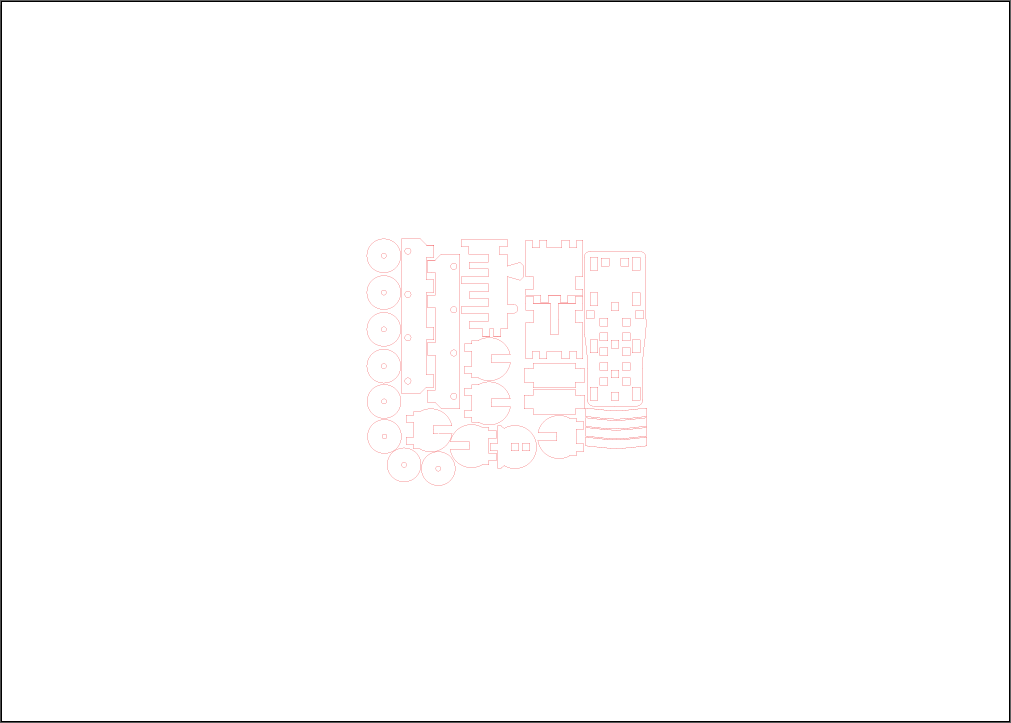
Here is the imported and scaled file in Illustrator, ready to be cut out by the laser.
|
Preparing the Laser
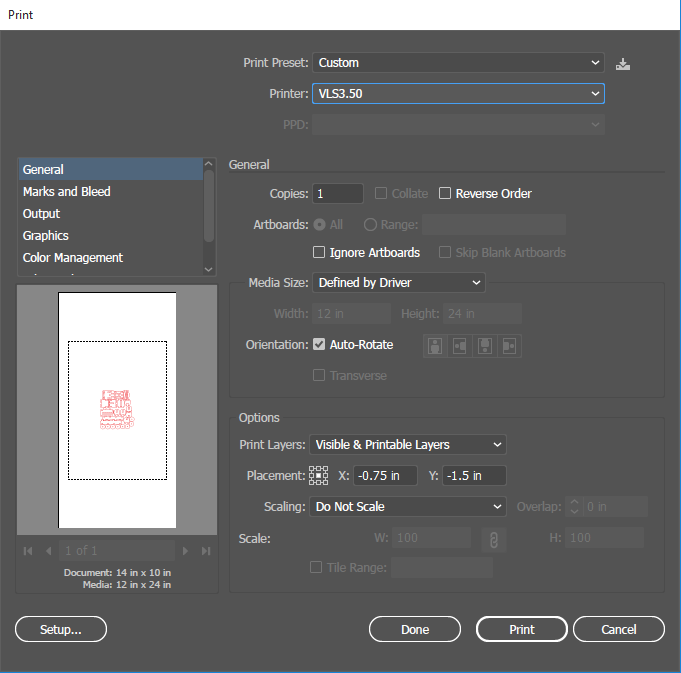
After I opened the file on the laser computer, I opened the print menu and clicked Setup.
|
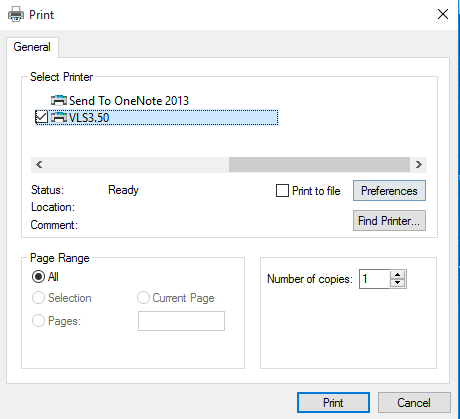
I changed the destination to the laser, then I opened up preferences.
|
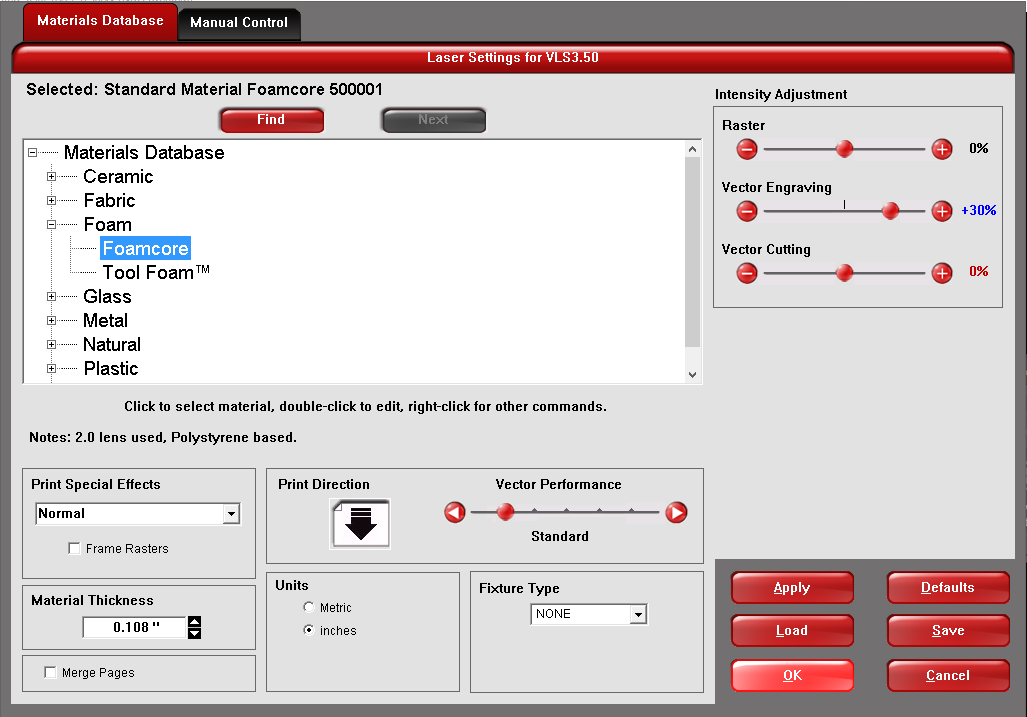
Under preferences, I selected the material (foam core foam), the I imputed the thickness of the material.
|

Next, I opened the UCP to access the laserbed.
|
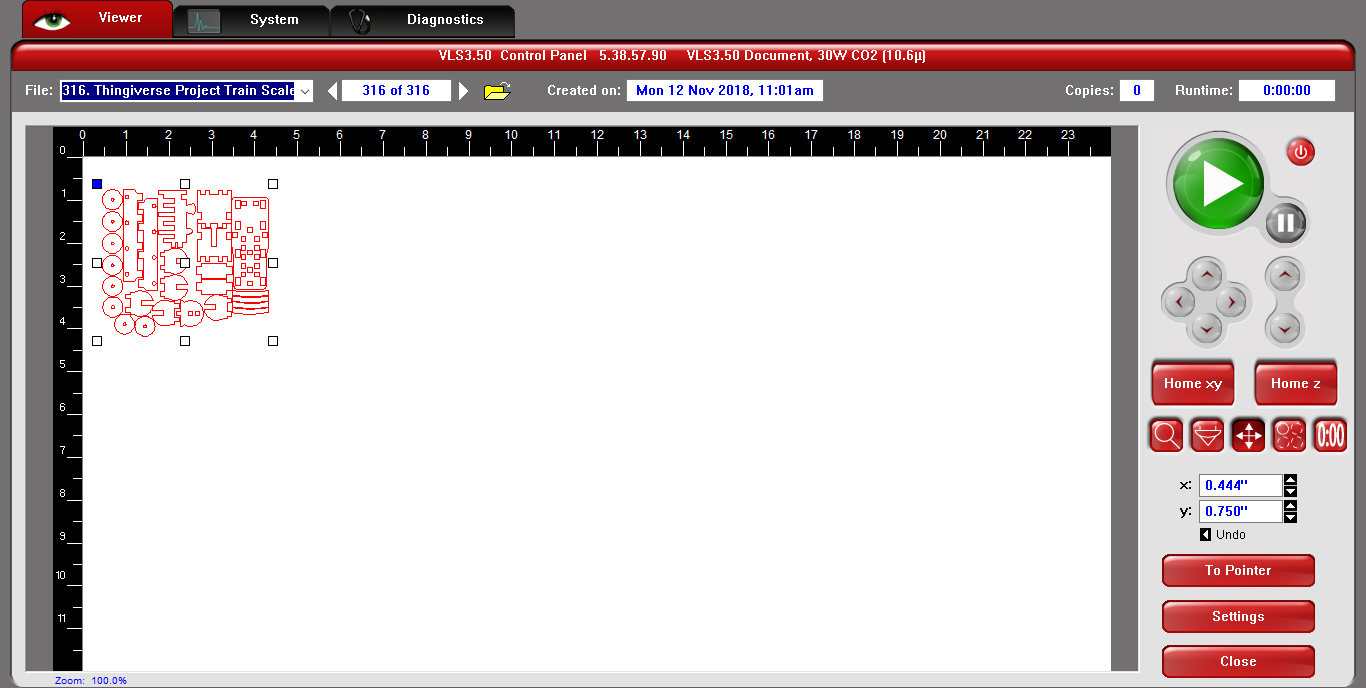
After moving the laser, I then moved the file to the corner of the laser bed.
|
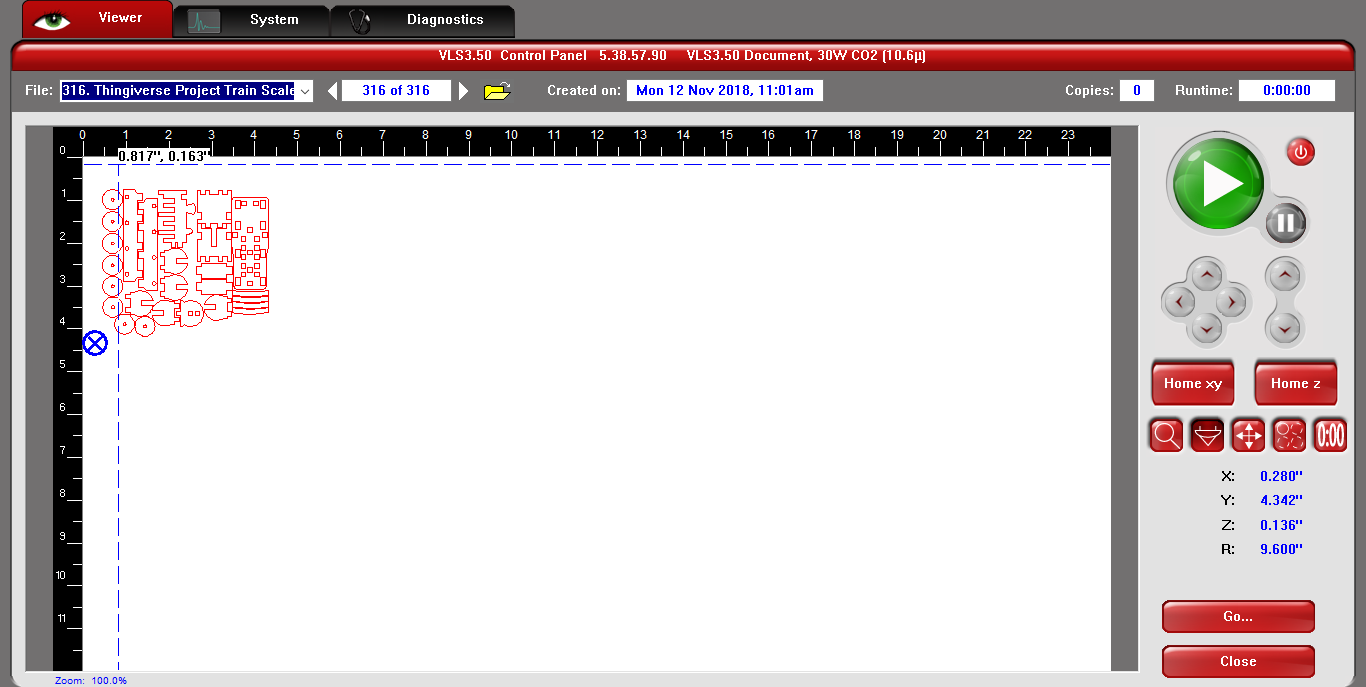
Finally, I checked to make sure that the laser did not go off the edge of the material, and I clicked the play button.
|
Using the Laser
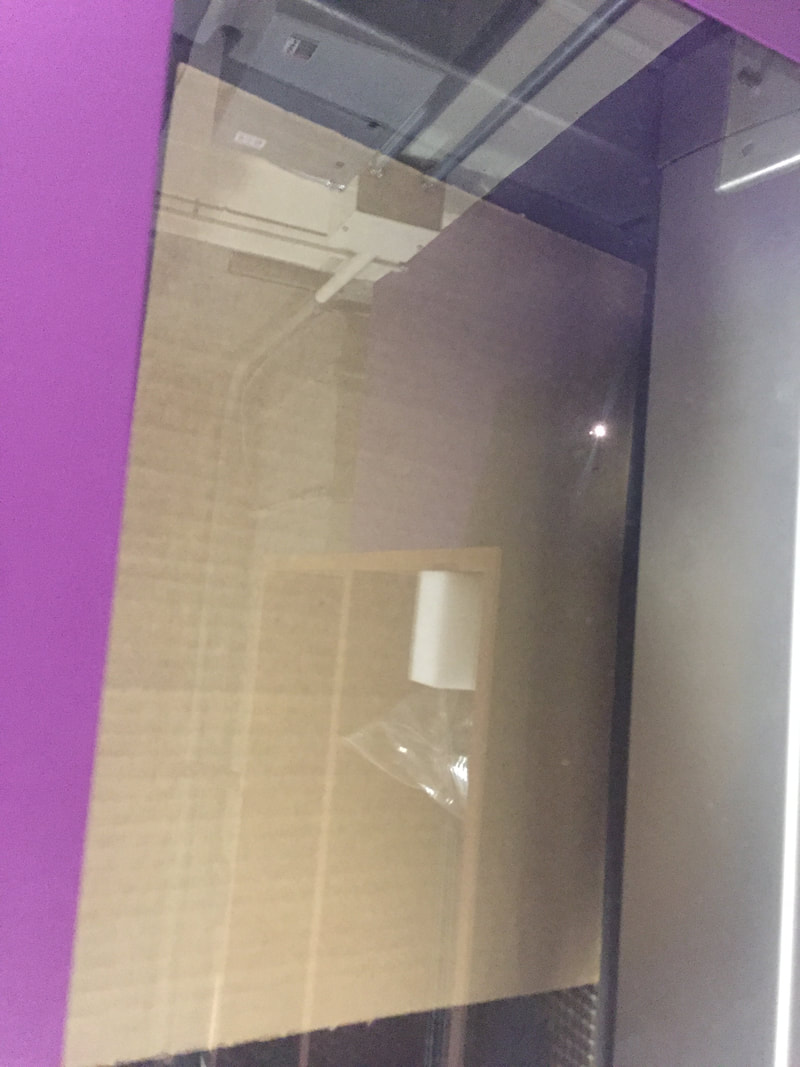
I started by placing the material in the appropriate corner of the laser bed.
|
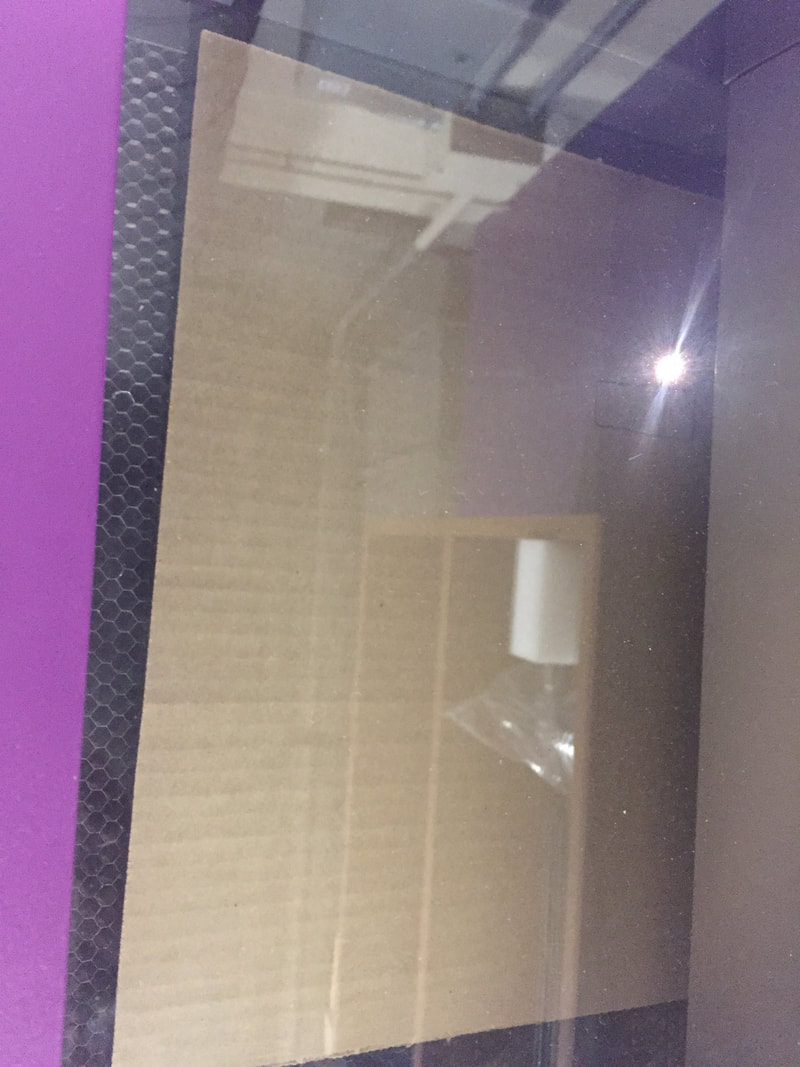
After the laser was lined up with the material, I started the cutting process.
|
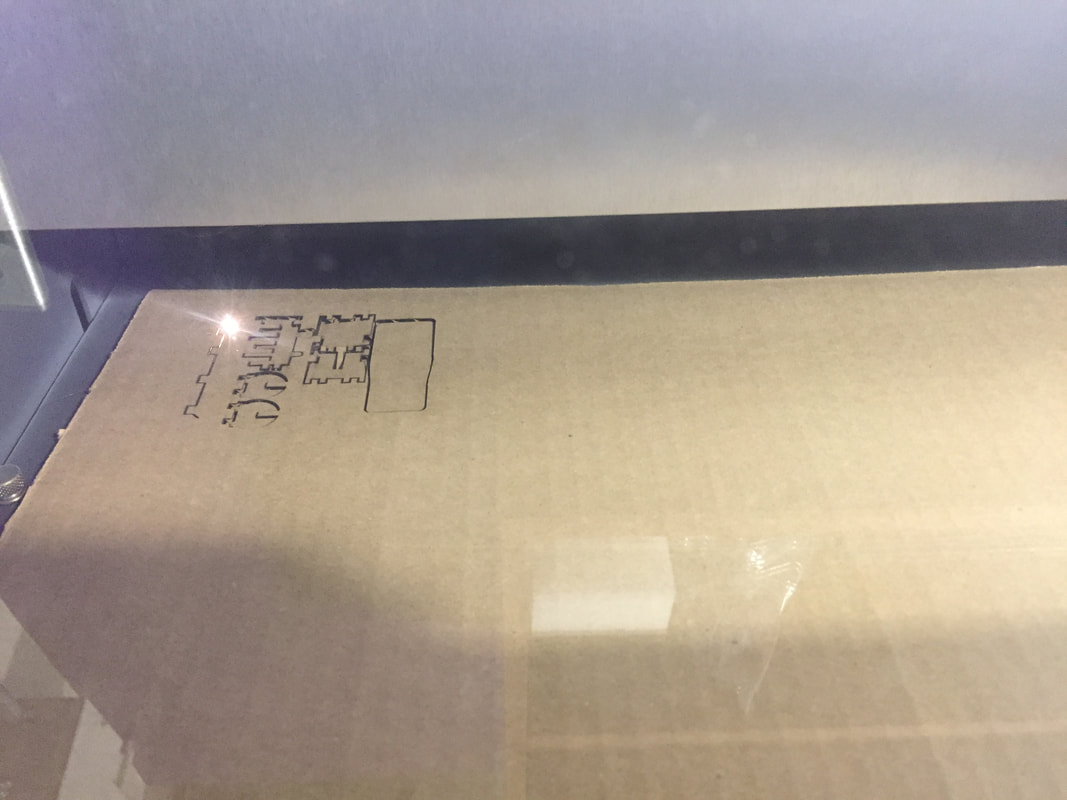
This is the file half-way cut out.
|
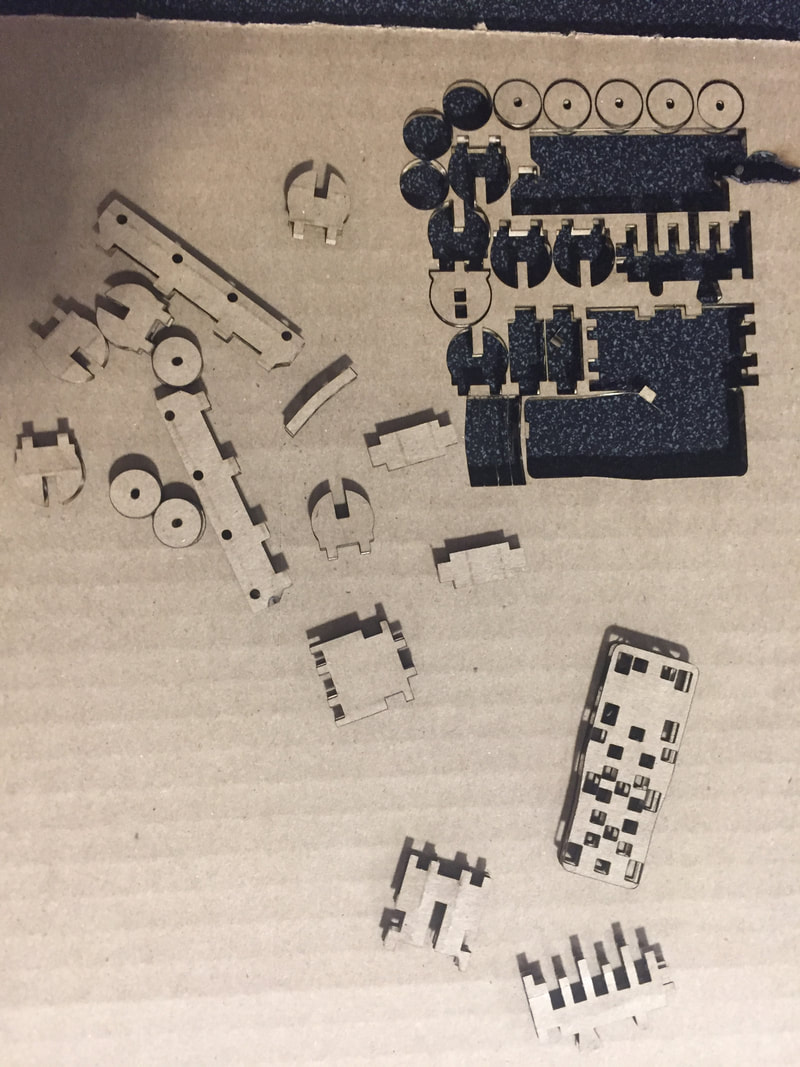
After the laser finished, I immediately experienced problems with removing the cut pieces from the laser bed. Most of them immediately fell out.
|
Here is the in progress construction of the train.
|
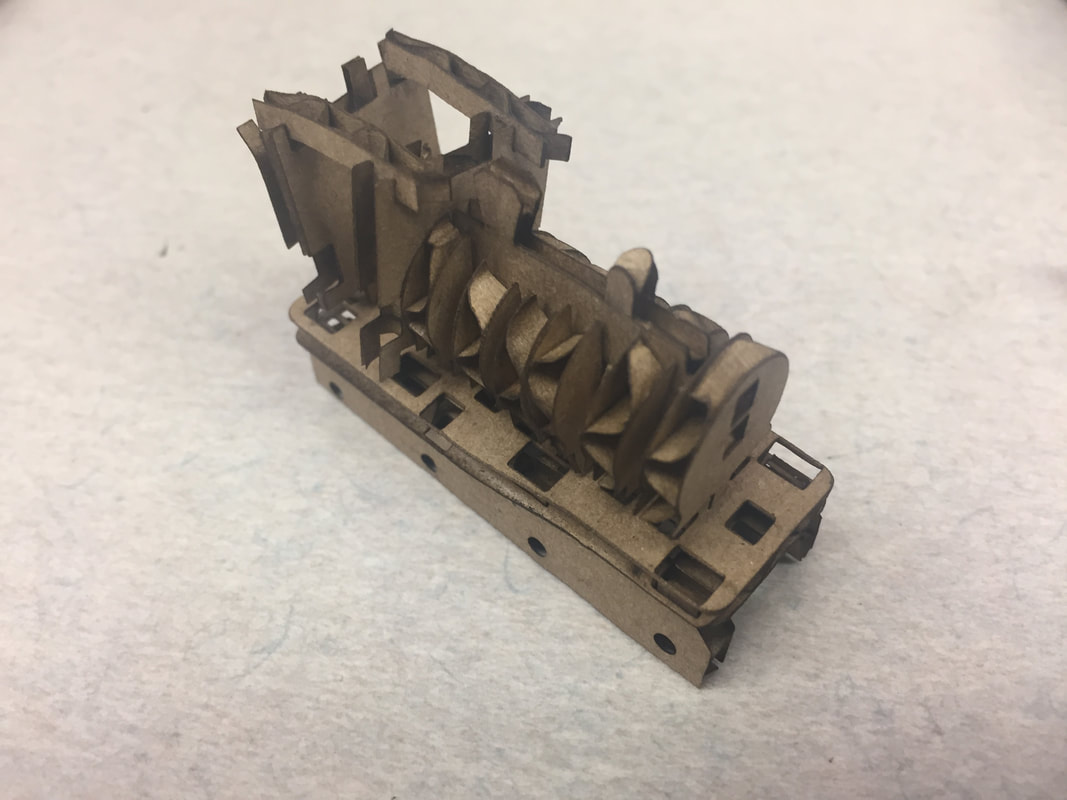
Final Product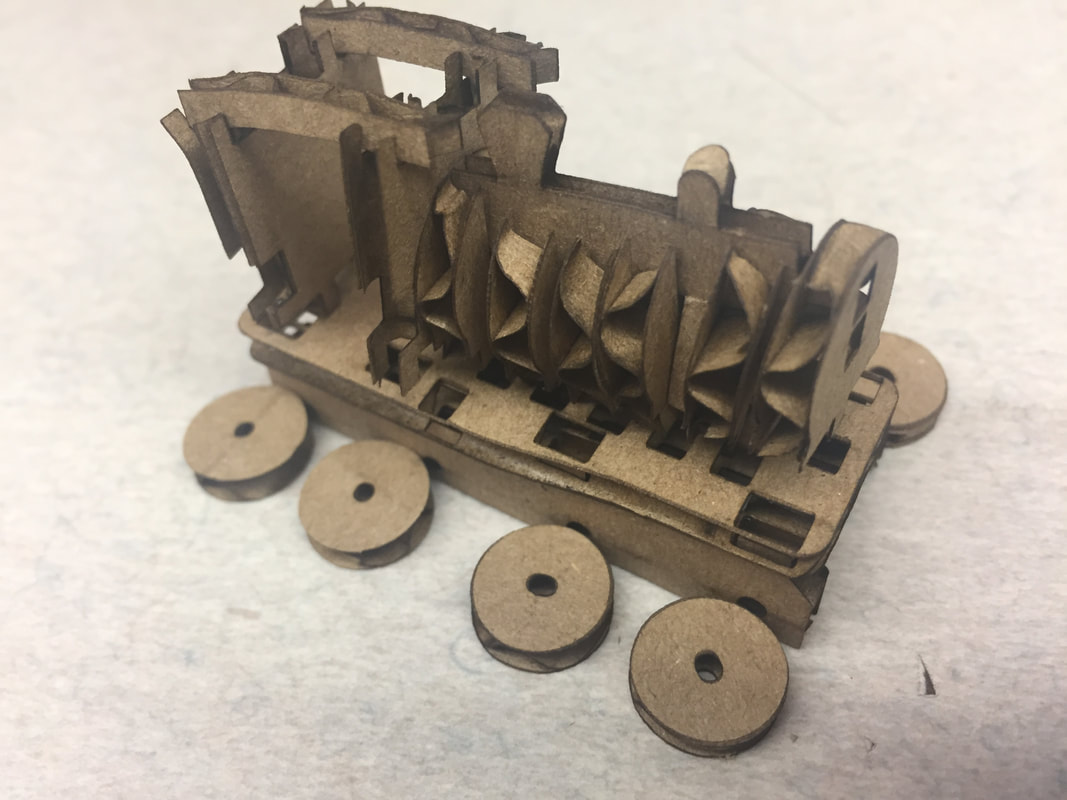
Here is my best attempt to put the train together. Despite pieces falling out and the fragile pieces collapsing and folding under construction, I feel like I made a semi-presentable product.
|
Summary
Throughout this individual laser project, I gained a lot of knowledge. First and foremost, I learned that it would be safe to double-check you Illustrator file before you start using the laser. This happened when I forgot to change the border of the notebook to red so they would be cut out, not black to be engraved. As a result, I had to use a paper cutter to remove the notebook from the mat board. In addition, I realized that some letter on my engraved water bottle weren't as centered as I would have liked. After some thought, I realized that I could have tried to use the center function on that specific box, so that it could have turned out better. Next time, I will try to improve my project in that way. Finally, in the Thingiverse project, I learned that when you are working with a project in which pieces slot together, you need to constantly remain conscientious of the scale of your project versus the thickness of your material. If the cardboard you are using is 0.108 inches thick, then the slots of the parts have to be 0.108 inches wide to account for the thickness. If you scaled the parts, the holes and gaps will scale with it, so you will need to be careful with the scaling of your part in regards to the thickness of you material. I am certain that the knowledge I learned from this project rotation will benefit me in the future, as it will help my laser projects be more successful.
