Sketches and Concepts
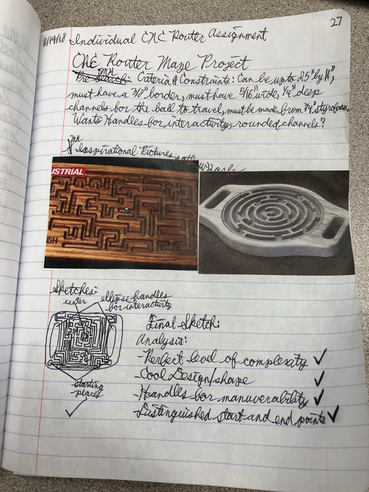
This is the research that I conducted in order to design the best maze. My research includes the criteria, pictures for inspiration, as well as a final sketch and analysis.
From Concept to Inventor File
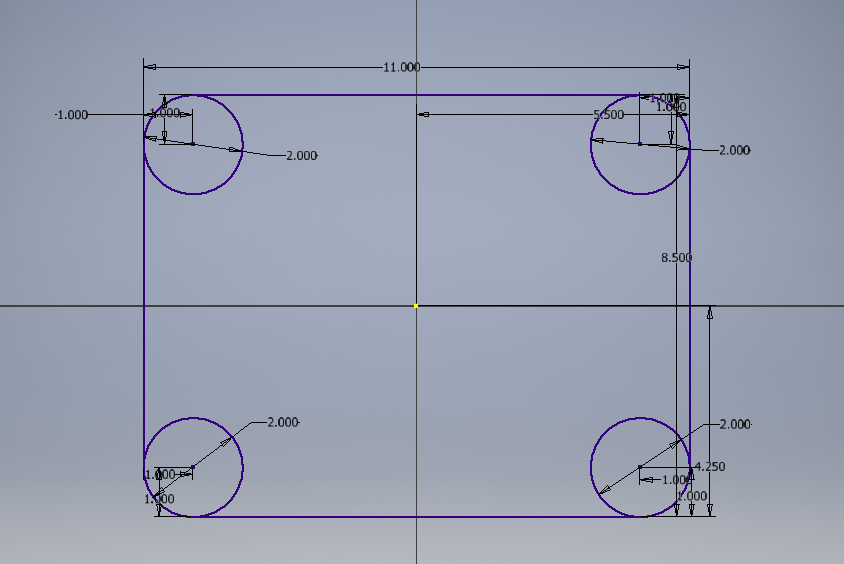
I started by drawing a rectangle 8.5 inches by 11 inches. Then, by sketching a circle with a diameter of 2 inches in each corner and trimming the corners, I was able to round the corners of the maze.
|
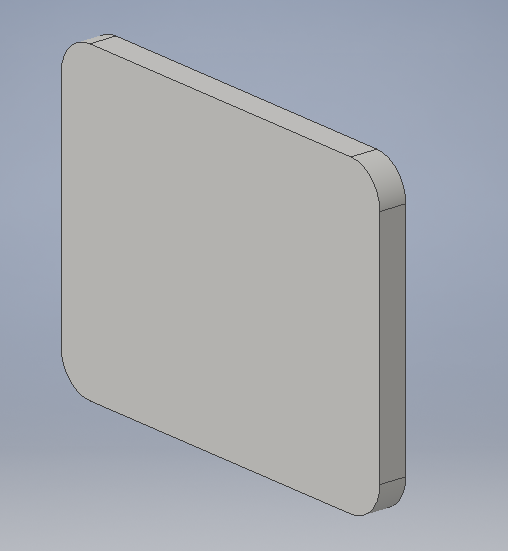
To make it 3-D, I extruded it to a height of 0.75 inches.
|
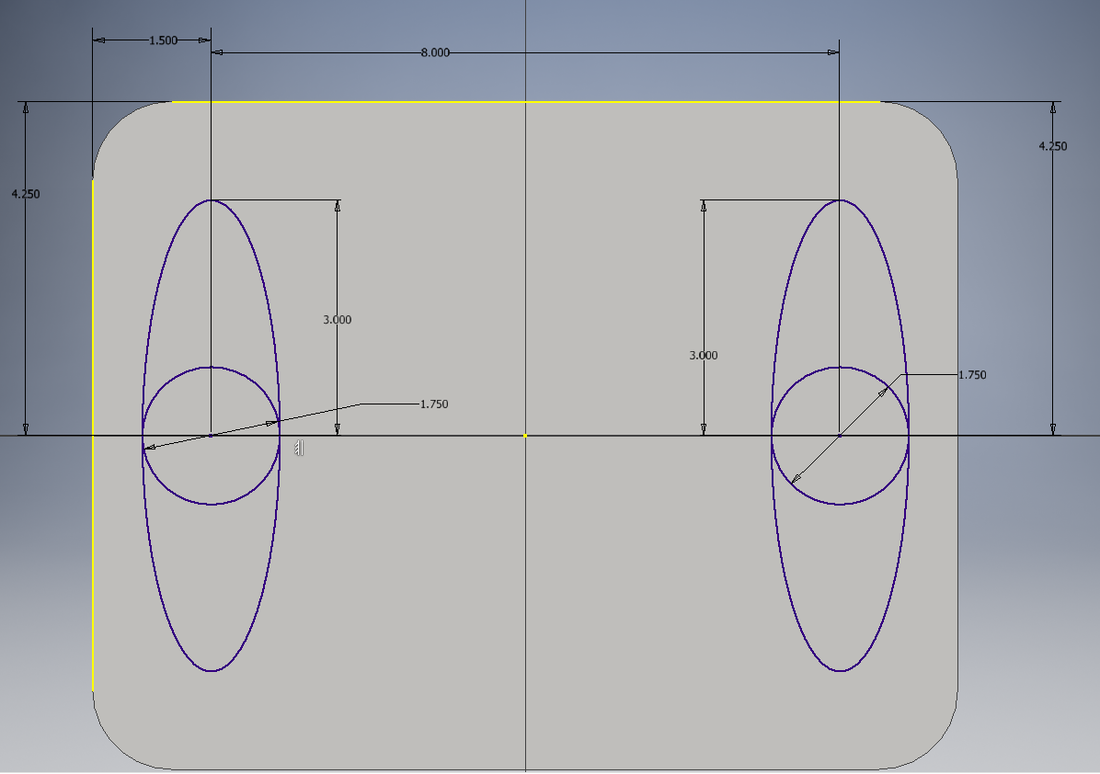
For increased interactivity, I drew eclipse-shaped handles by using the tangent function on a circle with a diameter of 1.75 inches.
|
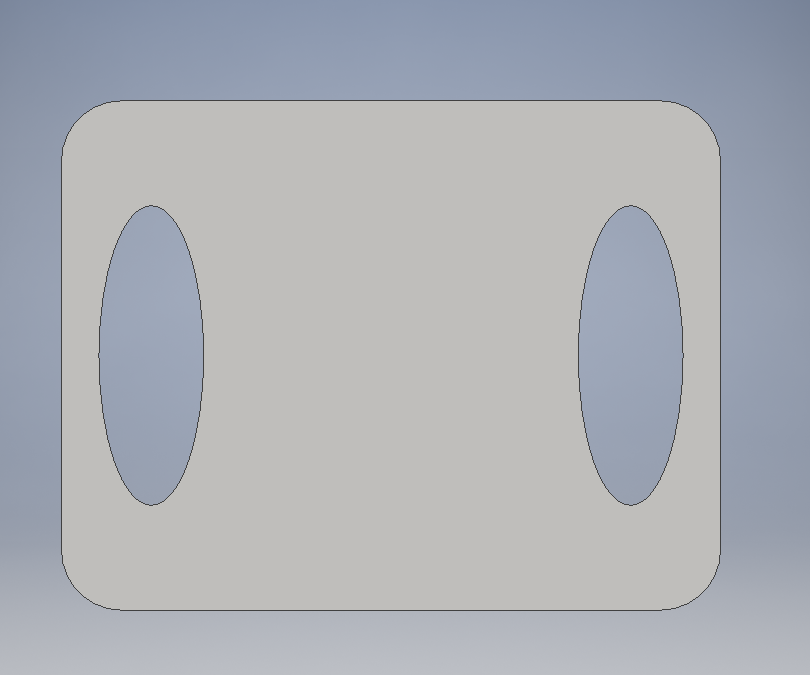
Next, I cut the handles through the thickness of the maze.
|
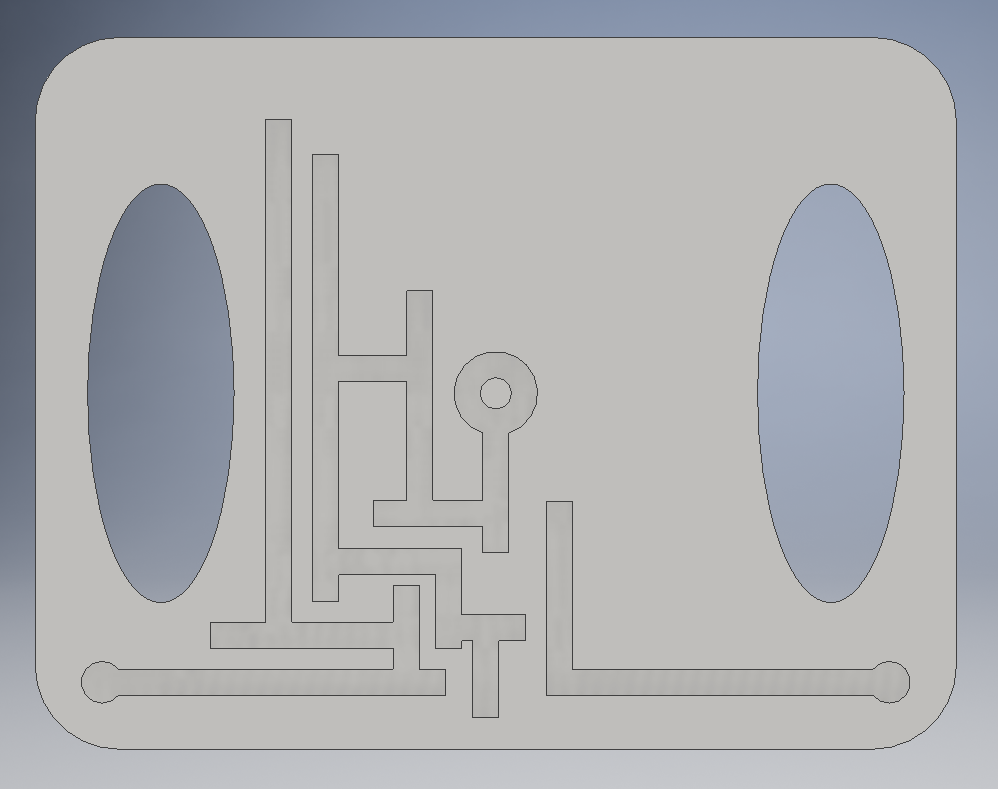
Then, I started dimensioning and cutting the channels throughout the surface of the maze, keeping true to the required thickness of the dividing walls. Here is an in-progress picture of the maze.
|
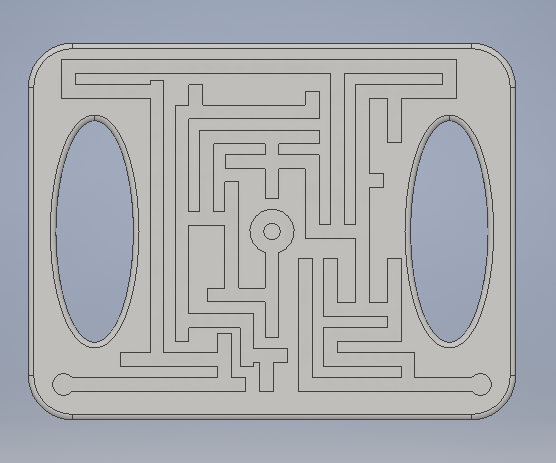
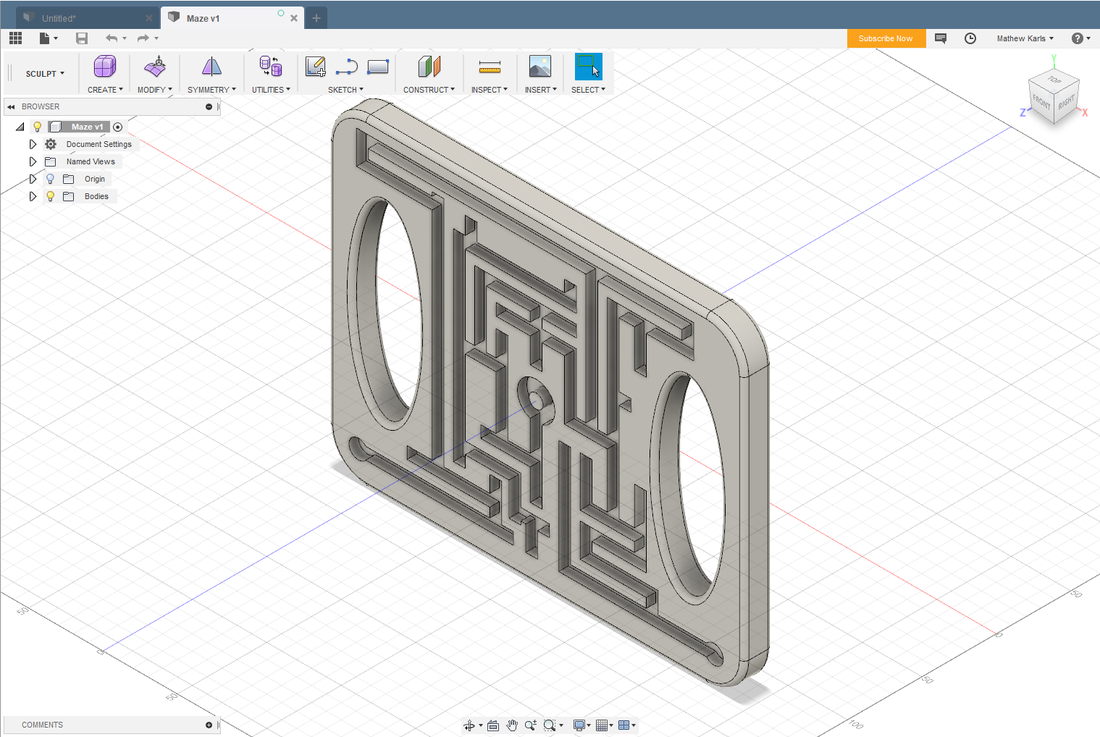
Here is the finished maze, with the two starting spots and a defined finish spot. After I finished the maze, I filleted the outside edge of the maze, as well the inner edges of the hand-holes for increased comfort. These would be taken off later when Mrs. Proctor noted that the CNC Router would not perform filleted edges.
|
Using Fusion 360
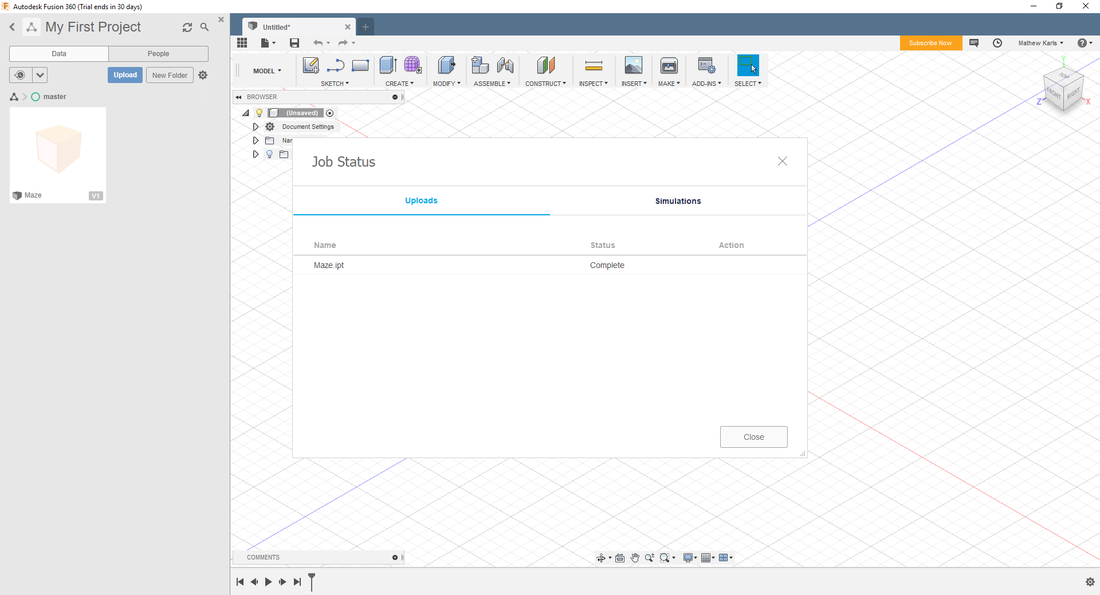
To start, I uploaded the maze part file from Inventor to Fusion 360.
|
I then created the setup for the part for the CNC Router to follow.
|
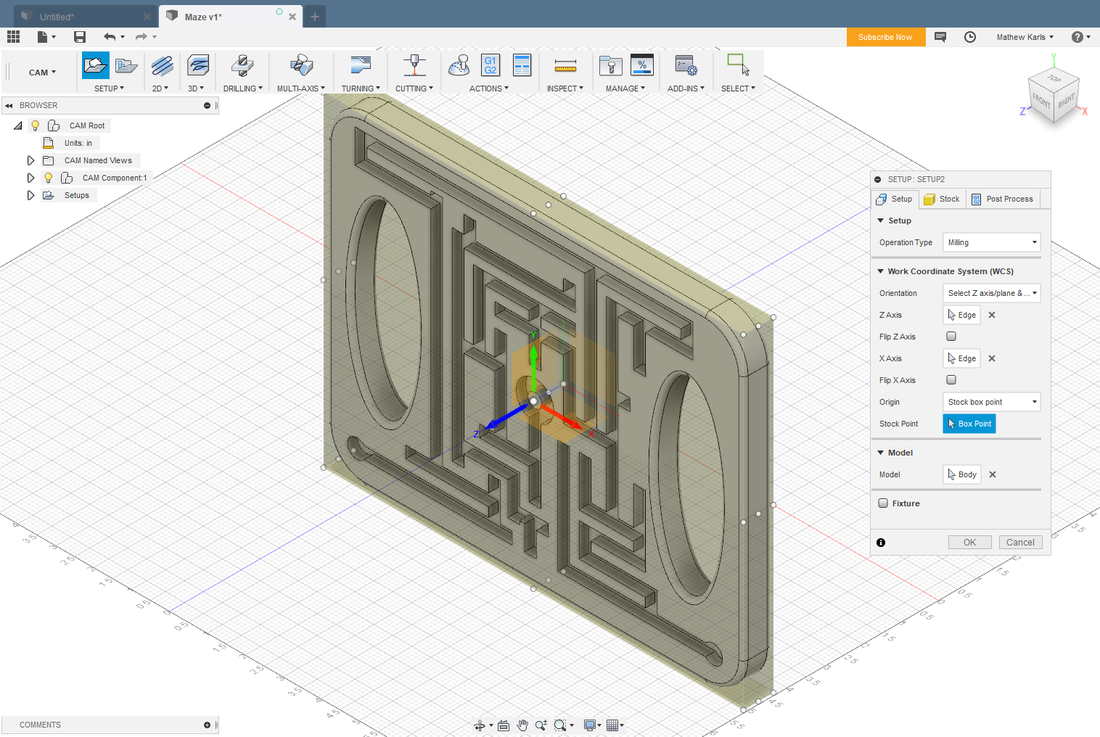
Here is a picture of the maze oriented correctly according to the hand-out.
|
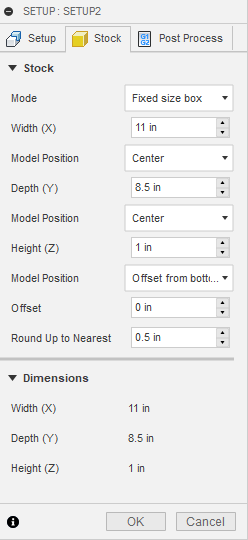
Next, I dimensioned, as well as positioned the stock to suit my need.
|
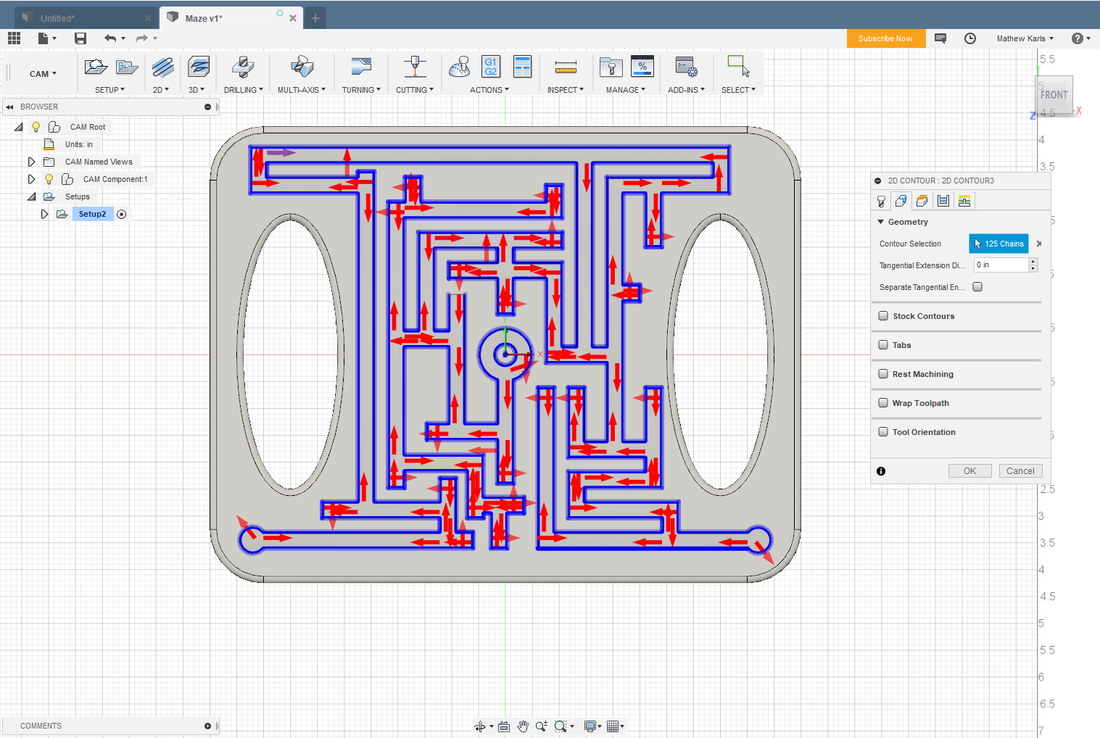
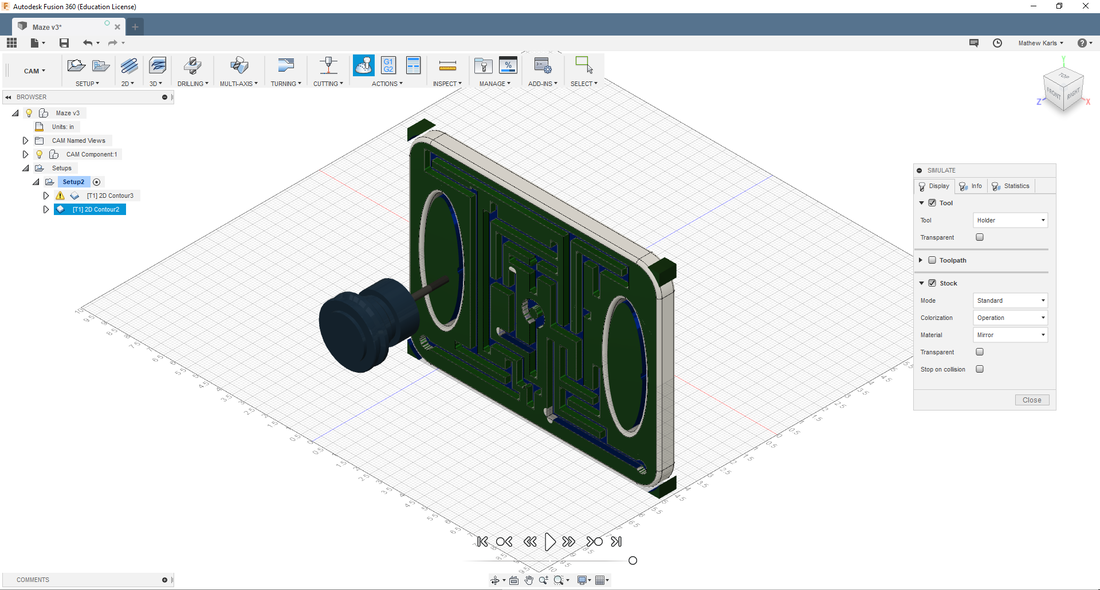
Then, I had to use the 2-D Contour process, and I had to select all 125 bottom edges of the maze walls.
|
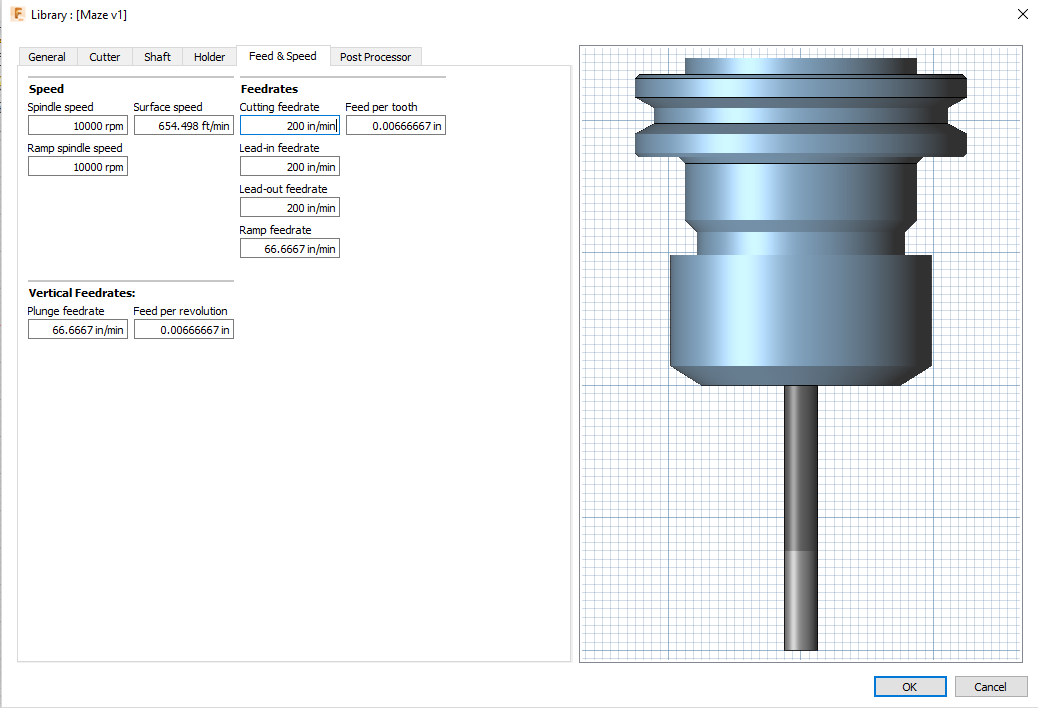
In order to specify for the program which tool I would use, I went under the Tool: Select menu and specified the flat edge mill bit with a diameter of 0.25 inches, a body length of 2 inches, a spindle speed of 10000 RPM, and a cutting feed rate of 200 inches per minute.
|

Then, I had to re-do the curved edges of the handles because the router wouldn't cut it out correctly.
|
Here is the video clip of the router correctly cutting the maze out.
|
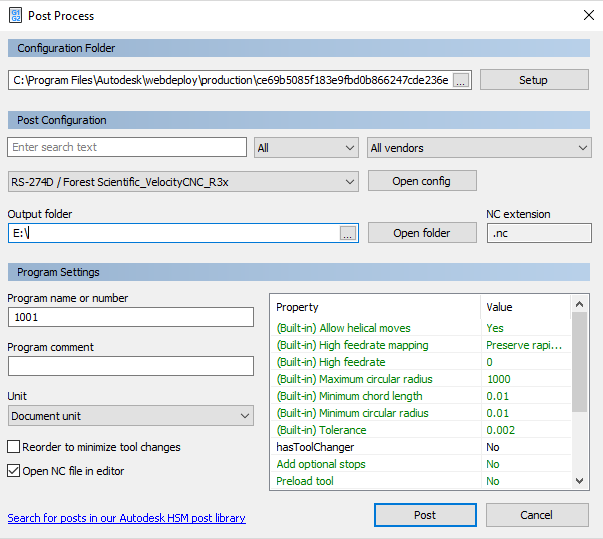
Finally, I converted the instruction to G-Code so the router could execute my design.
|
Using the CNC Router Program
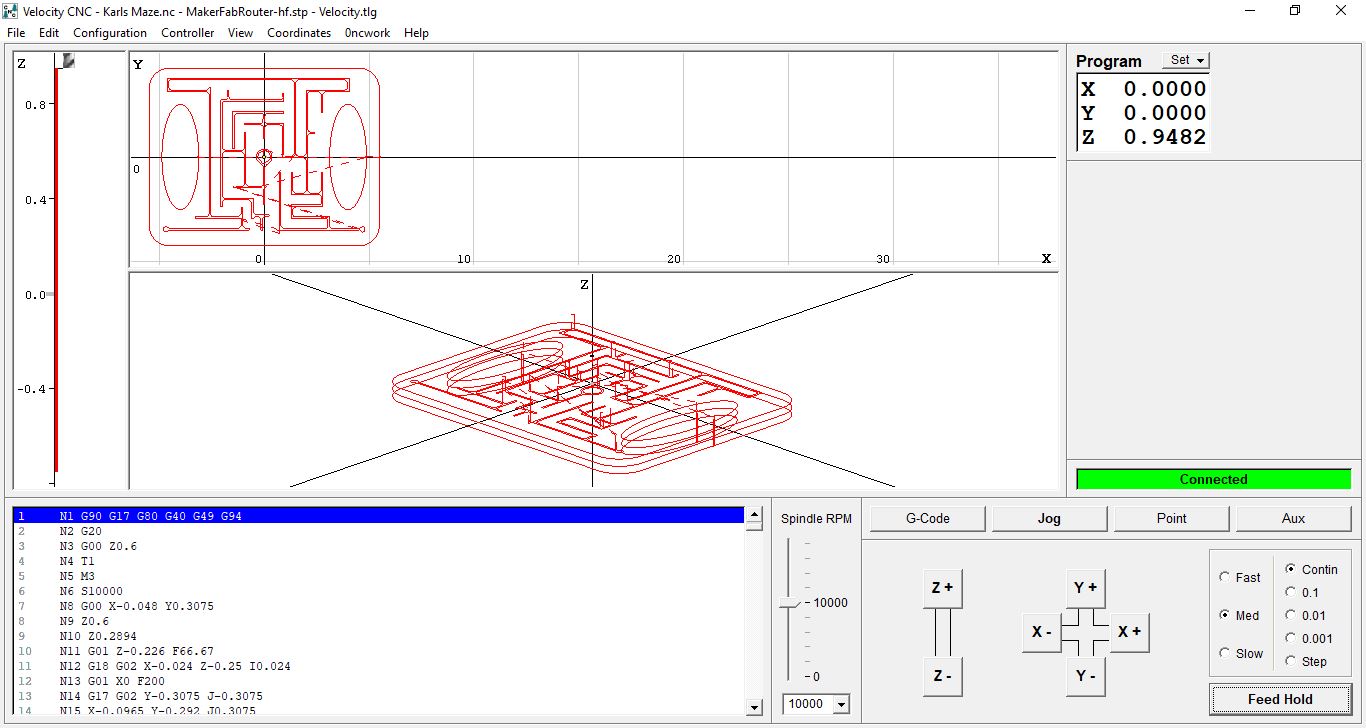
First, I opened the G-Code for the part on the CNC Router's computer. Next, I opened the Jog tab.
|
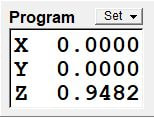
After I centered the drill bit to where I wanted it, I set the X and Y coordinates to 0.
|
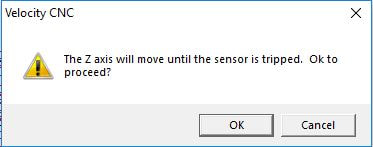
Then, I used the sensor to set the Z axis correctly.
|
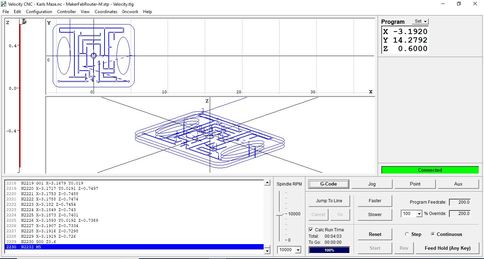
Finally, after I double-checked that everything was set up correctly, I opened the G-Code tab and clicked start.
Using the CNC Router
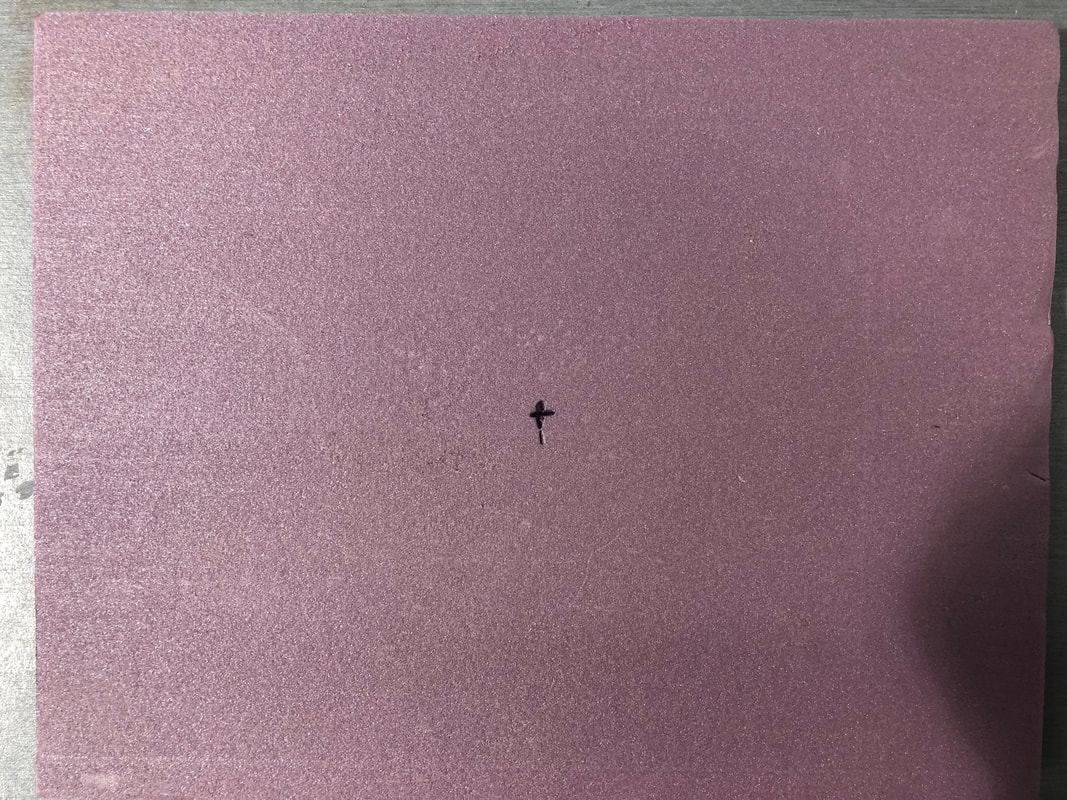
To start, I used a tape measure to precisely draw the center point on my maze foam.
|
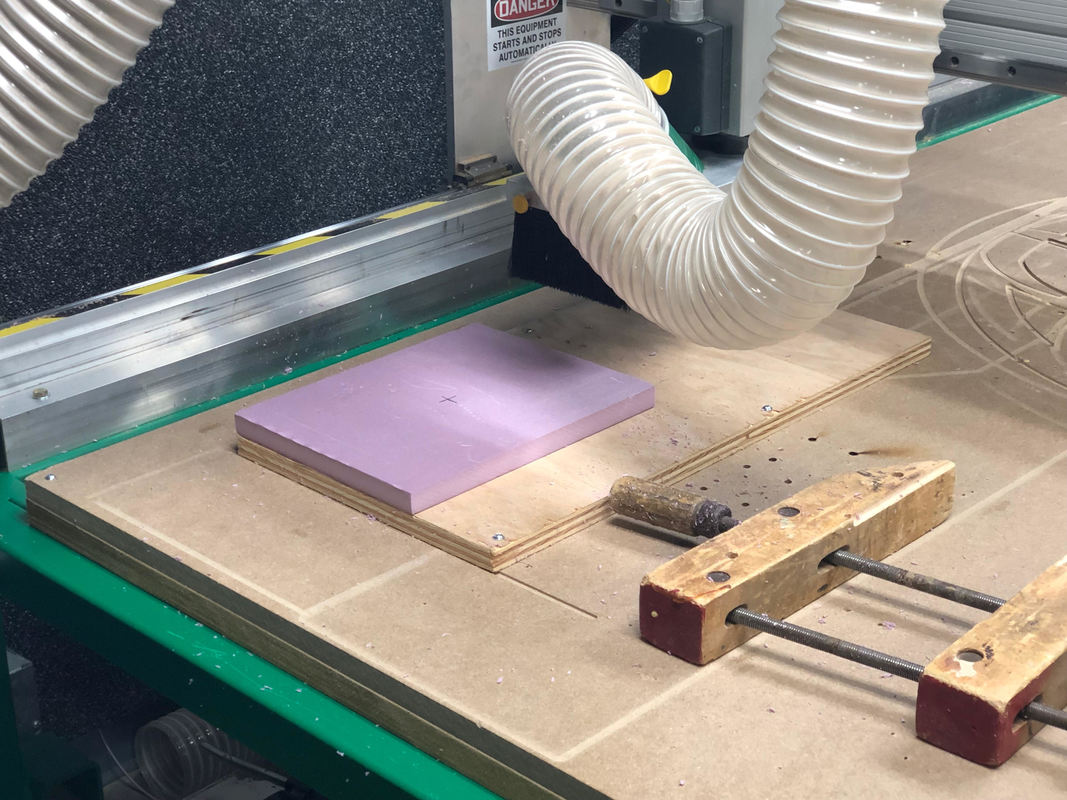
Then, I used tape to apply the maze in the correct spot on the router.
|
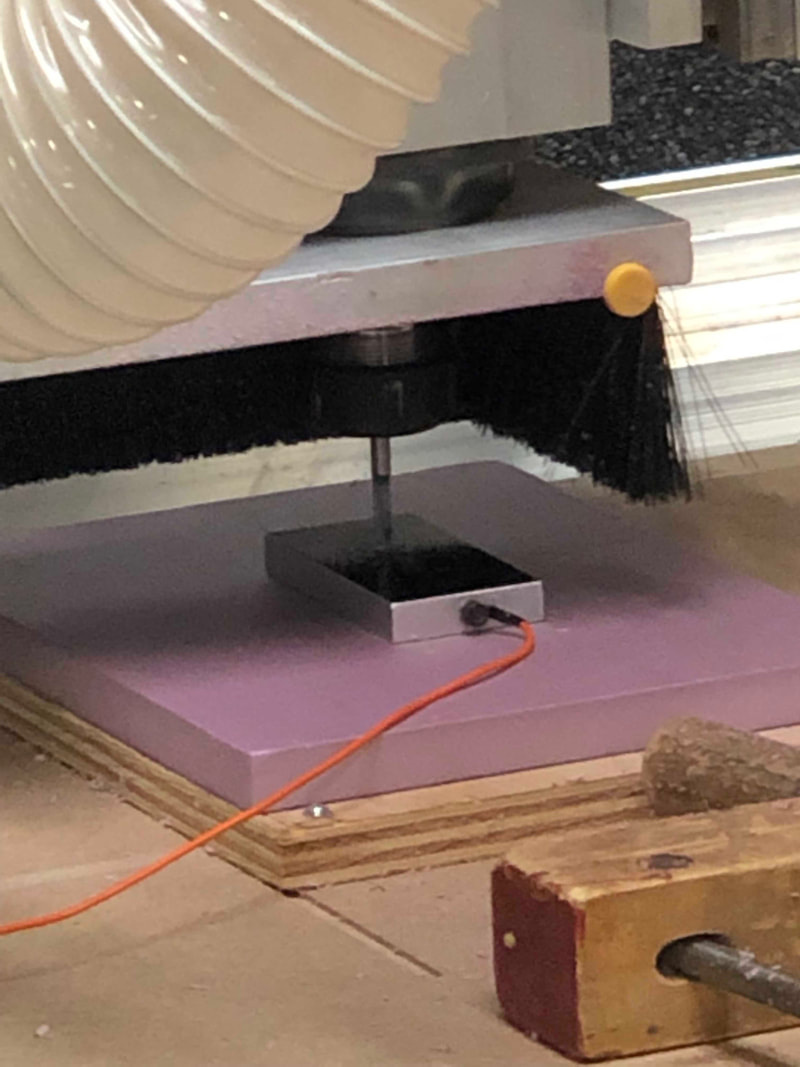
After I centered the x and y axis, I used the trigger sensor to properly align the z axis.
|
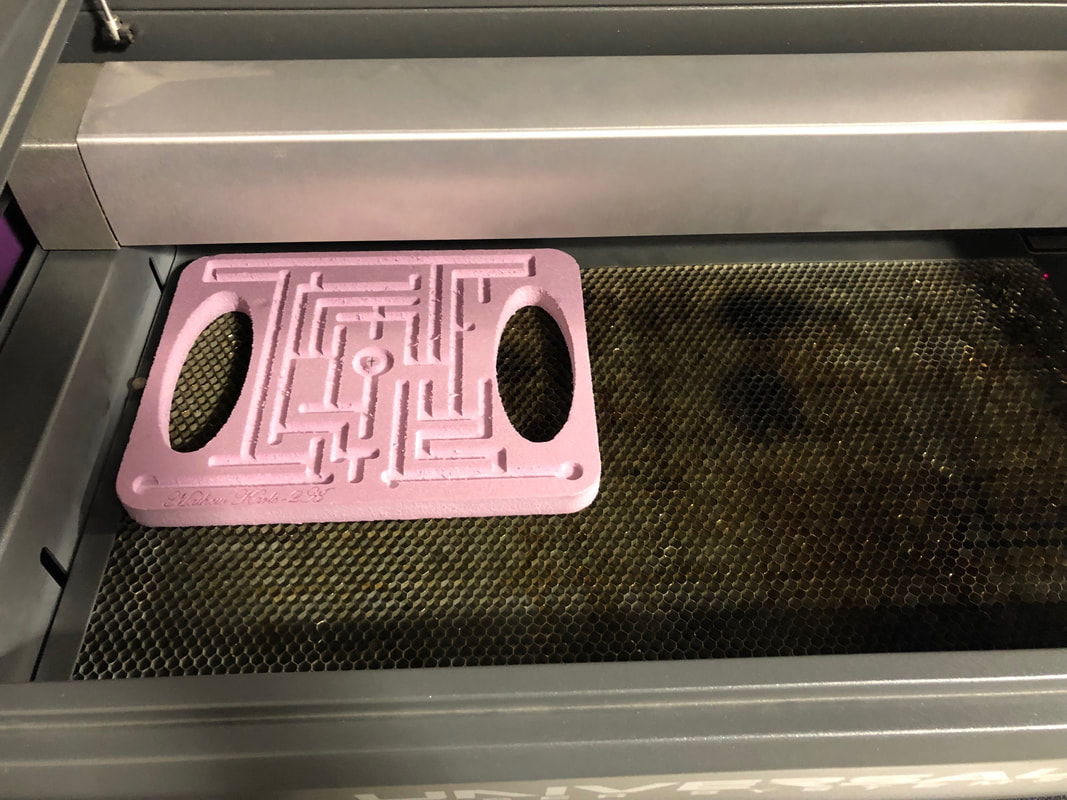
Final Router Product
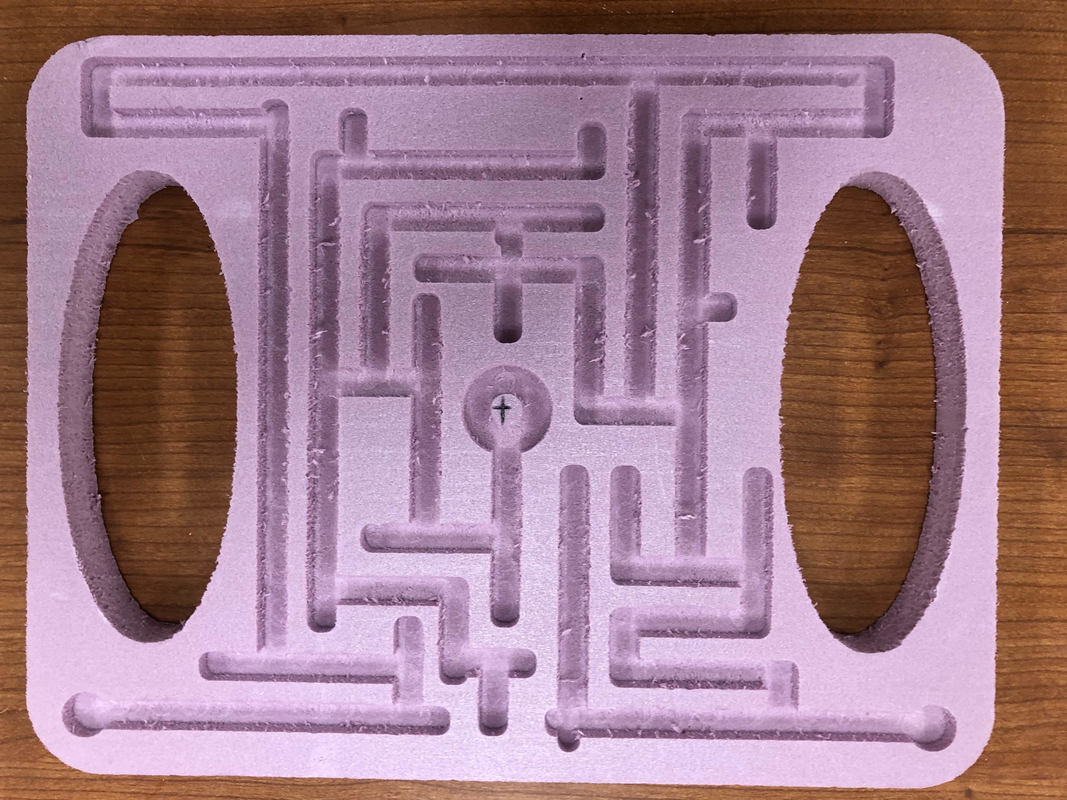
Here is the final router product: a maze that is perfectly cut out to my liking.
Engraving My Name

To start, I typed my name in Illustrator, and created outlines of it in the format needed for the laser.
|
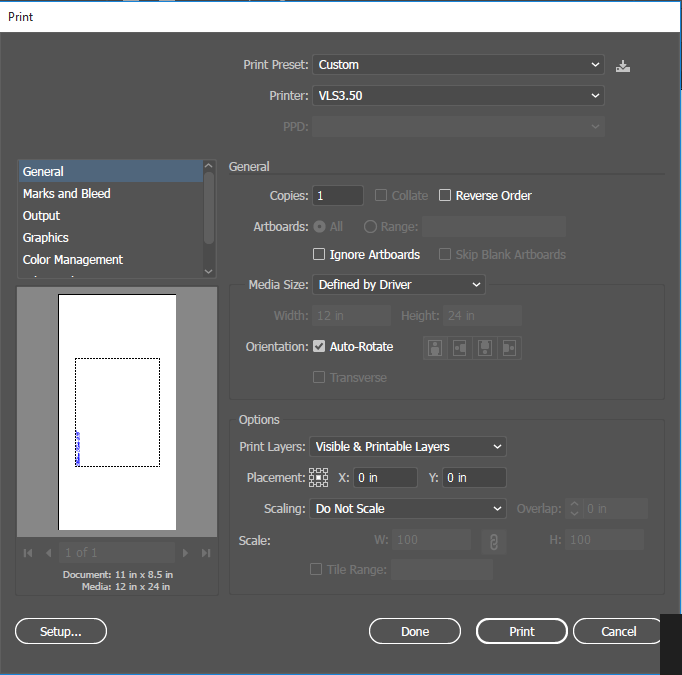
On the laser computer, I opened the file and opened the print menu.
|
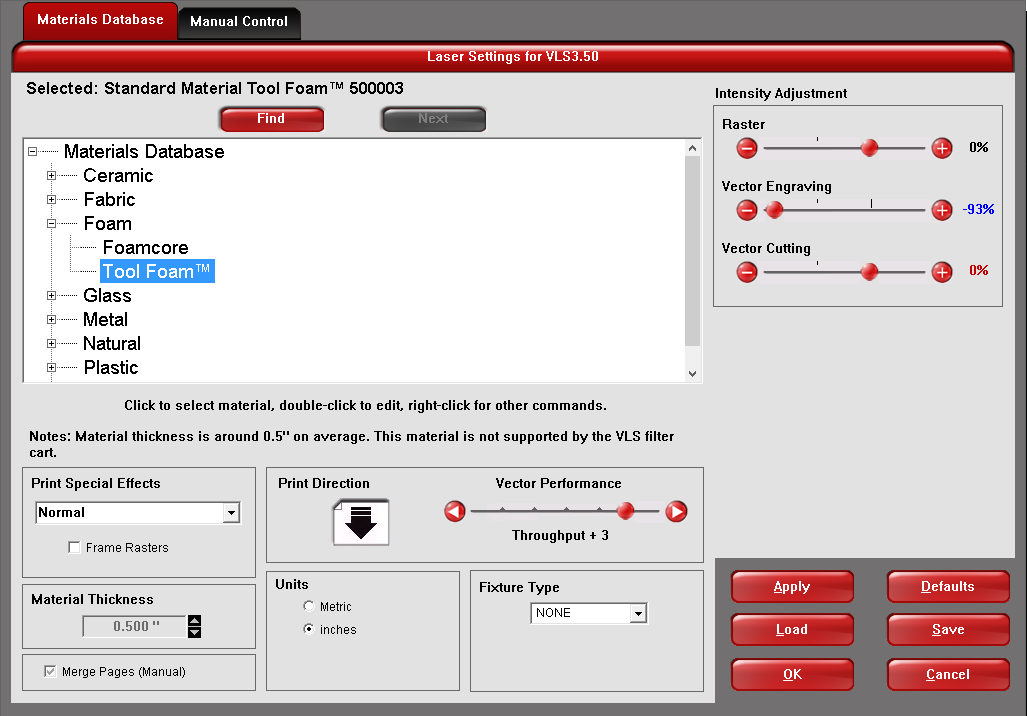
Then, I selected Foam Core under the materials tab so my project wasn't melted.
|
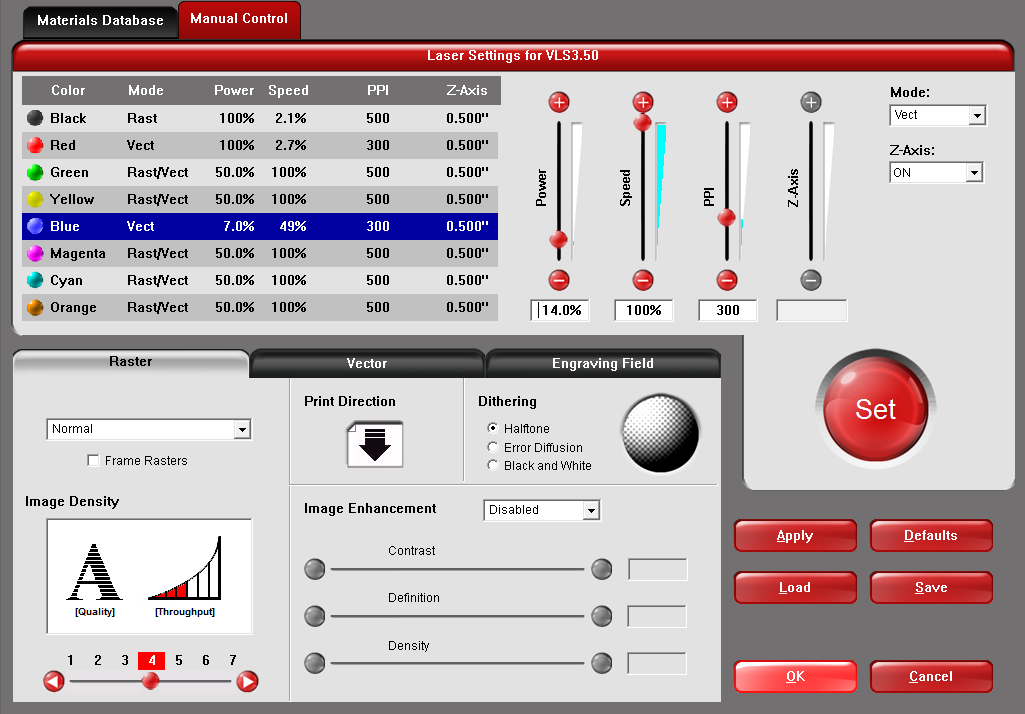
Under the manual control tab, I selected the blue vector option, changed power to 14% and speed to 100%
|
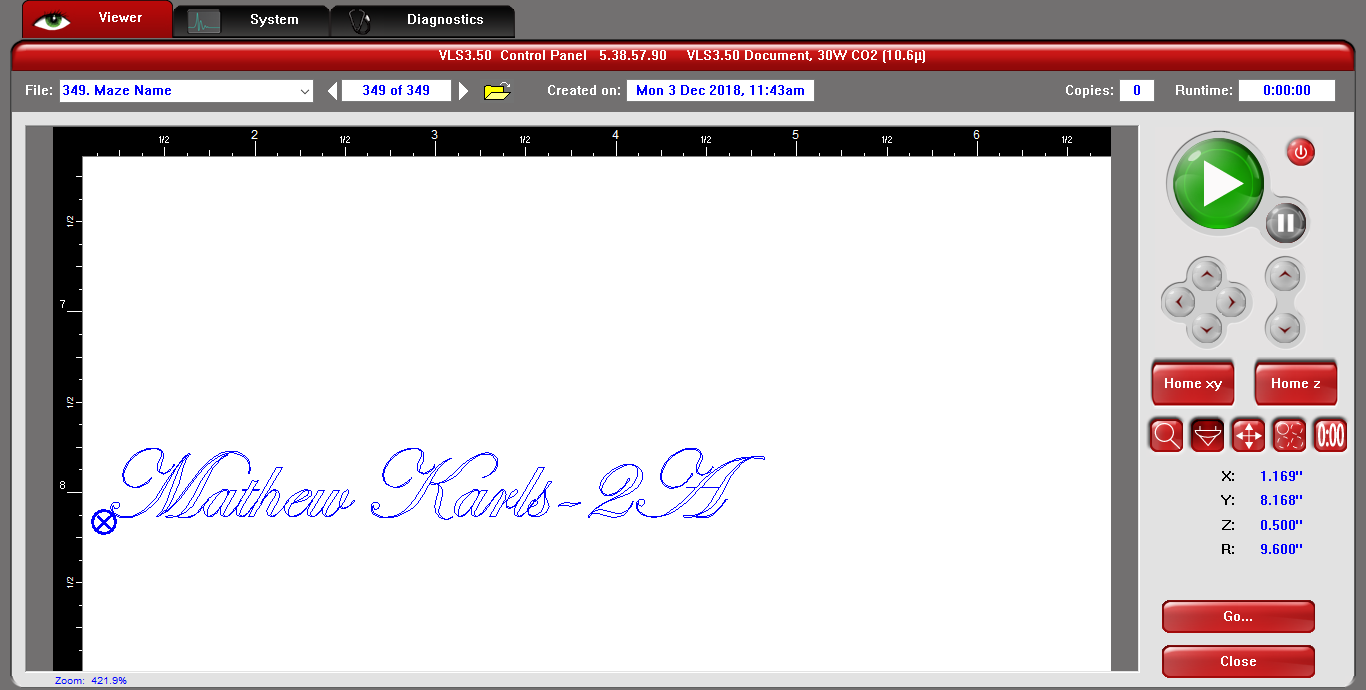
Finally, I aligned the design perfectly, made sure the design didn't go off the edges, and clicked the play button.
|
Using the Laser
First, I aligned the maze with the edges of the laser bed to ensure that the laser engraving would be square.
|
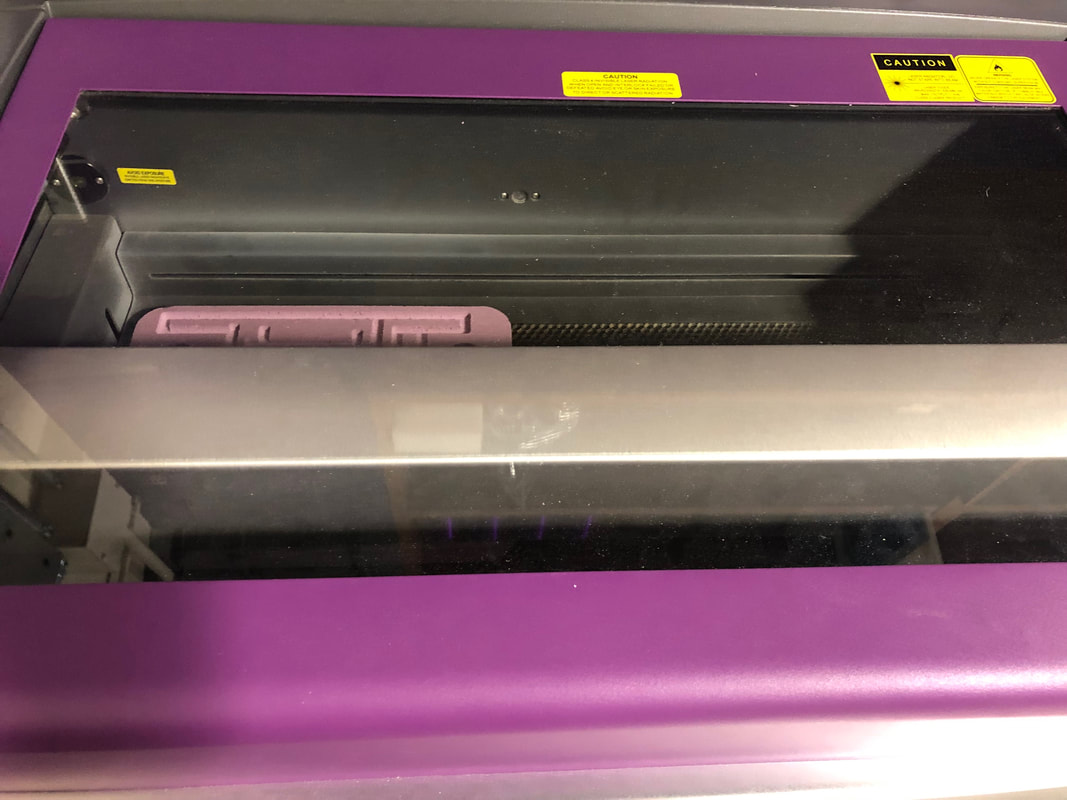
Then, I tested the laser to make sure it didn't go off the edge of my maze. Finally, I started the laser.
|
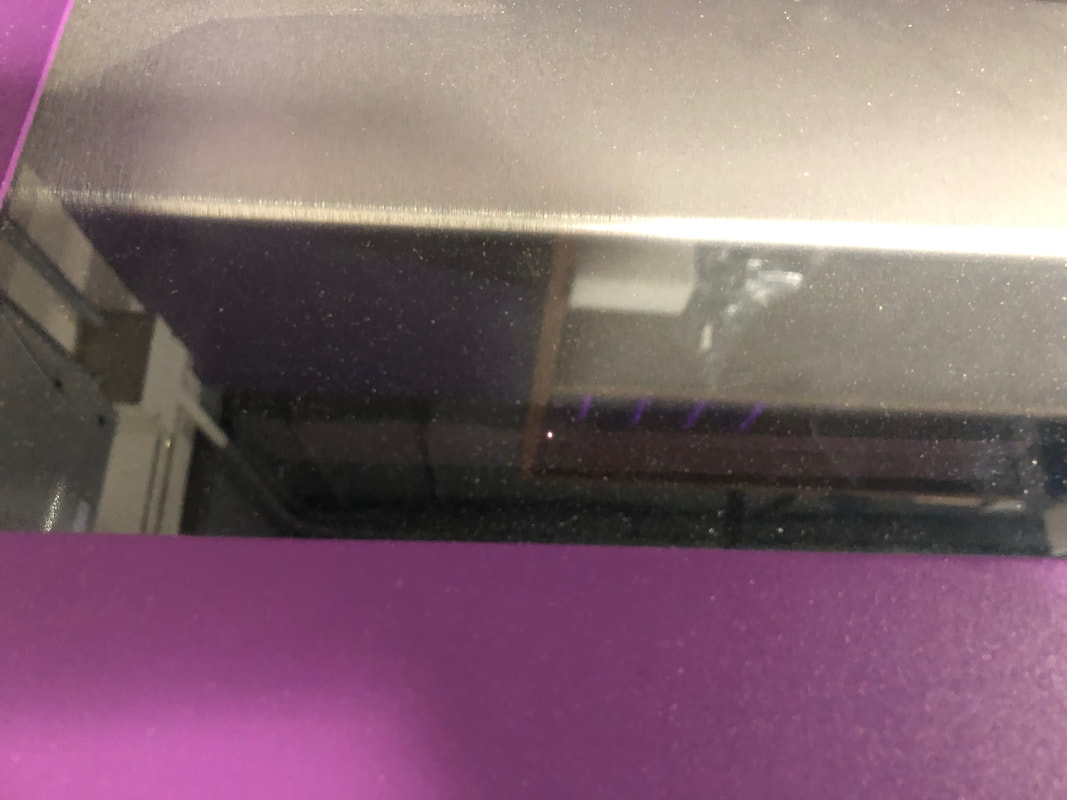
Here is an in-progress picture of the laser engraving my maze.
|
Final Product
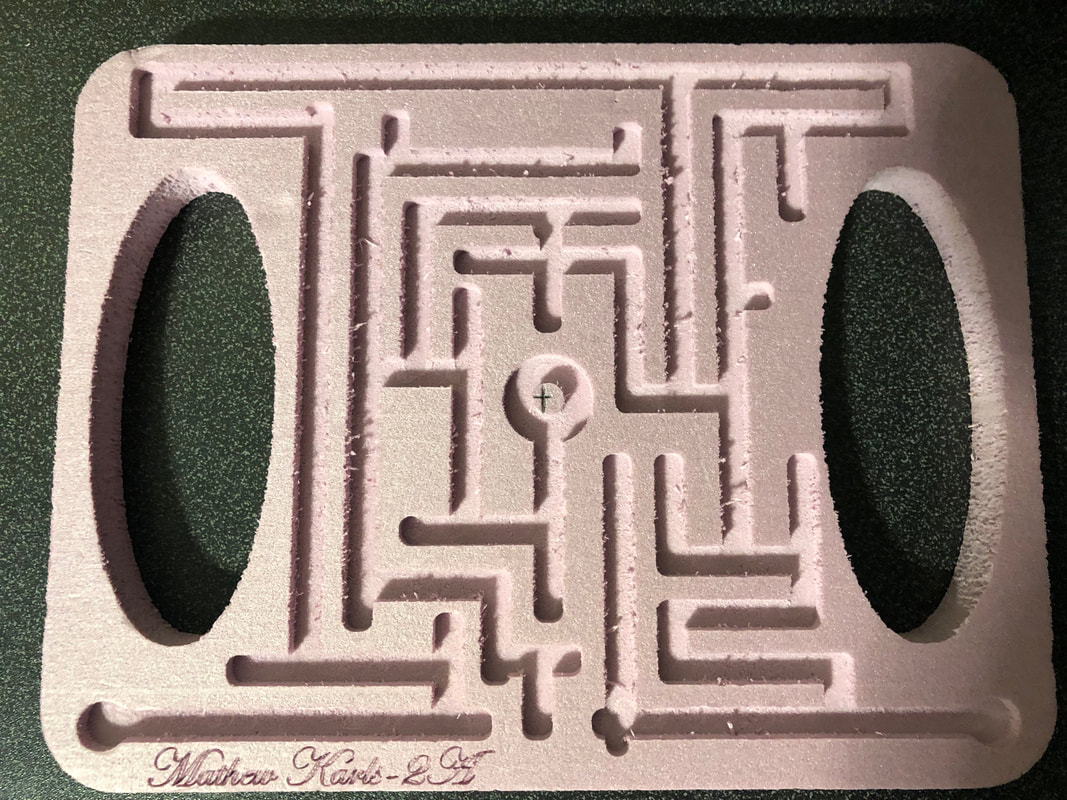
|
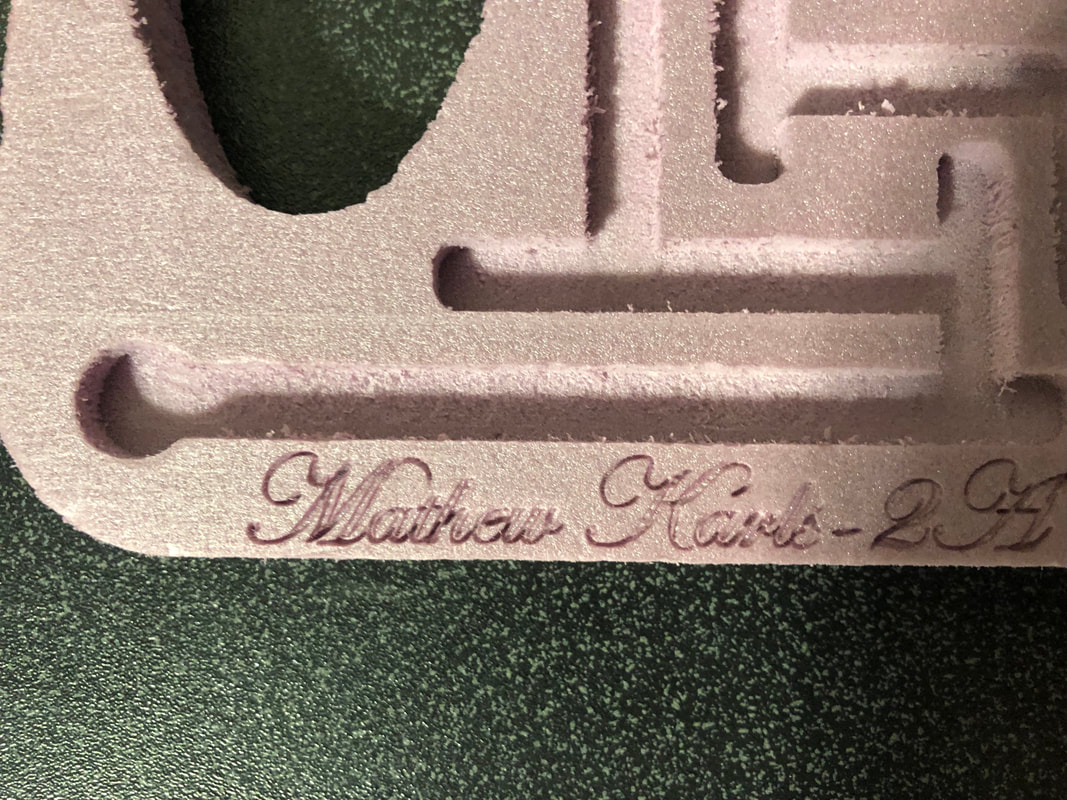
|
Here is my final CNC Router project. The photo on the left is an overview picture, and the picture on the right is a close up of the precise laser engraving.
Summary
In this project, I gained a lot of knowledge. First and foremost, I learned how to plan ahead and stay consciousness throughout the project regarding the required spacing. I constantly had to keep the width of the channel, the thickness of the dividing wall, as well as the border thickness while I cut the channels through my maze. In addition, I learned that an eclipse with a minor axis of 1.75 inches and a major axis of 5 inches is excessively wide. This means that I could have had smaller handles that still fit someone's hands, but with more maze paths in the maze. In the future, I will keep these relative dimensions in mind, so that I can better use the material. I also realized that is a great idea to double-check Illustrator files before you laser engrave them. If I didn't do this, I would have melted my project completely through. Overall, I am very happy with the way my project turned out, and I know the knowledge I gained will be very beneficial with my final project.
