Learning About the Project
|
|
|
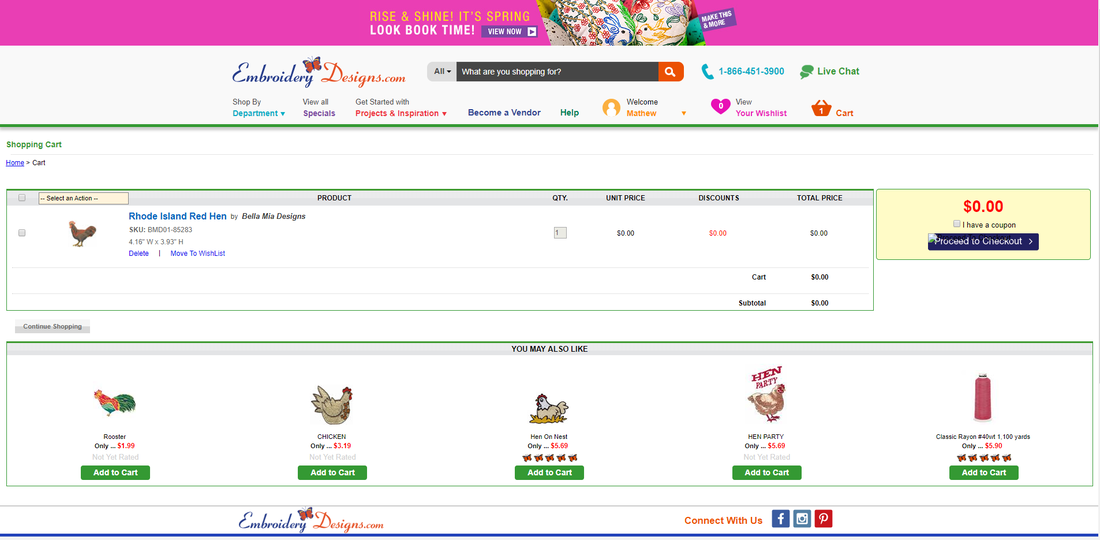
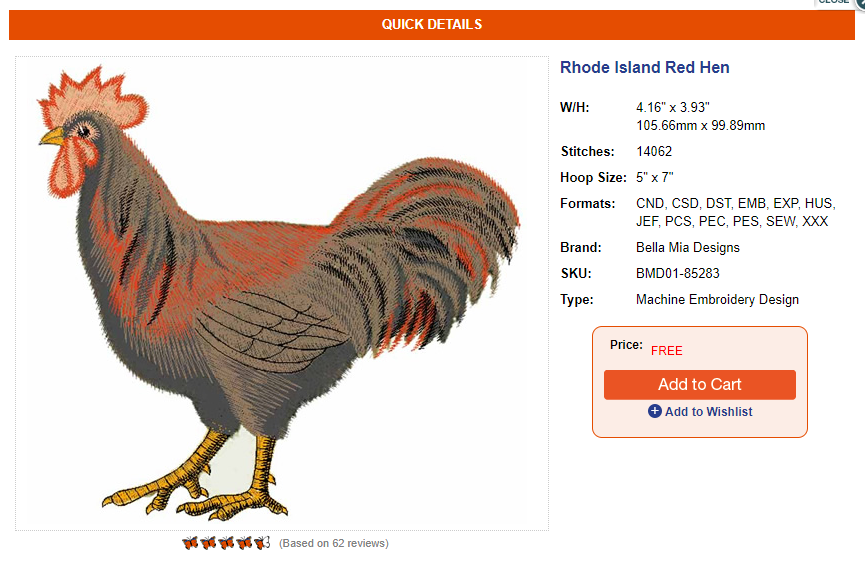
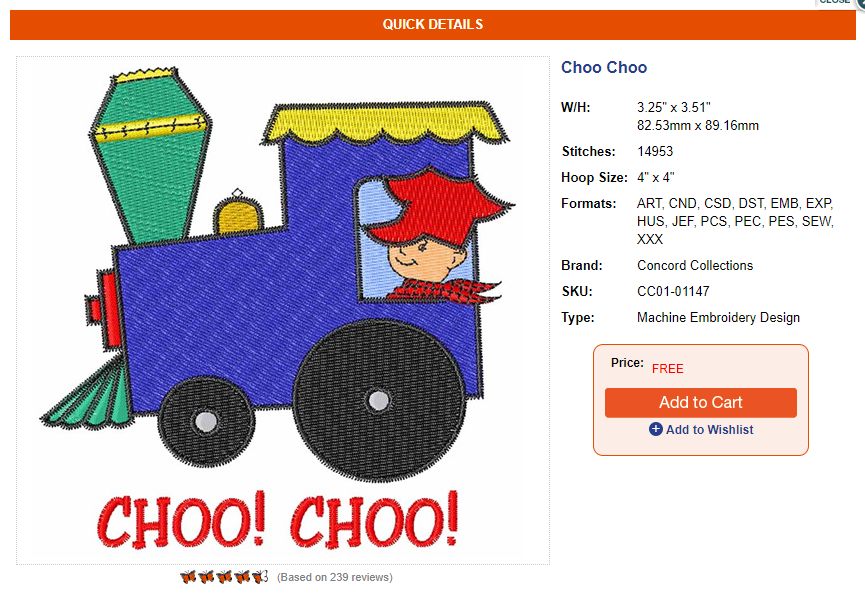
To start the embroidery project, I first browsed some sites for a free design that I liked. I finally chose two options on https://www.embroiderydesigns.com/freeembroiderydesigns.aspx: a Rhode Island hen design, as well as a simple train. I chose two so that I would have a back-up in case one didn't work, and so that I could meet the minimum color number requirement with either one.
Setting Up the File
|
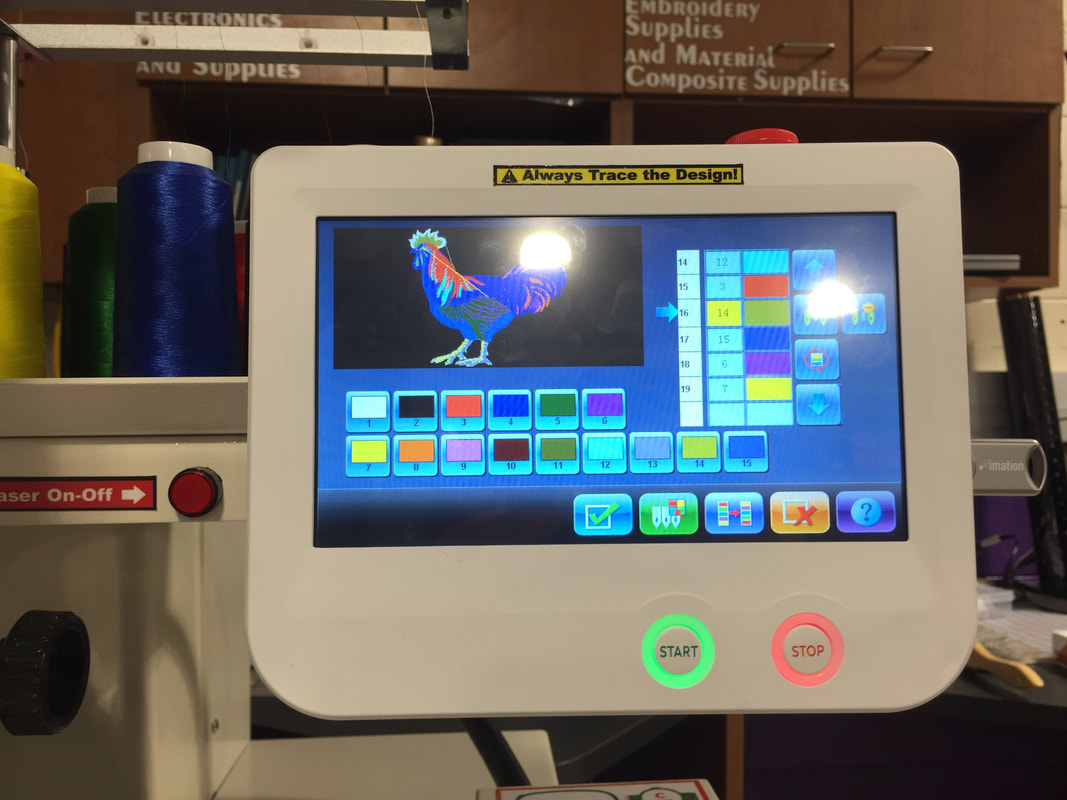
|
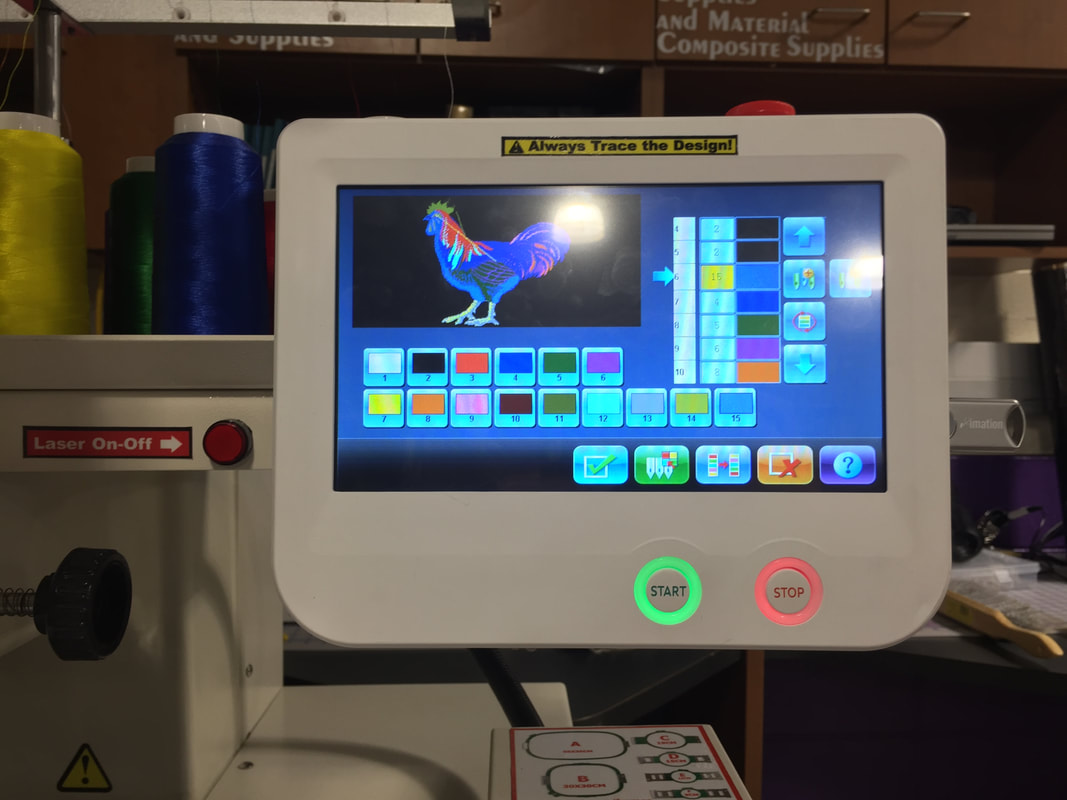
|
Once I selected my file, I transferred it to my flash-drive and to the embroidery machine. Once the file was loaded, I selected the colors I wanted for the design. The picture on the right is the final design's coloring patterns.
Preparing the Machine
|
|
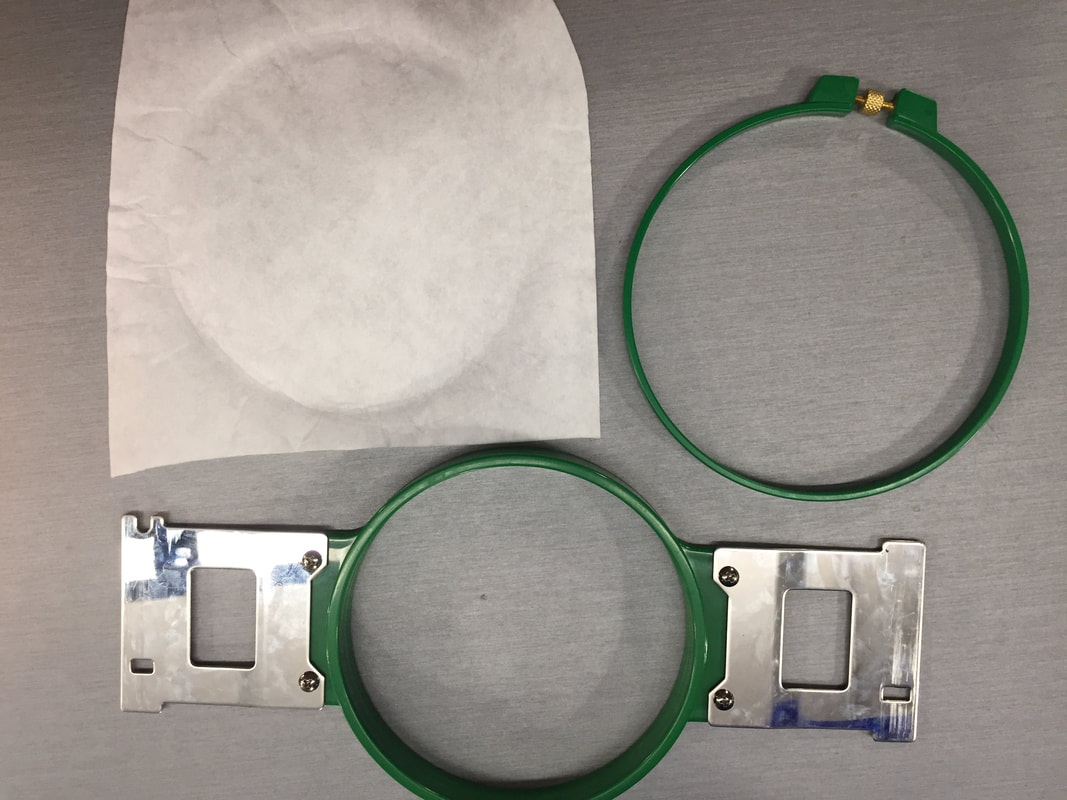
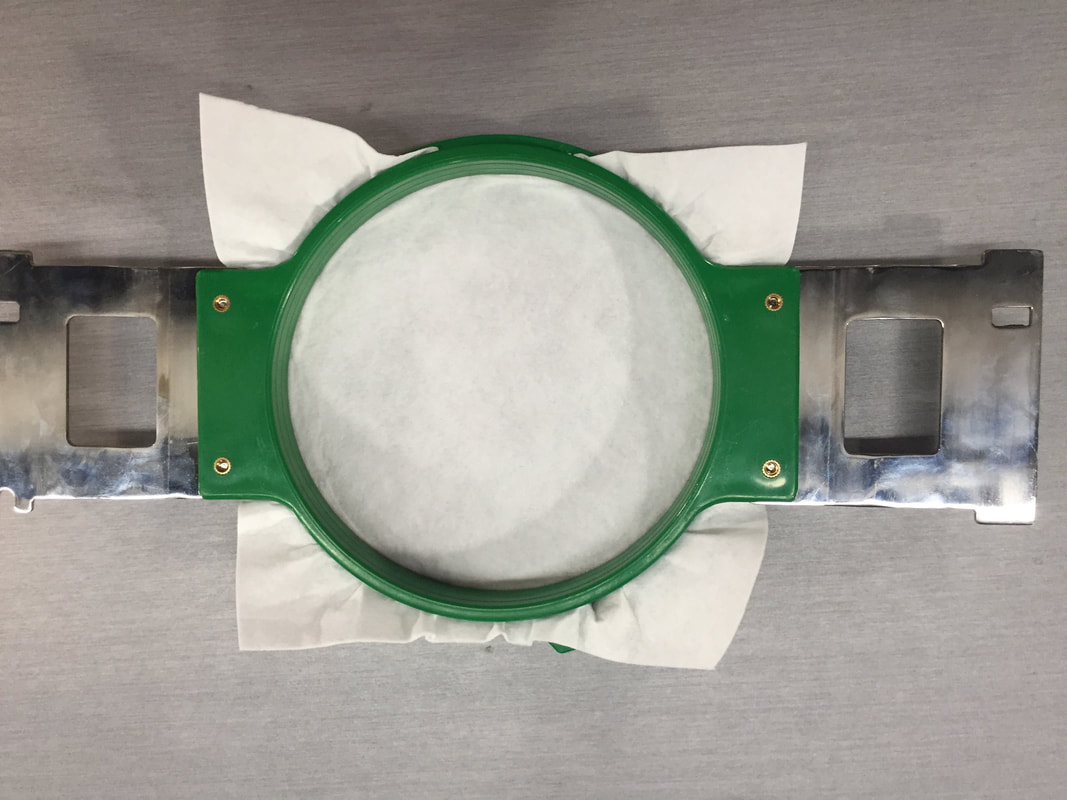
|
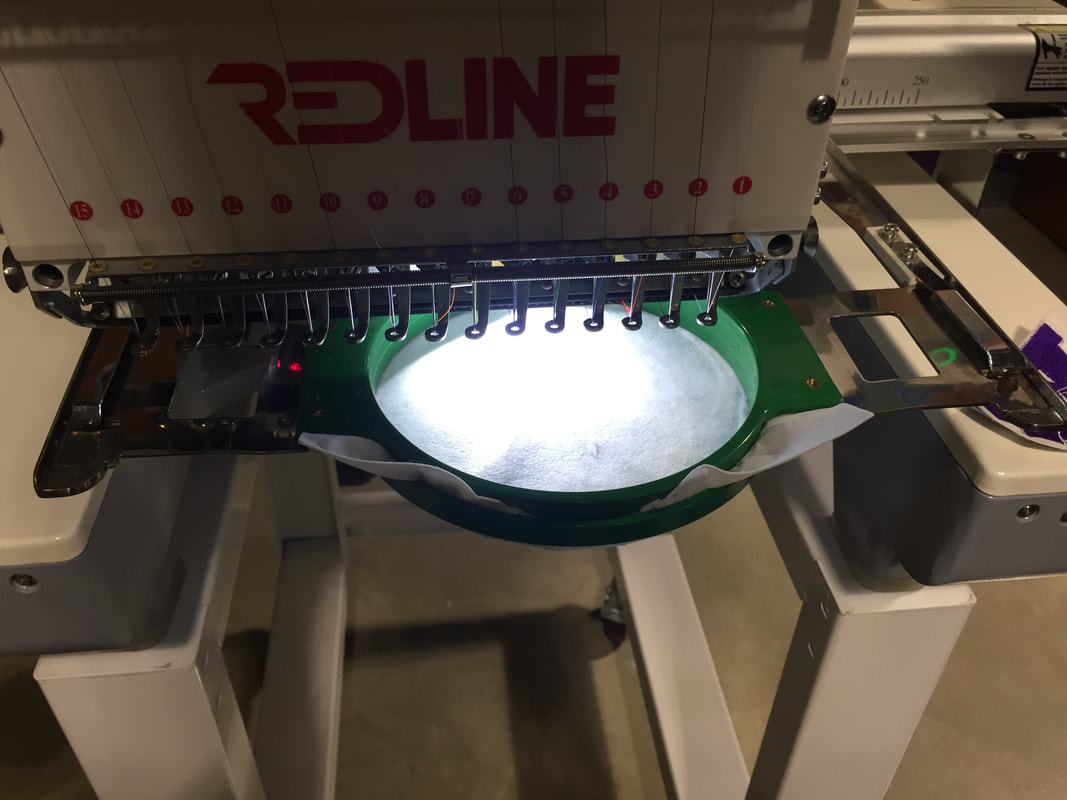
Once the file was ready, I started to prepare the hoop. What I did was cut a piece of backing material, centered it, and pressed it into the middle of the "D" size hoop between the two rings. Then, I inserted the hoop into the machine, and ran an outline check to make sure that the design didn't go outside the hoop and potentially damage the machine.
Embroidering the Chicken
|
|
|
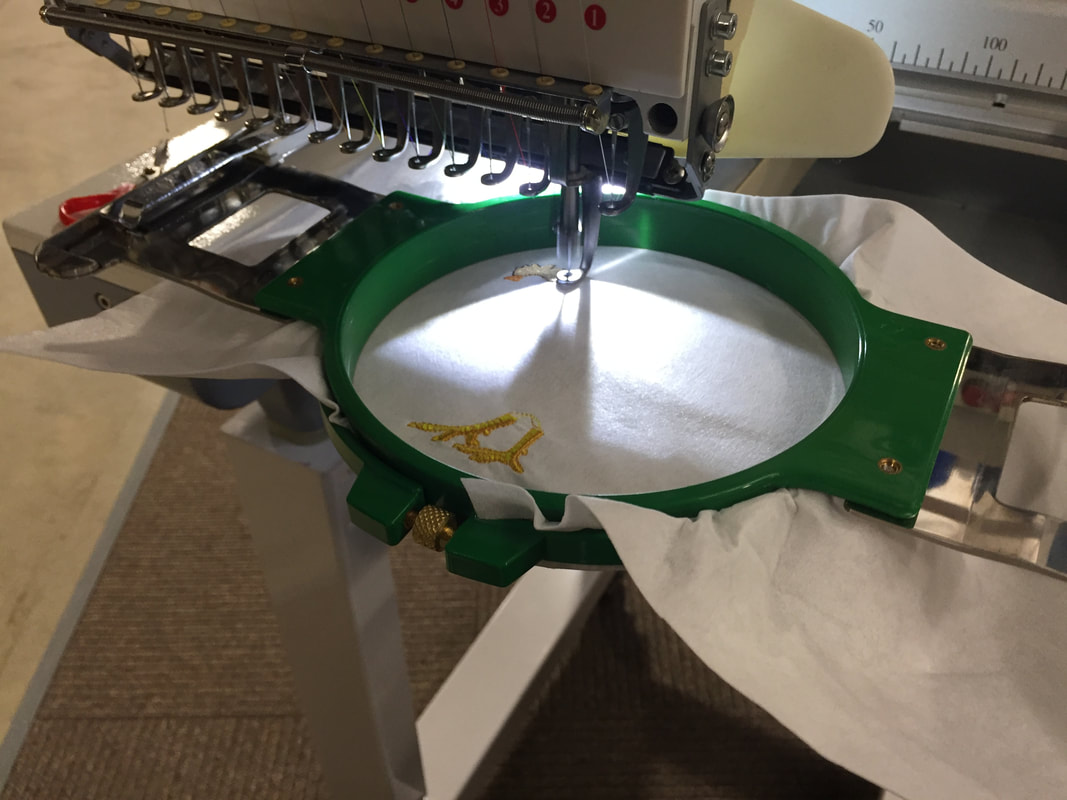
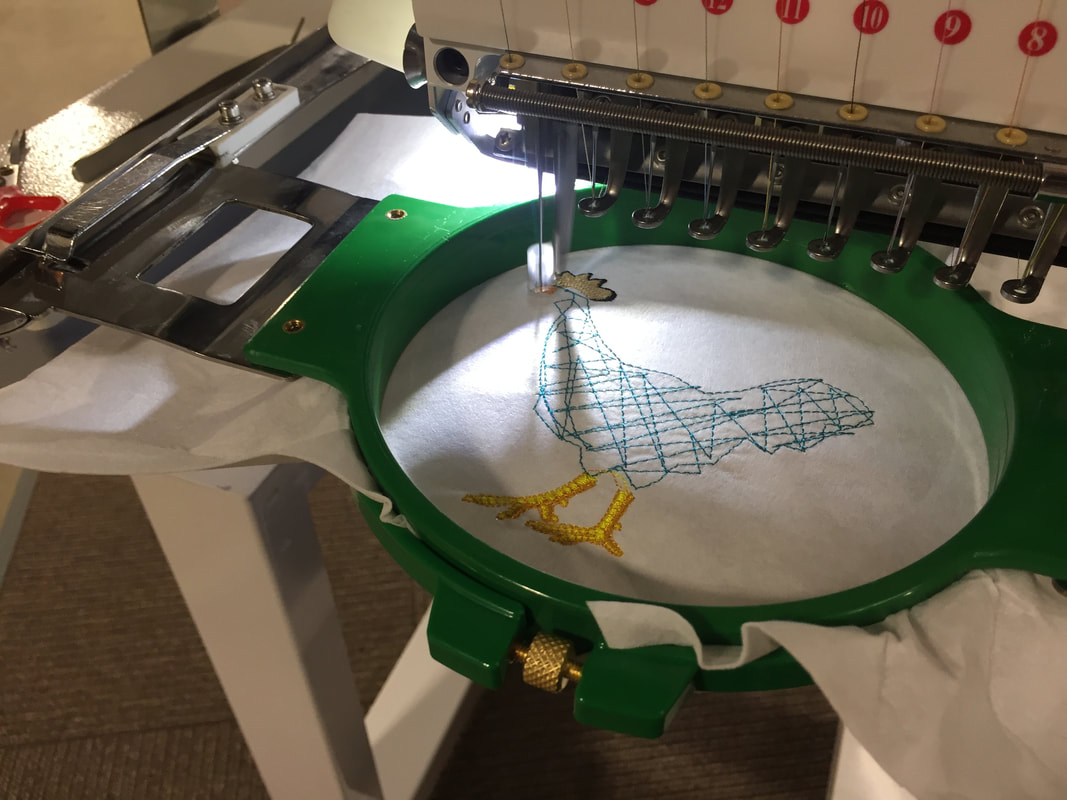
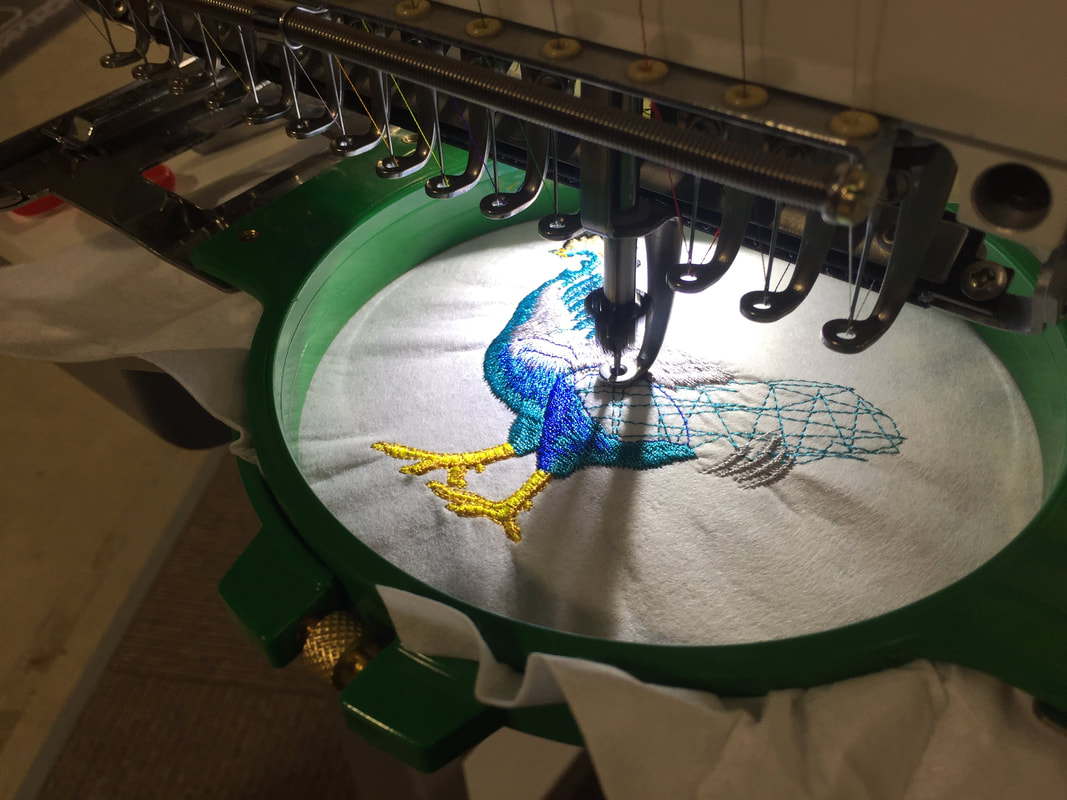
Next, I started embroidering the design onto the backing material. The machine started with the yellows of the feet, then moved on to the body outline of the chicken. Then, it started filling in the body outline with the colors that I selected.

|
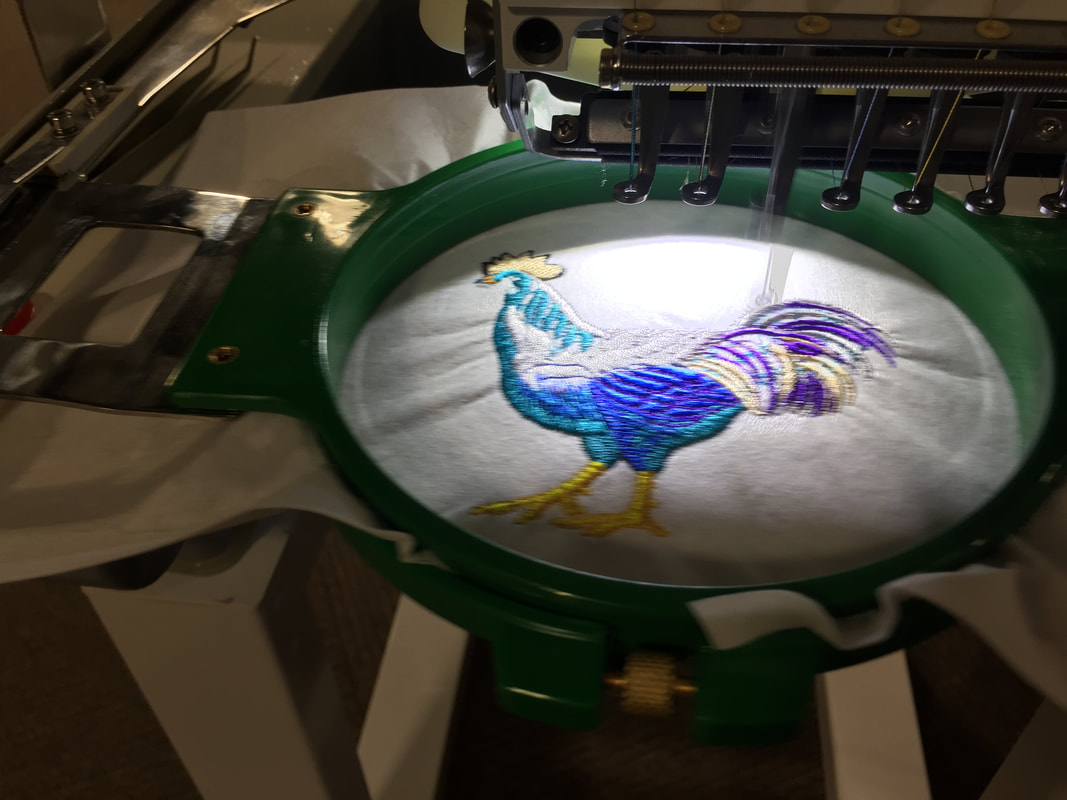
|
|
After each color, the machine would stop embroidering, and I would have to press the green start button for it to start the next color. I repeated this process until the design was complete. Overall, the design was around 14,000 stitches, and took about 30 minutes to make.
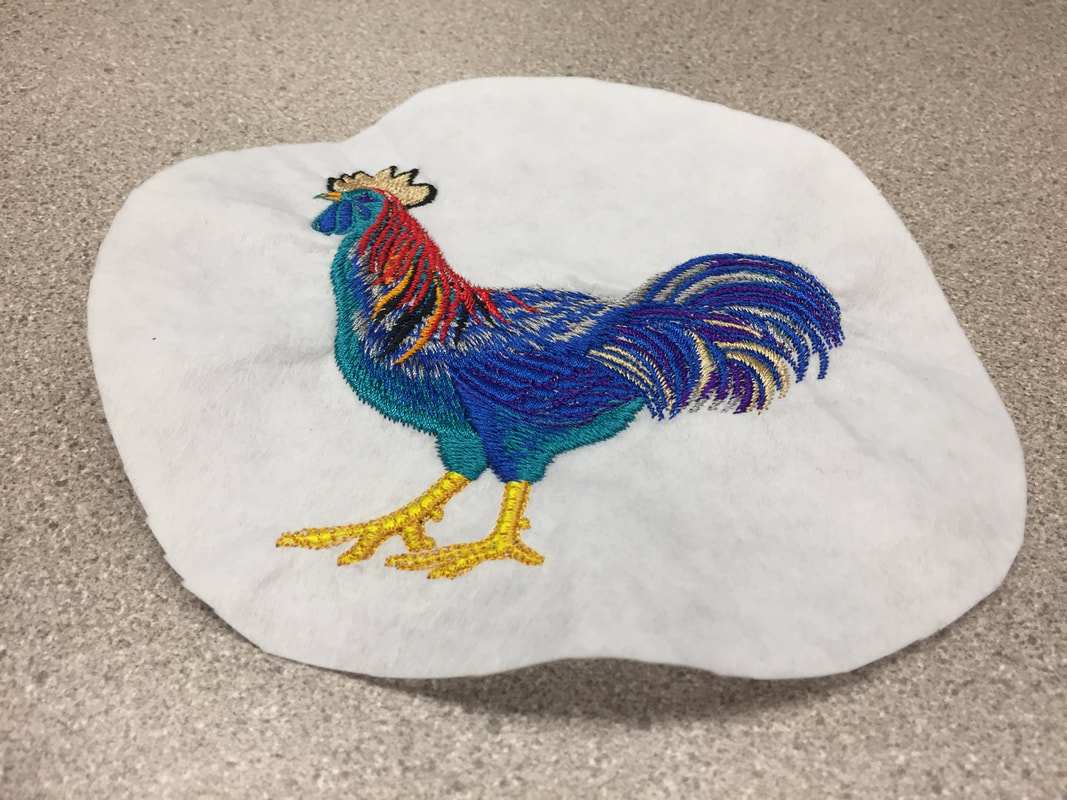
Final Product
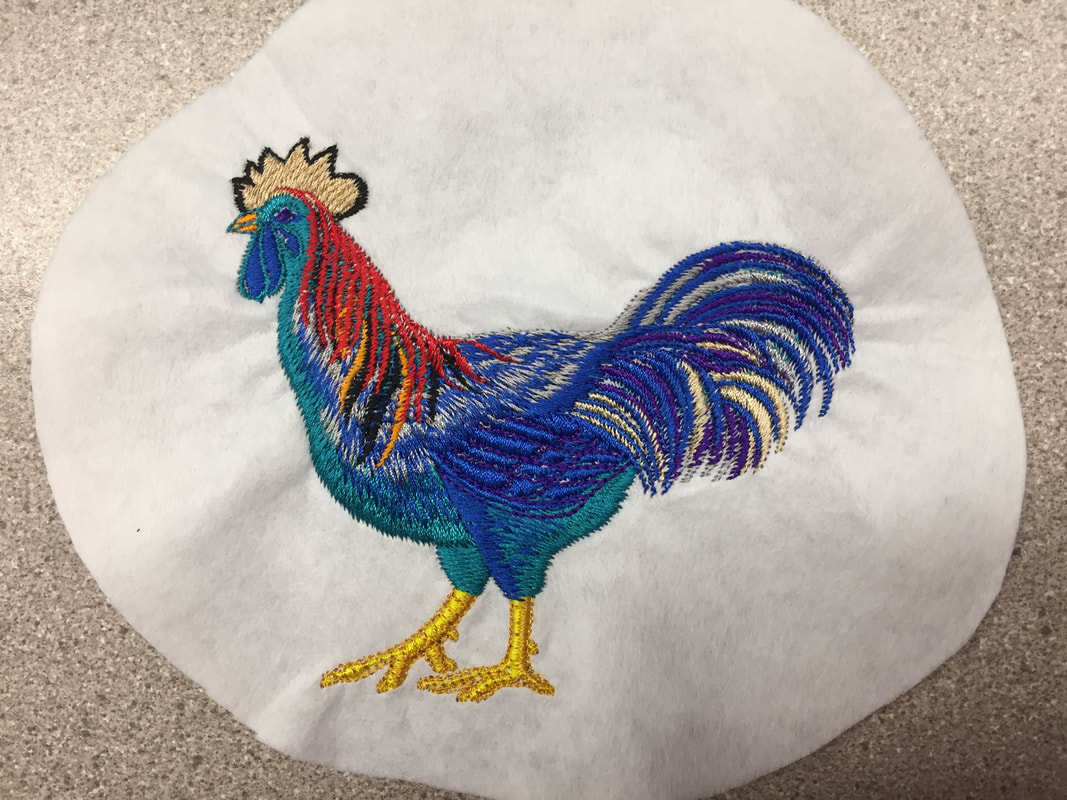
Here is the final product of my embroidery project. It is a blue and red hen that I plan to give to my mother for Mother's Day. Now that I know a little bit more about the embroidery machine, I can try to use it to create other amazing designs in the future.
Summary
In the course of this project, I gained a lot of experience and knowledge. The first thing I learned is that sometimes technology will not work the way you want it to, even if it doesn't make sense. I learned this when I tried to transfer the file to the embroidery machine. Unfortunately, the embroidery machine couldn't find either of the two files I had on my flash-drive. The problem was easily solved when Mr. Willauer used a different flash-drive, so if this happens in the future, I will know what to do. What else I learned about is how to use the embroidery machine as a whole. I learned how to work with its interface, what buttons performed which tasks, and how to keep the machine running smoothly. Finally, I learned how to attach the backing material to the hoop, and how to attach and secure it to the machine. By learning all of these things in this project, I will be able to create more complicated and awesome designs in the future, without having too much trouble over-coming the problems that arise.
