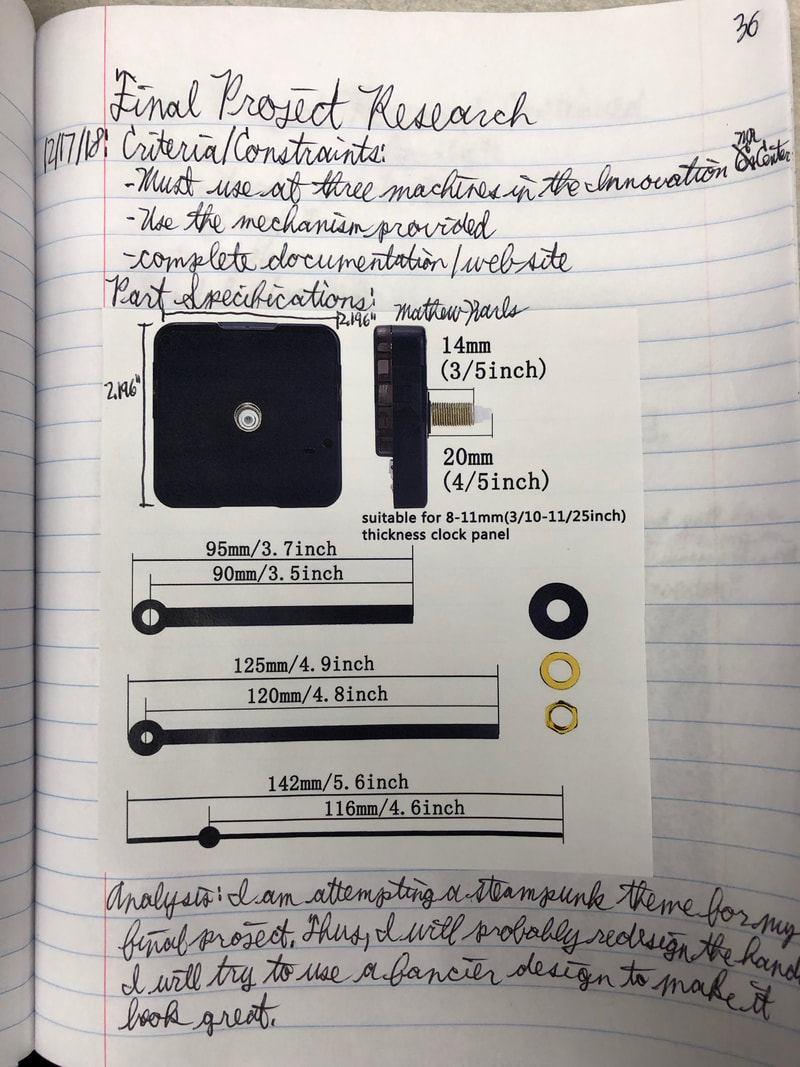
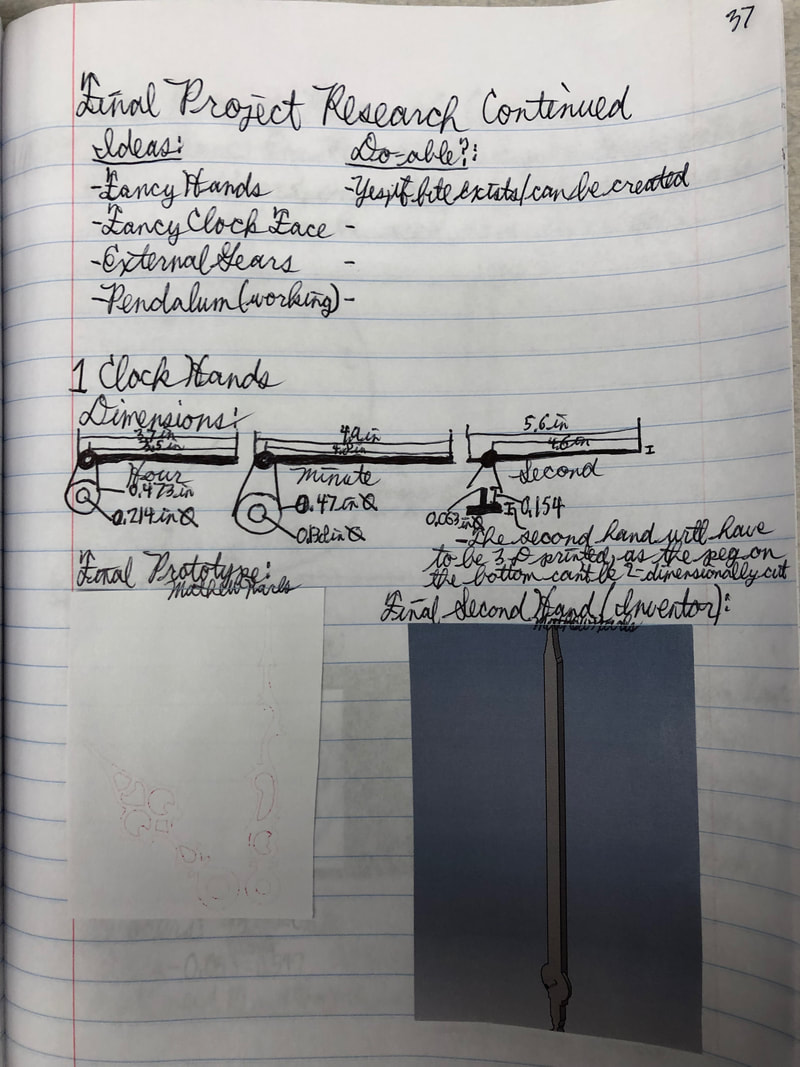
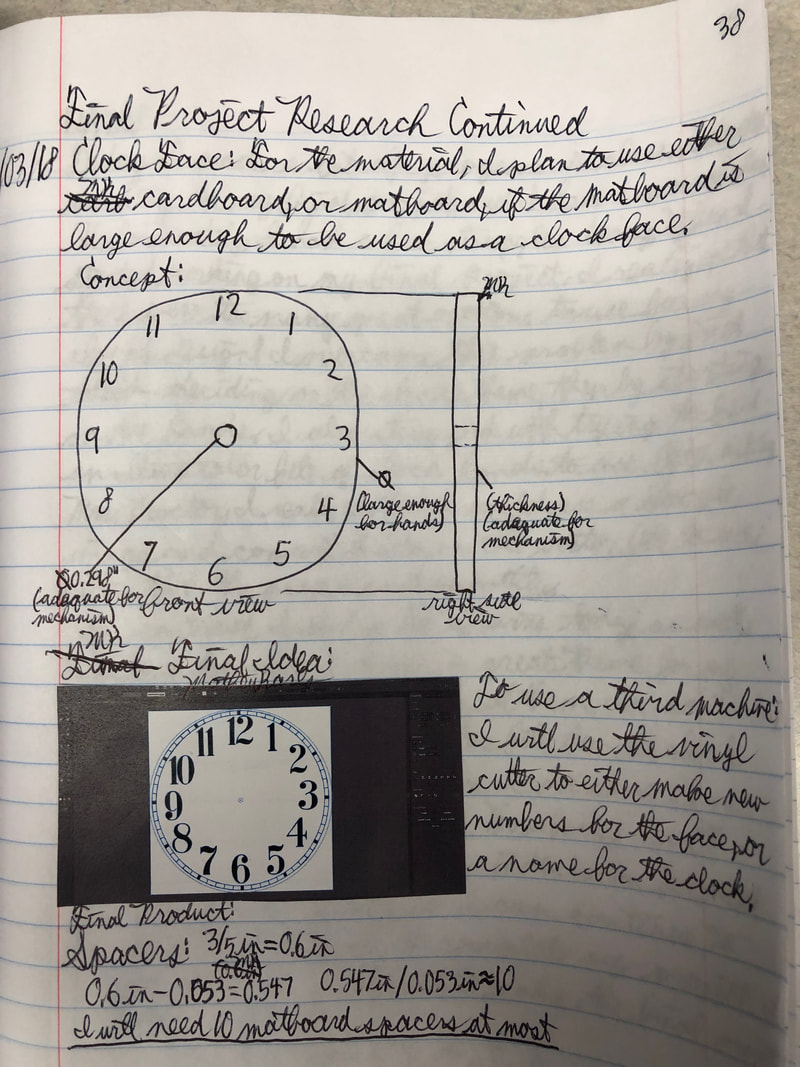
Research for This Project
|
|
|
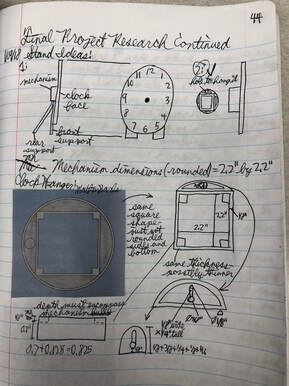
Here is the plethora of research that I used and conducted for this project. All of these pages include all of the specifications for this project, criteria and constraints, as well as rough sketches of my prototype parts.
Starting the Project
|
|
|
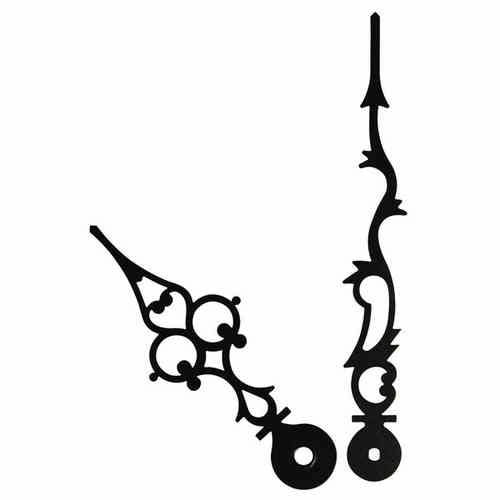
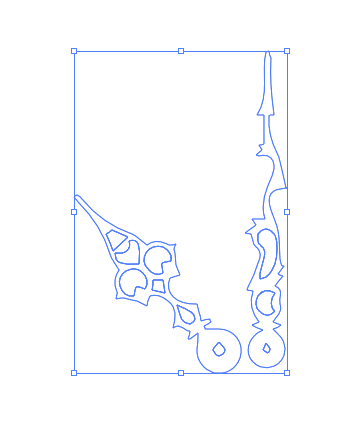
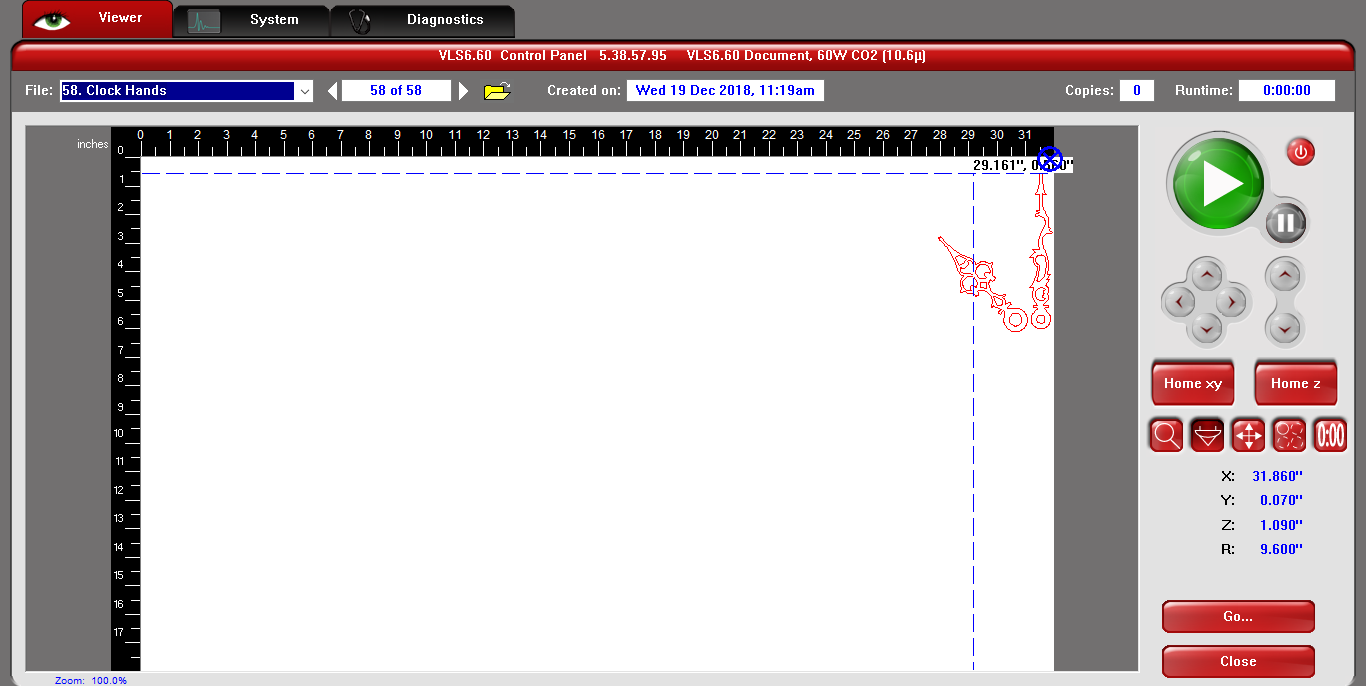
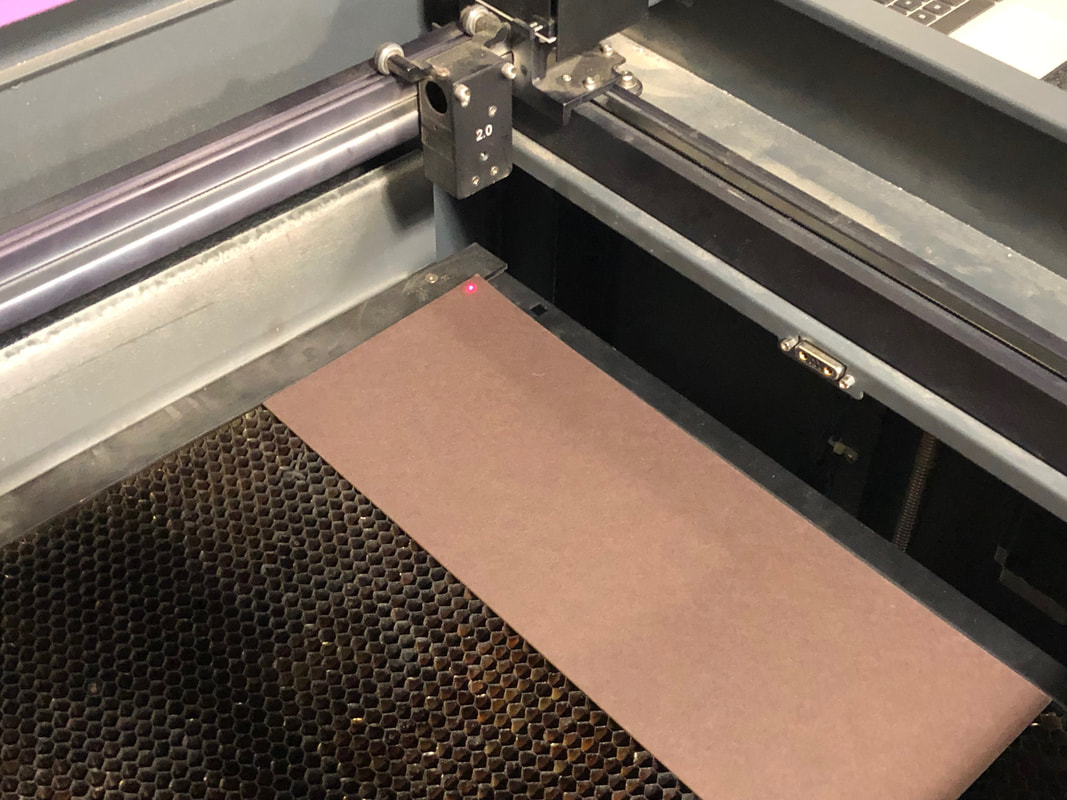
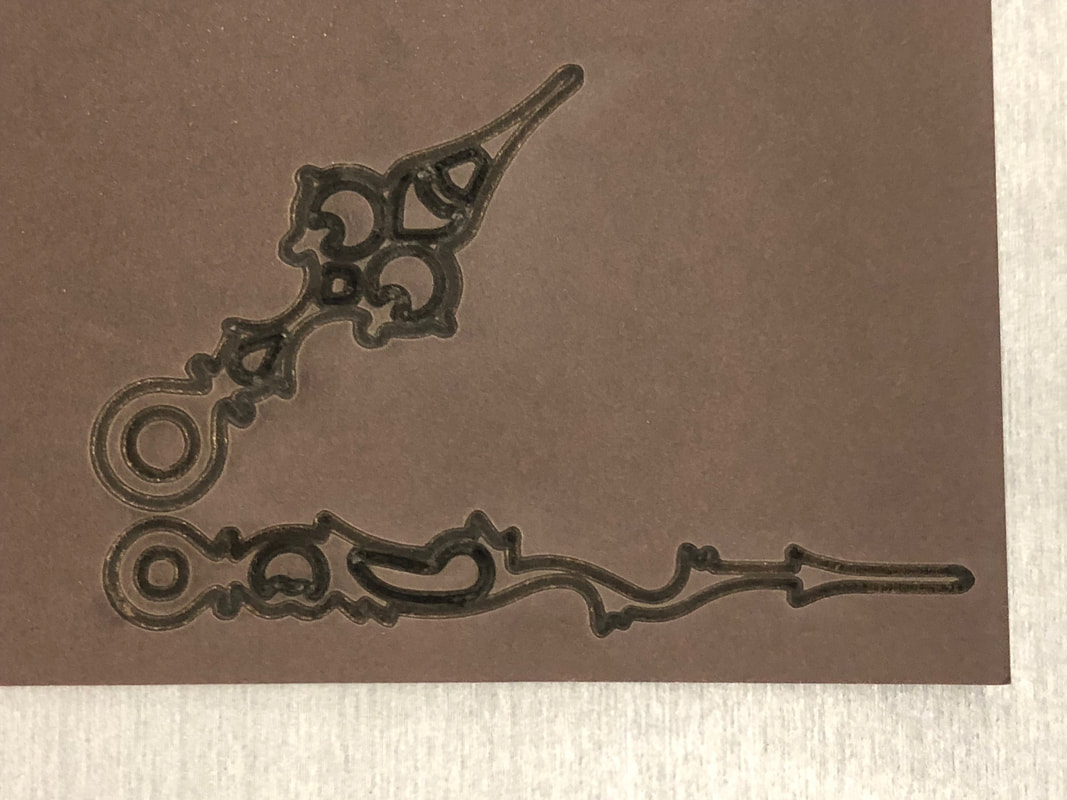
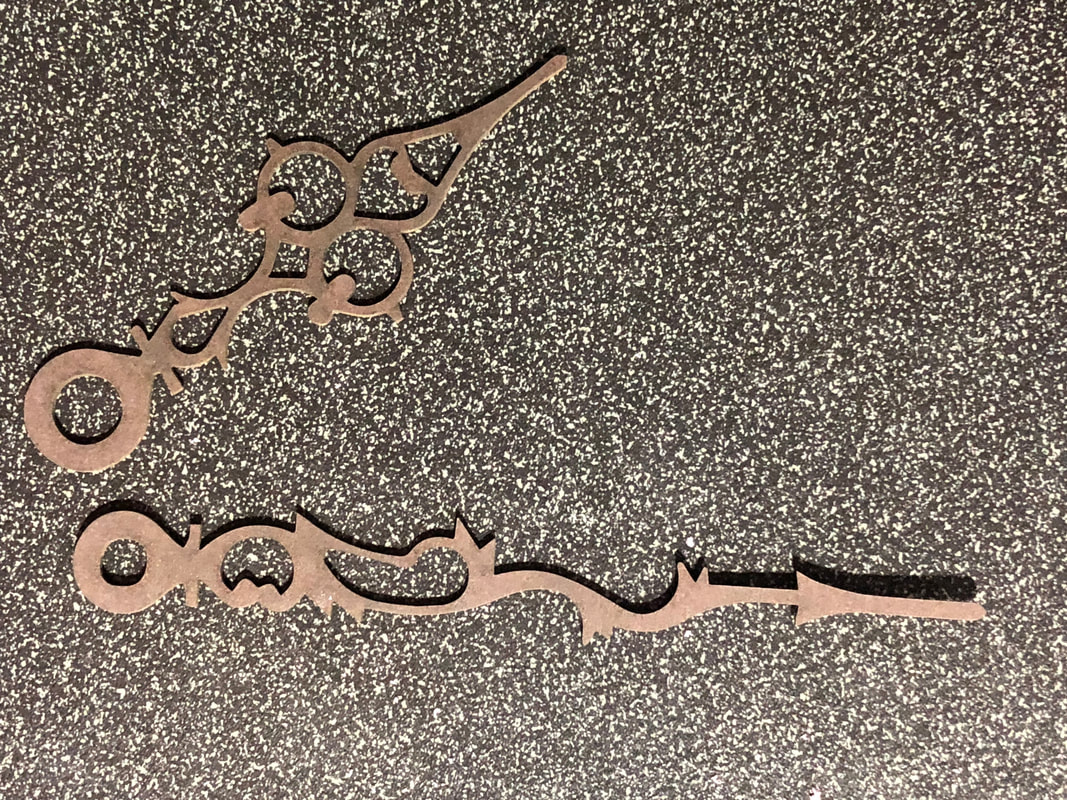
To start this project, I first thought about how I could redesign the clock hands to better suit my needs for this project. I first found a picture of a fancy style of clock hands, then I converted it into a vector image in Illustrator. I then drew the holes for the mechanism, scaled the hands, and cut them out on the laser.
|
|
|
|
|

|
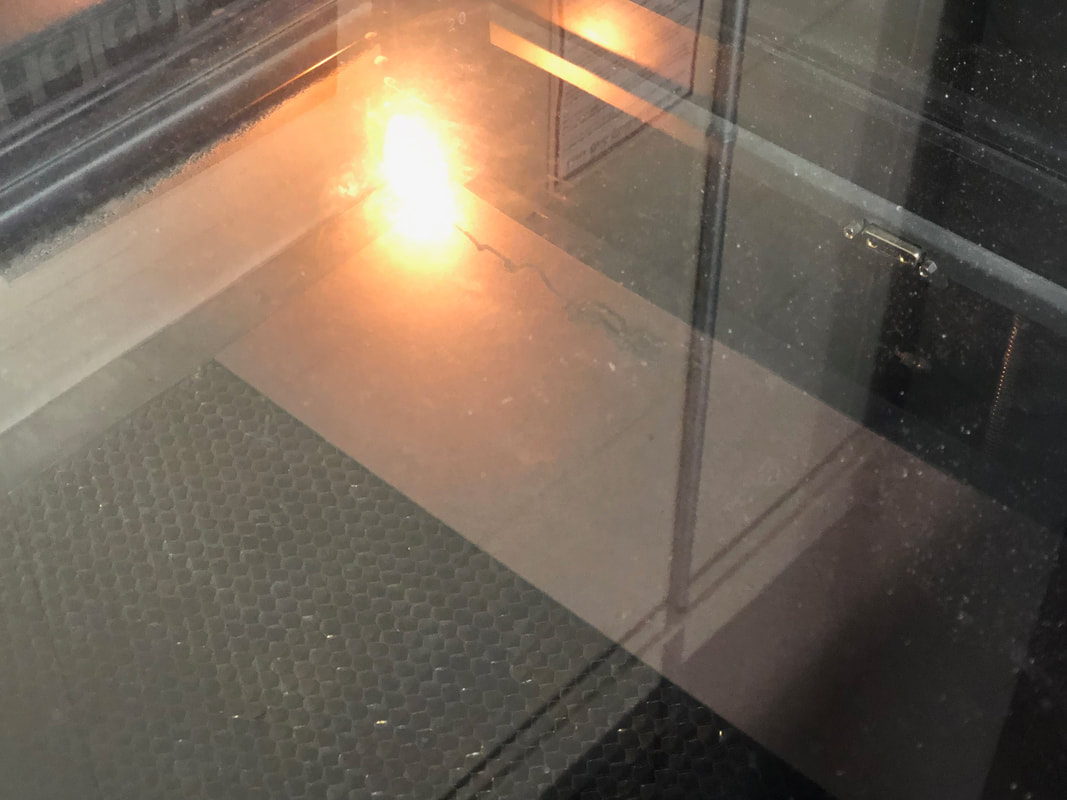
The first attempt ended horribly, as the laser engraved the lines rather than cut them out. When I tried to cut the hands a second time, I forgot to dimension the holes correctly after I scaled the hands, so the hands didn't fit at all on them mechanism. Thus, I had to redraw them in Illustrator, and I then cut them out again on the laser, to much better results.
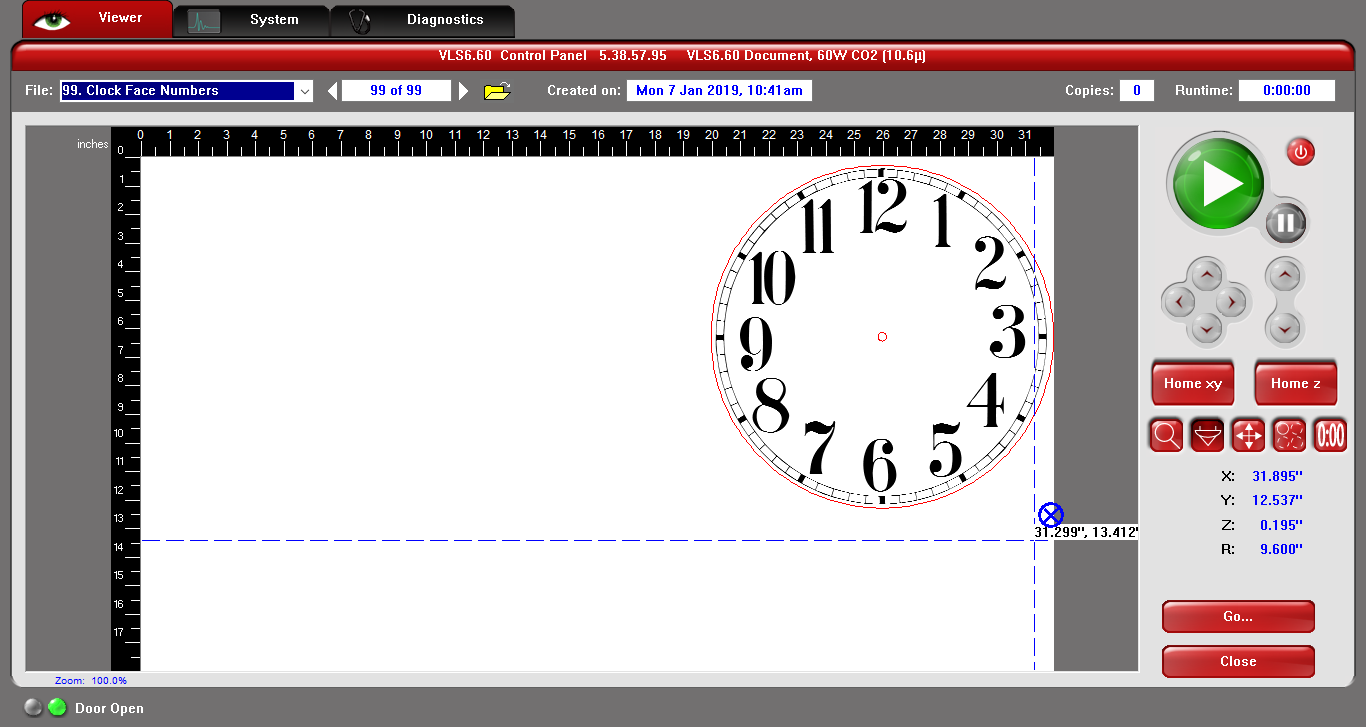
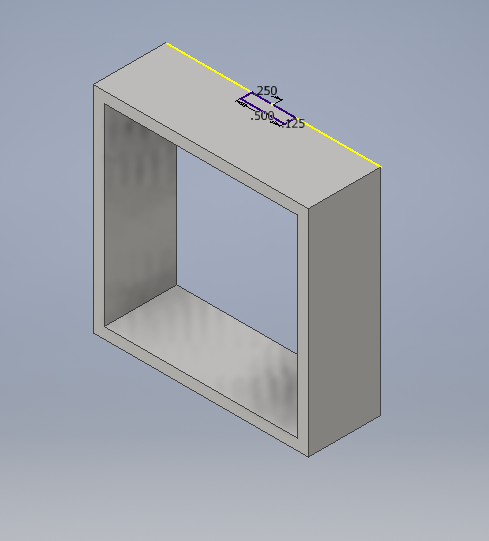
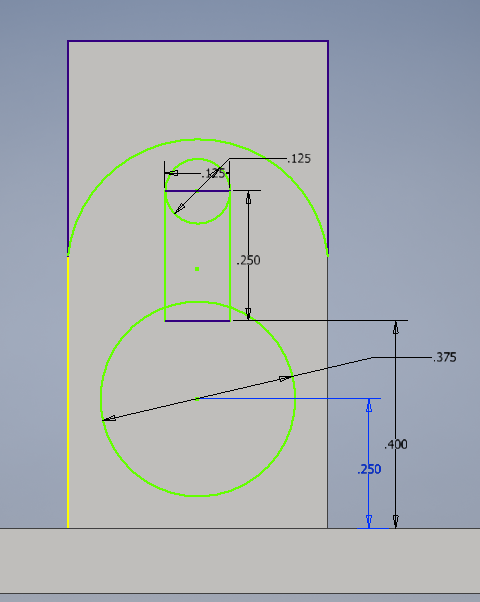
The Second Hand
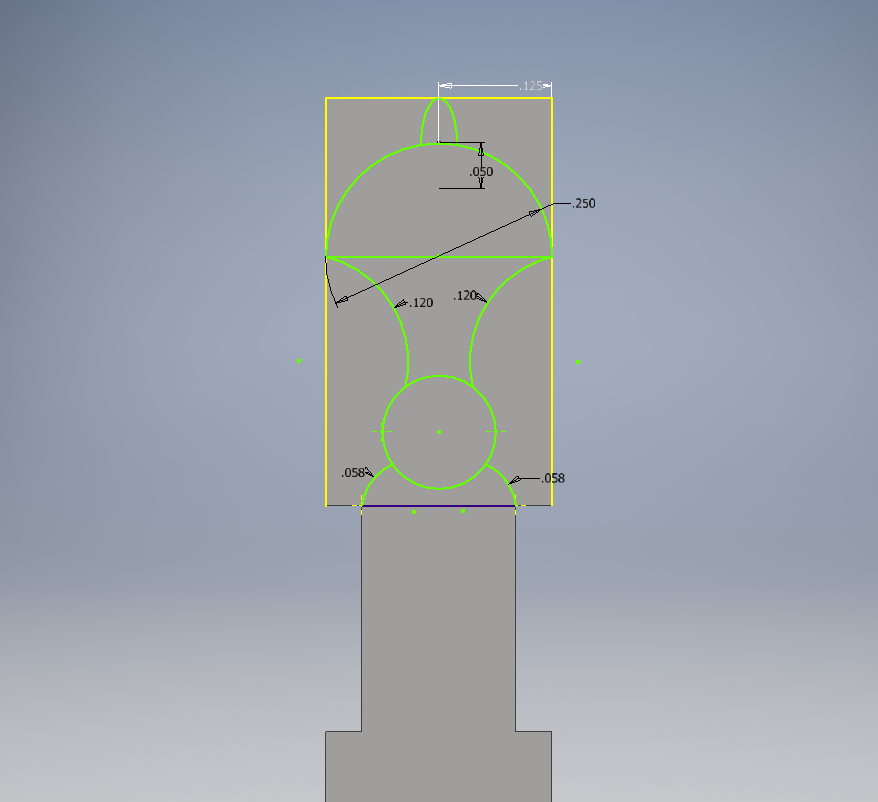
|
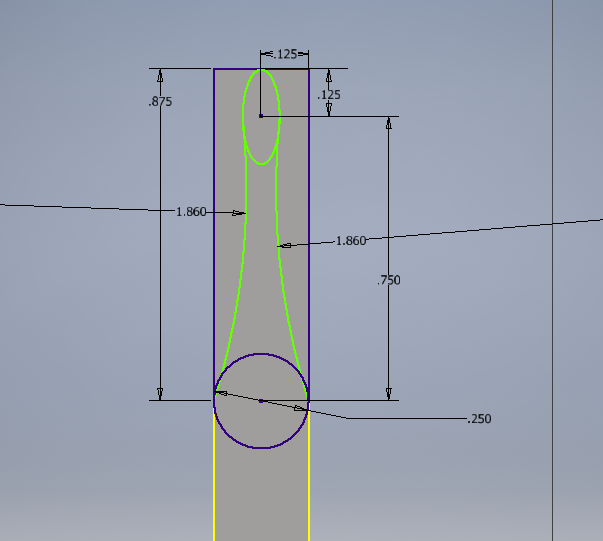
|
|
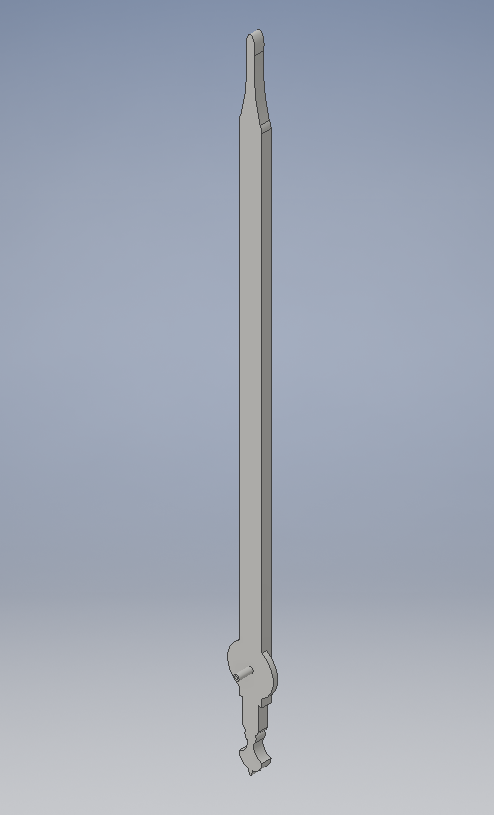
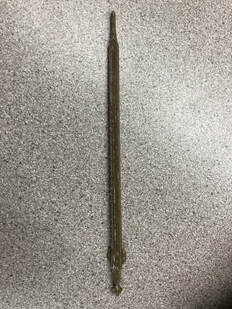
I decided that I should redesign the second hand, so that the style matches that of the minute and hour hand. I used circles, arcs, and eclipses to design the back and front ends of it.

|
|

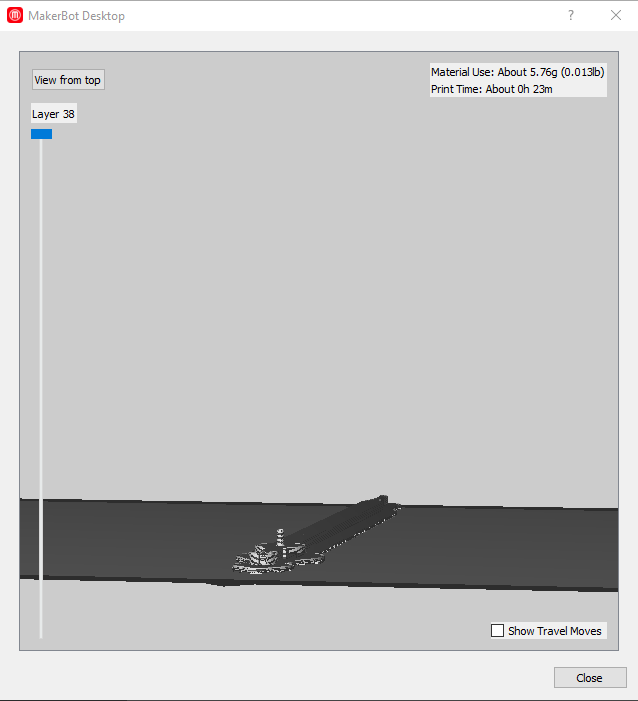
|
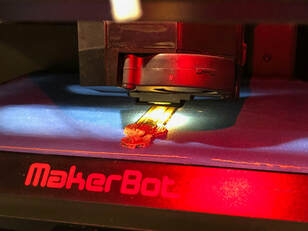
After I designed it in Inventor, I converted it through the MakerBot app, previewed the file, and started the print on a MakerBot.
|
|
After it finished printing, I tested it to see if it would work instead of the other second hand. Unfortunately, the small hole in the extrusion wasn't printed, so it didn't work. To make it work, I cut the extrusion off, cut the original second hand so I only had the circle and peg, and glued the 3-D printed second hand to the circle piece, so I could use it on the mechanism.
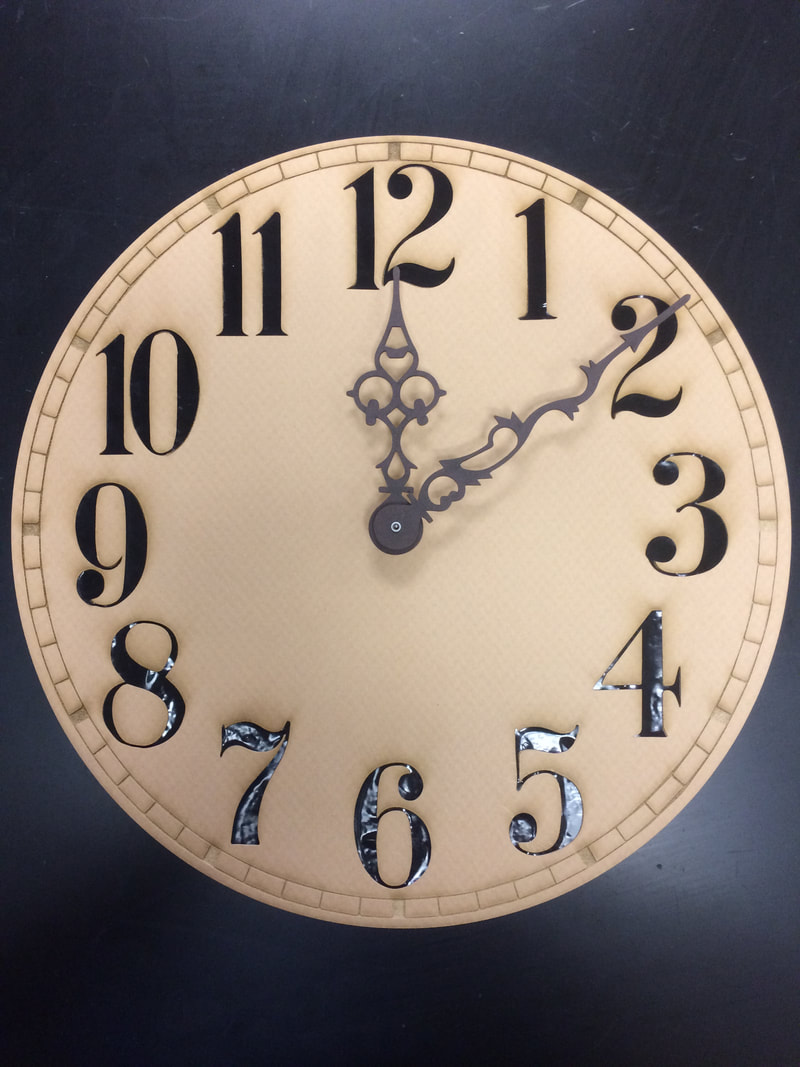
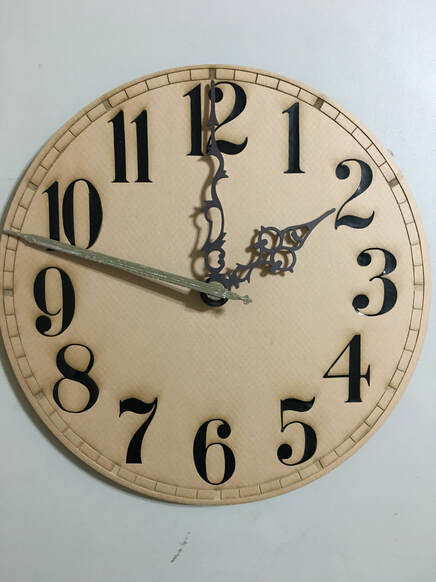
The Clock Face
|
|
|
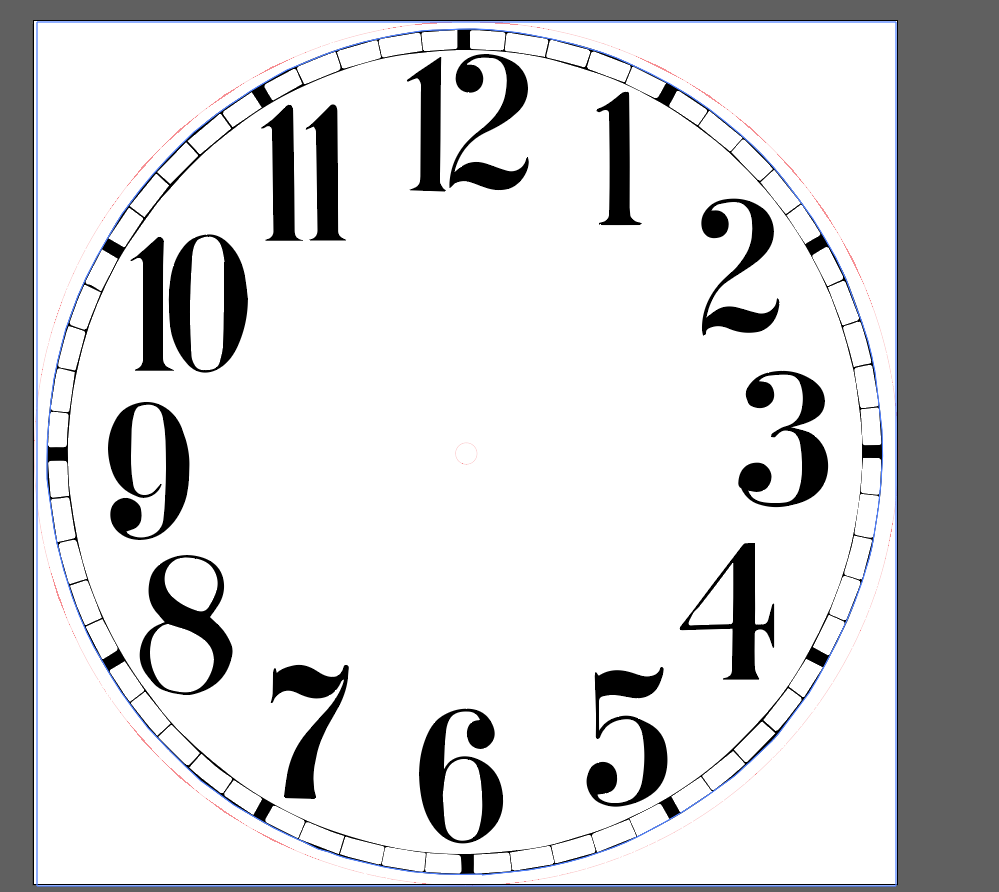
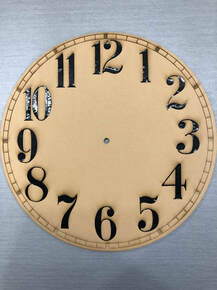
After I finished the clock hands, I decided to move onto the most important part, the clock face. I decided to go with a old-fashioned fancy styled clock face, and after I converted the image in Illustrator, I laser engraved it onto a sheet of tan mat board to match the look. I tried to engrave it 2 times, but both times, the scorching was uneven across the clock face.
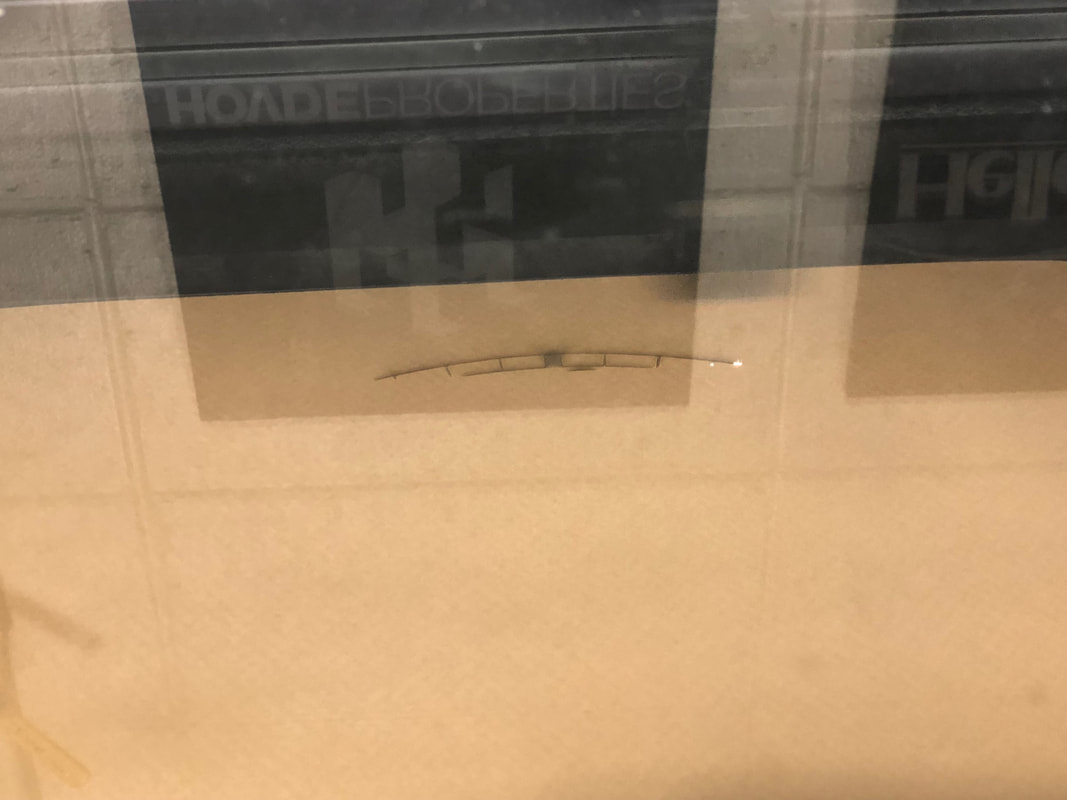
|
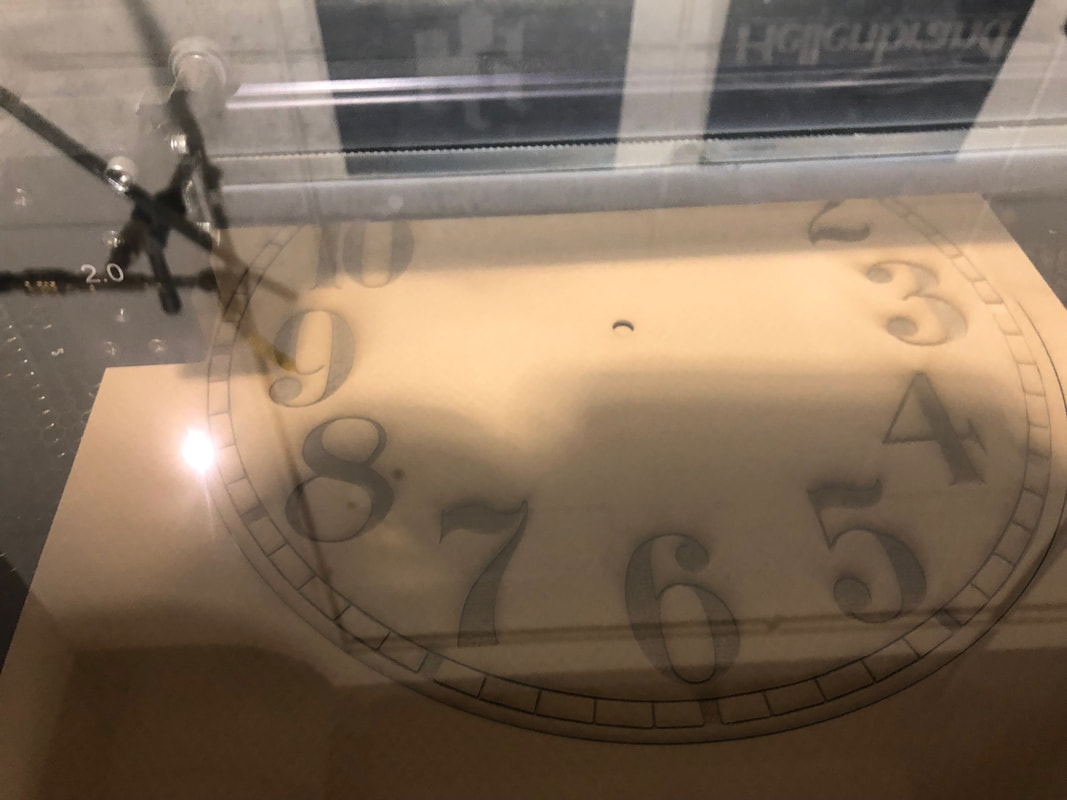
|
|
After seeing the uneven results of the first two attempts, I realized the mat board was warped from being too large in the laser. After I cut the mat board down and readjusted the piece to lay flat, I obtained the result I wanted on the third try.
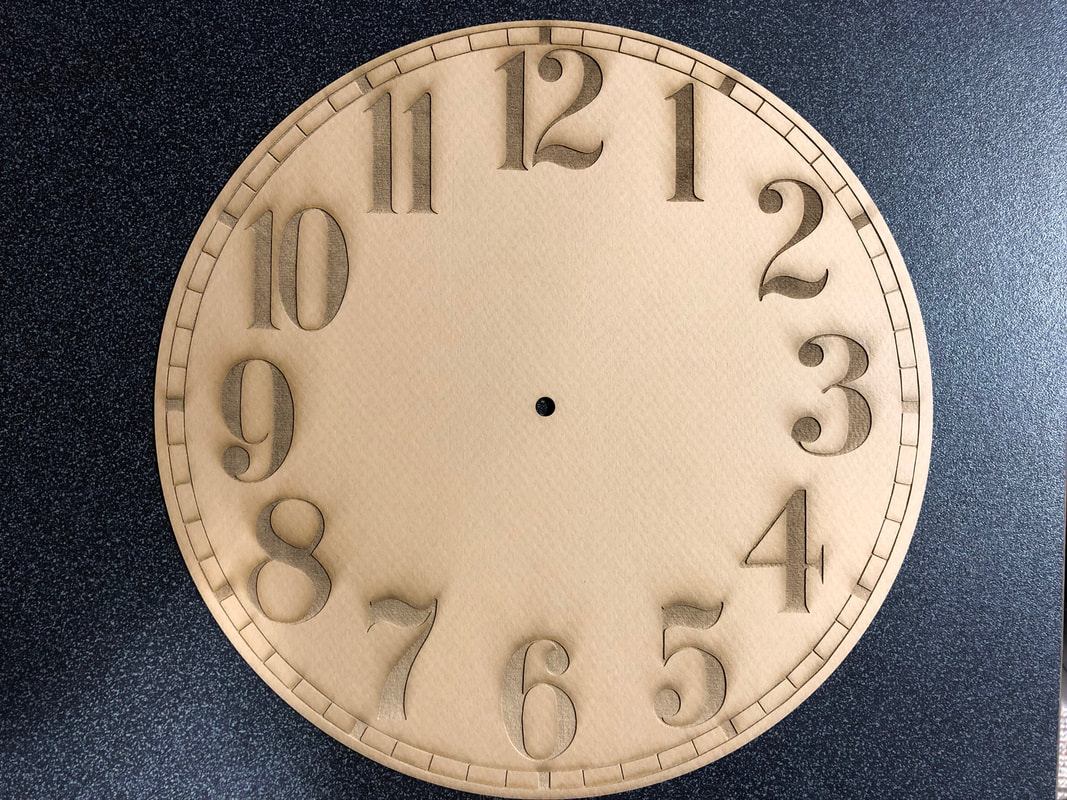
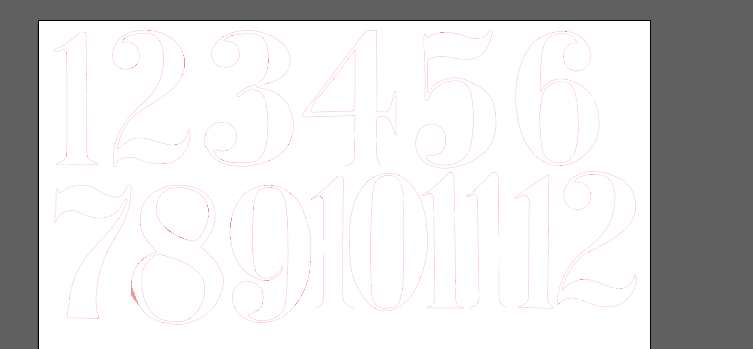
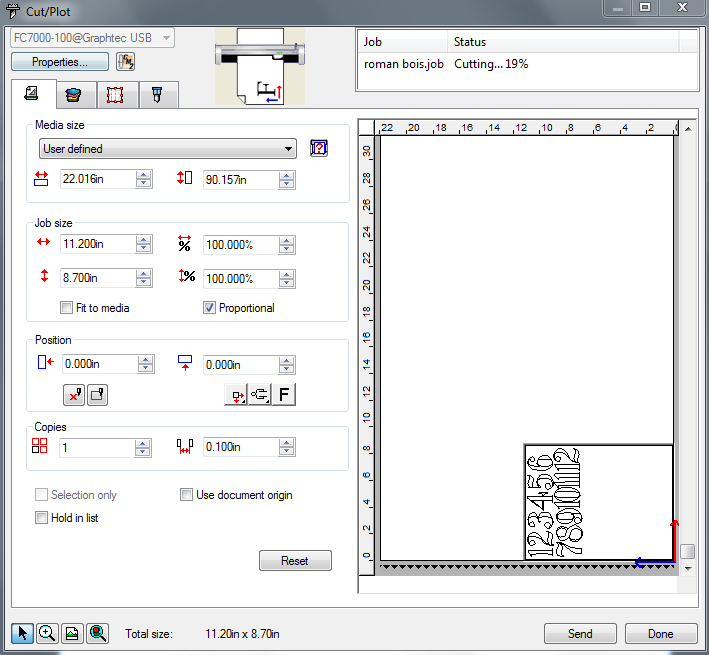
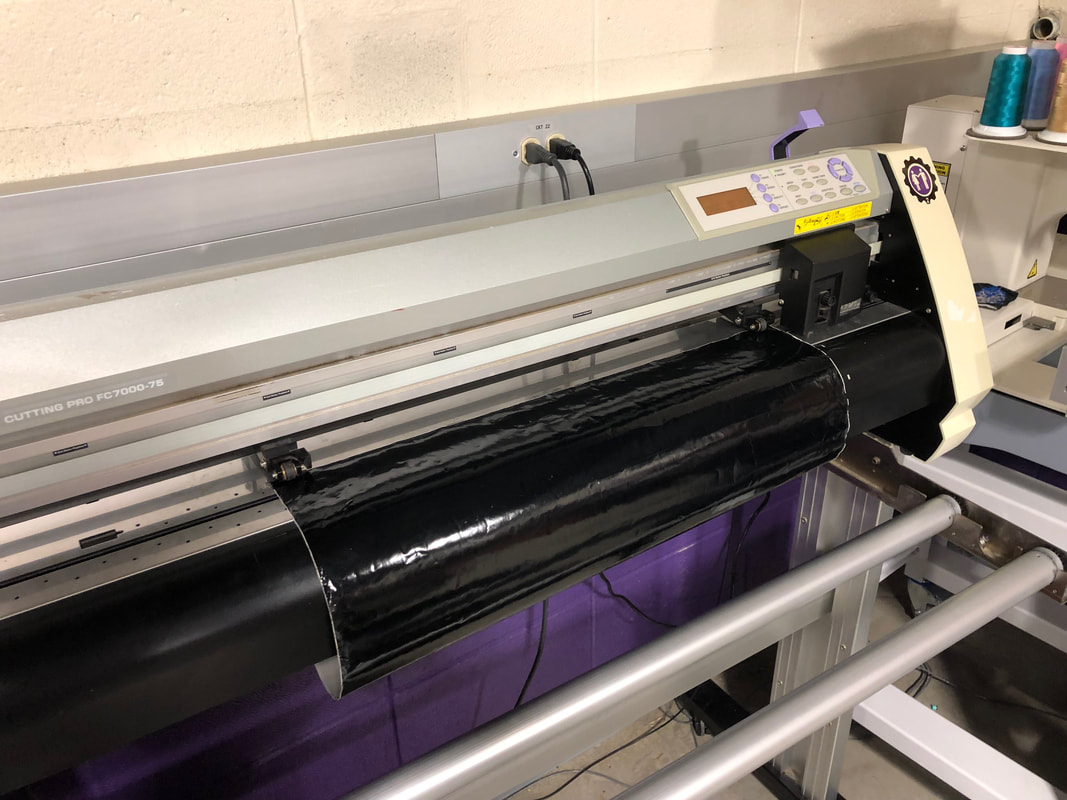
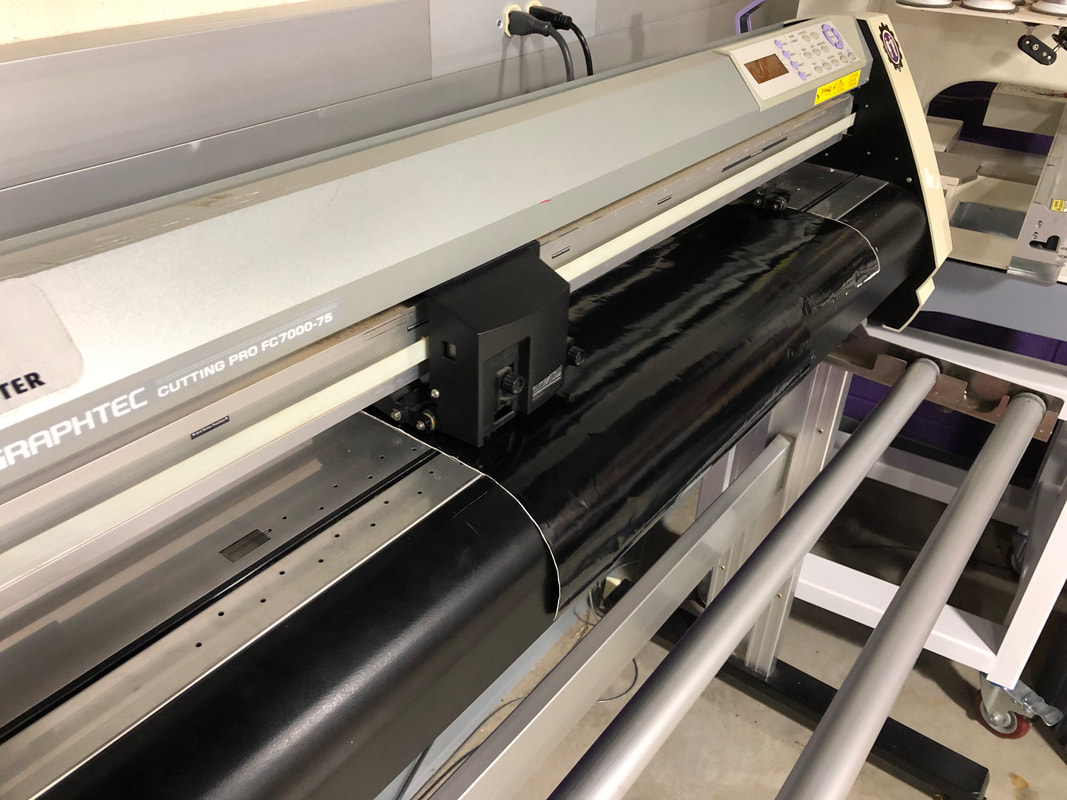
Fixing the Numbers
|
|
|
After I noticed that I needed to use another Innovation Center machine to fulfill the requirement, and that the scorching of the numbers on the clock face could wear off when touched, I devised a plan to address those concerns.
|
|
|
I decided to copy the numbers off of my clock face Illustrator file, cut out the numbers out of black vinyl, and apply them directly over the cut grooves of the numbers on the clock face.
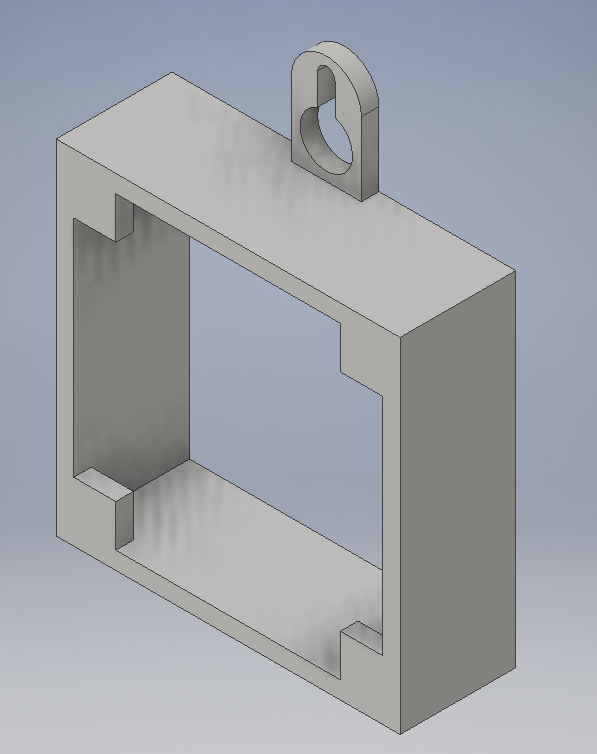
Finishing Touches
|
|
|
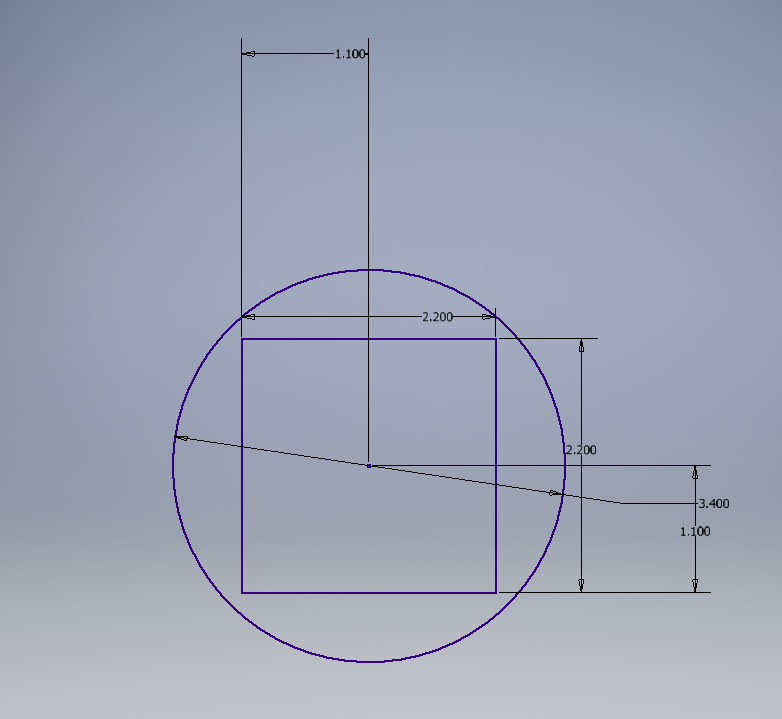
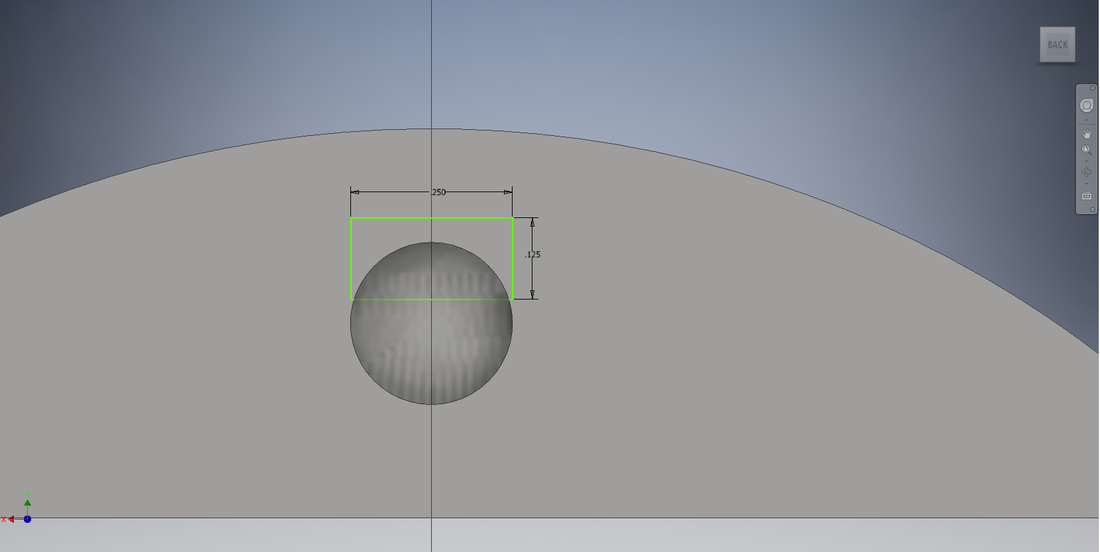
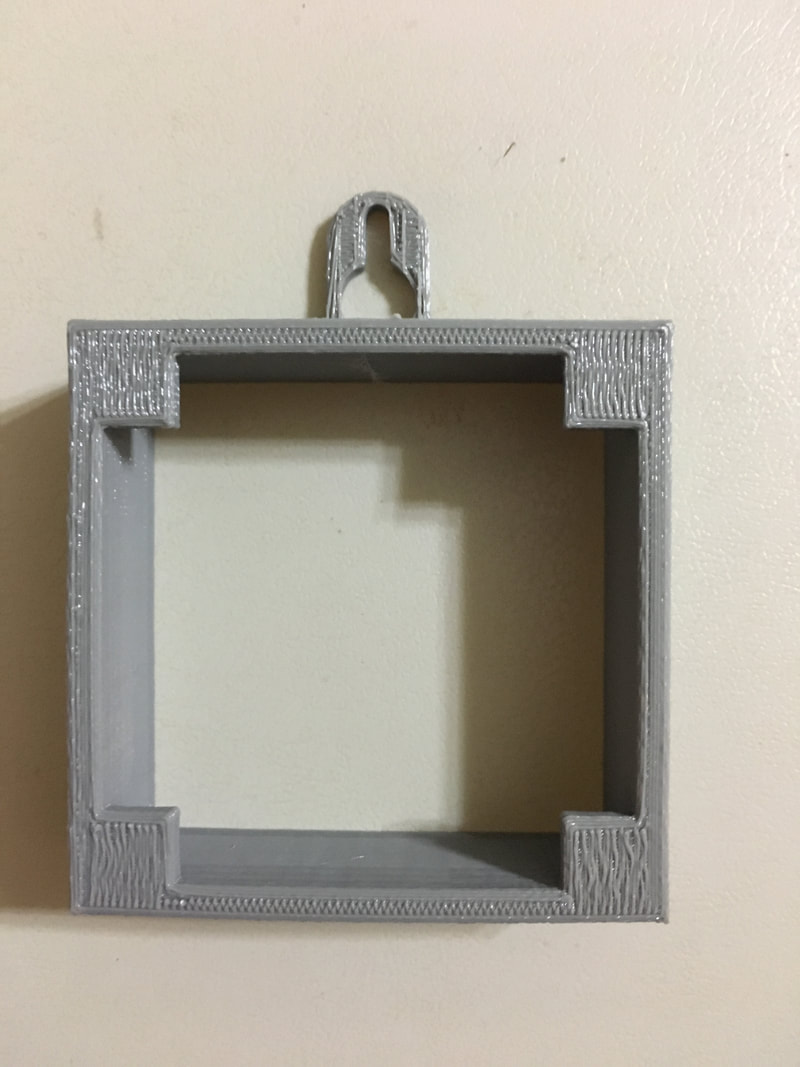
Finally, I decided to construct a way to hang my clock up on a wall. The best way to make a 3-D part was to design the part in Inventor, so I did, keeping to a simplistic square inlet for the clock mechanism in a circle outer shell. I also included a hole and partial covering so the clock can be hung up on a wall with a nail or screw.
|
|
|
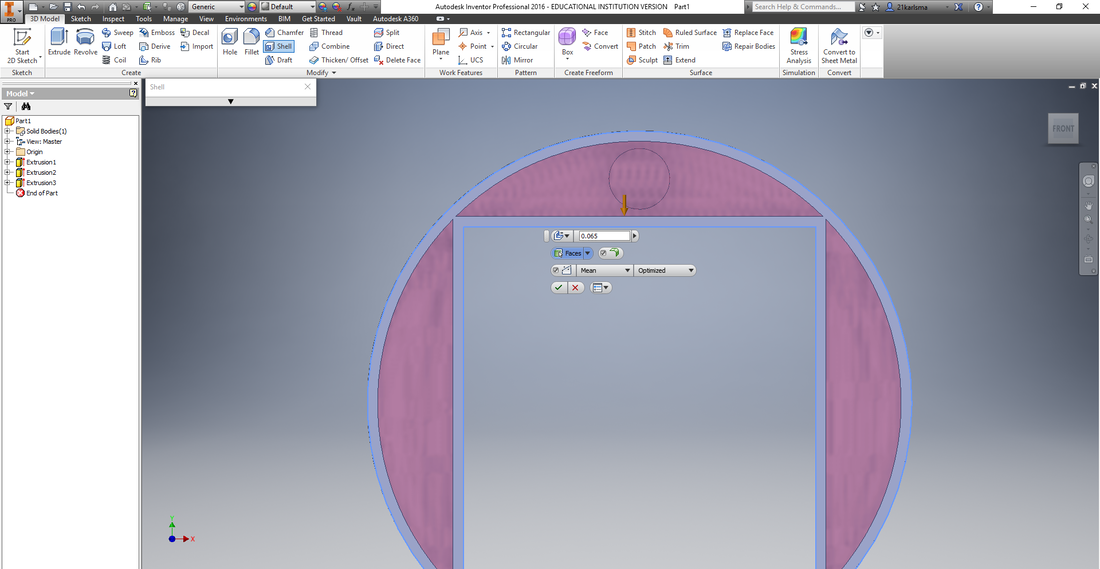
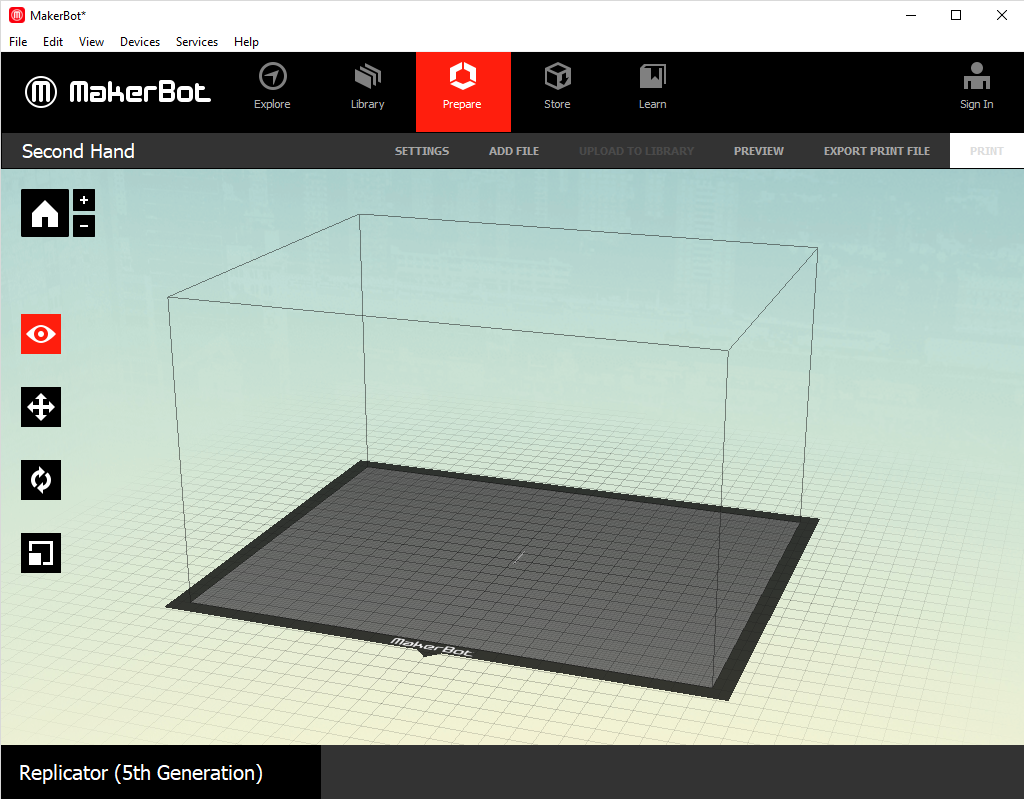
I then shelled the part to cut down on 3-D printing time. Finally, I converted the file in the MakerBot program for printing.
Change of Plans
|
|
|
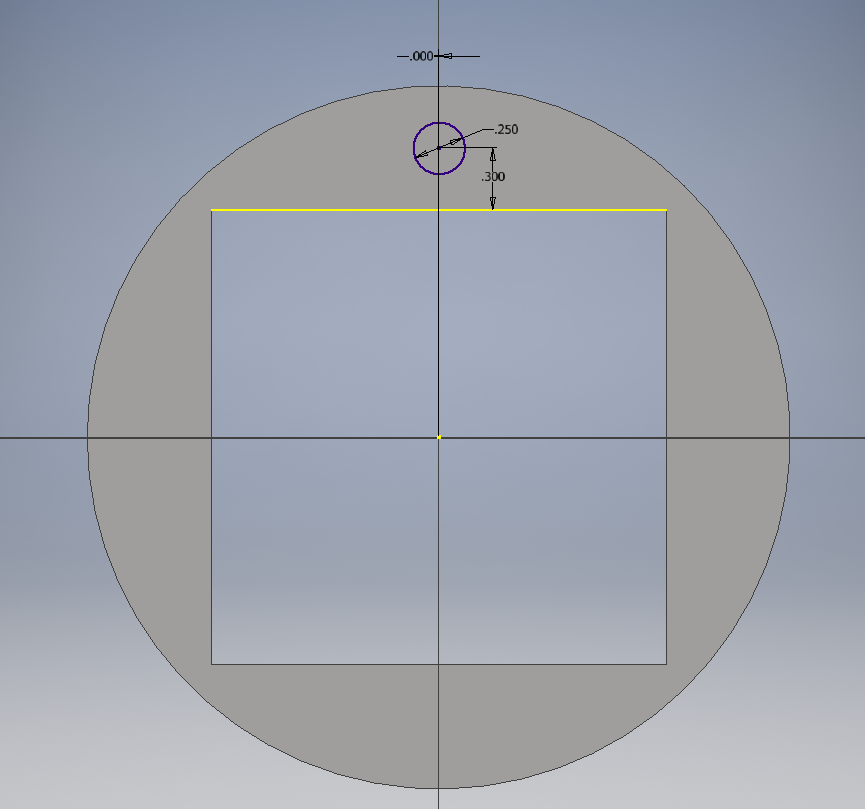
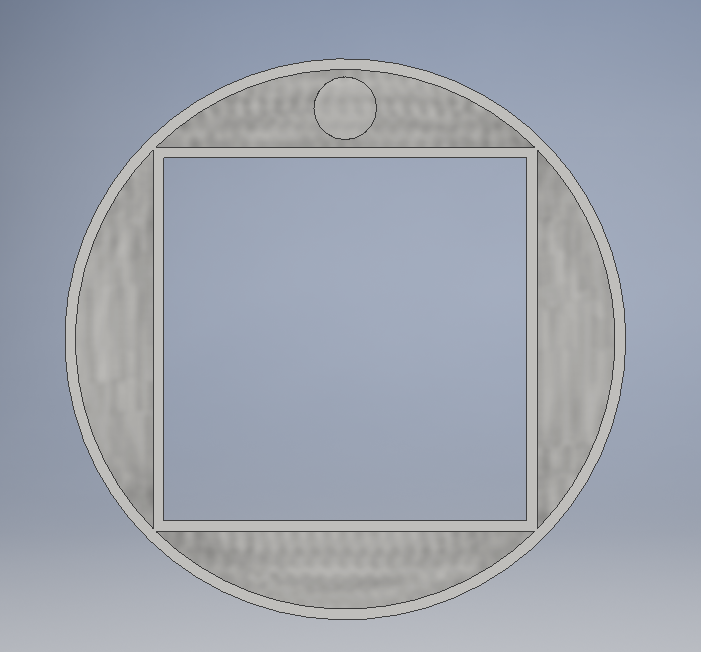
Before I printed the part, I came up with a better idea for my design. This new design uses less filament to construct, which also took less 3-D printing time so I could keep on schedule with my project. It also was more efficient for the project than my first design, for the previous two reasons.
|
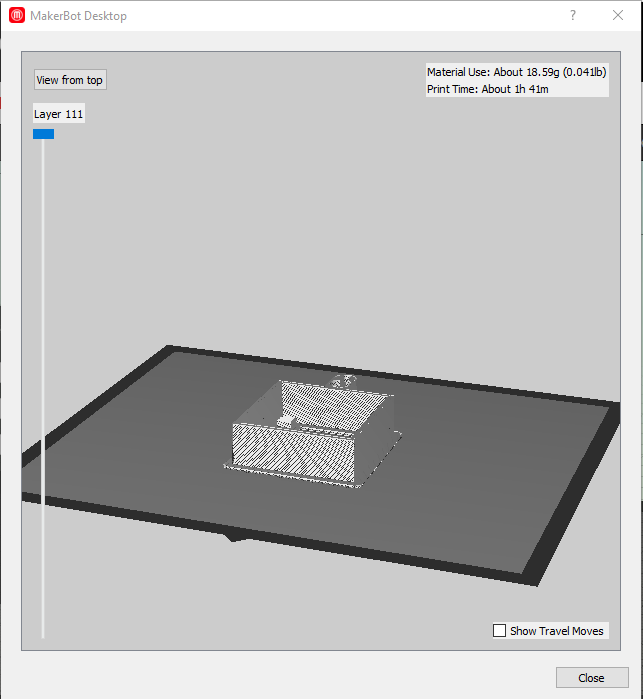
|
|
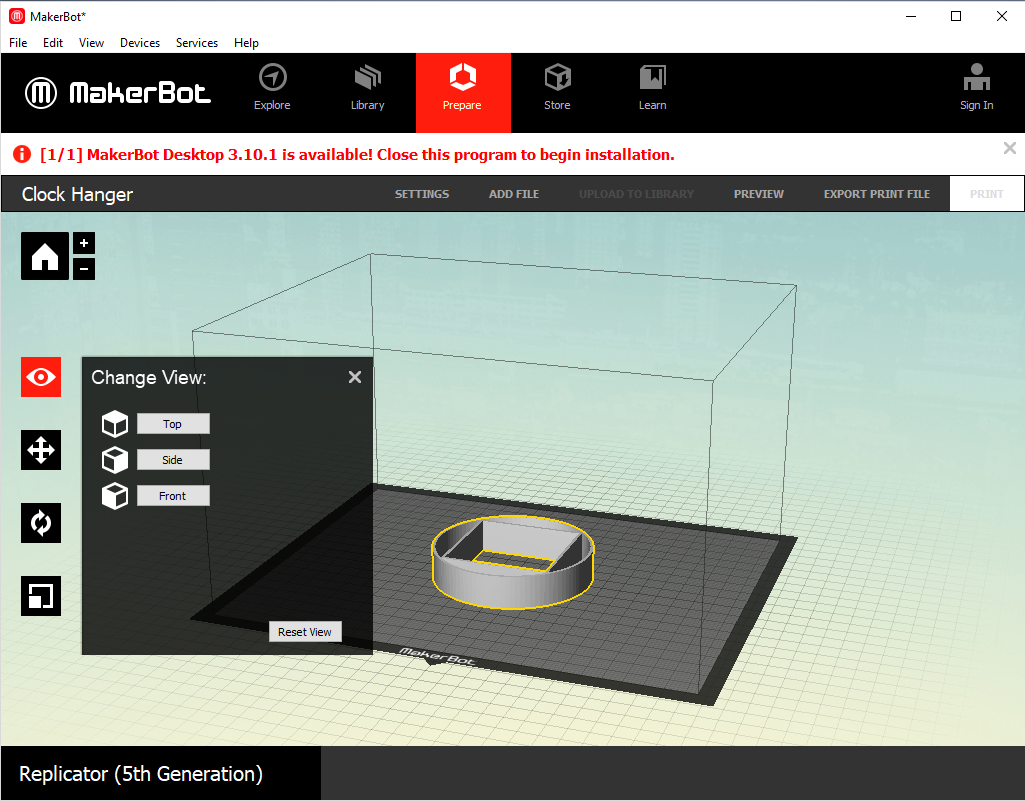
After I finished converting the file to a .stl file, I printed the file on the MakerBot.
Pulling it All Together
|

|
|
After I finished all of the pieces of my final project, I assembled all of them together for the first time. I first noticed that all of the pieces fit perfectly together, so I know that my hard work and precise measuring paid off. These pictures show the different sides of the clock, so all of the pieces can be seen in the entirety of the project.
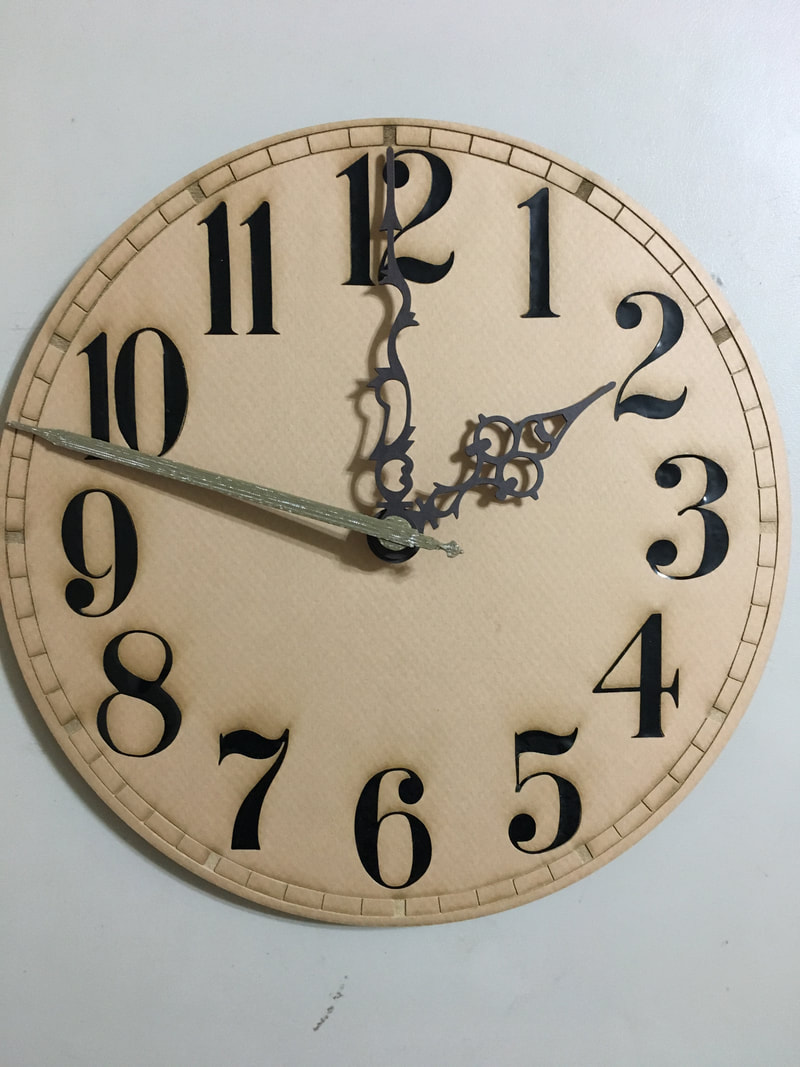
Final Project
This is the final project in its entirety, performing its most essential function: telling time. It is now synced to tell time according to the official Central Standard Time. I am very happy with the result of this project, and I know I will use it in my new room.
Summary
Within the course of the final project, I learned a lot of things. First and foremost, I learned how to most efficiently use my time, so that I could continue to stay on time with my project. I learned that using Contact Time, as well as time outside of class were great ideas to keep my project moving forward. In addition, through trial and error, I learned that it always is a great idea to double check the dimensions of the file before you make it. I have had to redo the files for Illustrator parts as well as Inventor files in order to make a part that worked like it was supposed to. Finally, one of the more important pieces of information I learned was how to design inventor part with the least amount of volume. This knowledge helped me design a clock hanger that uses less material, takes less time, and will be more efficient than my first design. I know that I gained some very important pieces of knowledge in the course of this final project, and that it will certainly benefit me in my future projects in my Big IDEA class next semester.
