My Research and Sketches
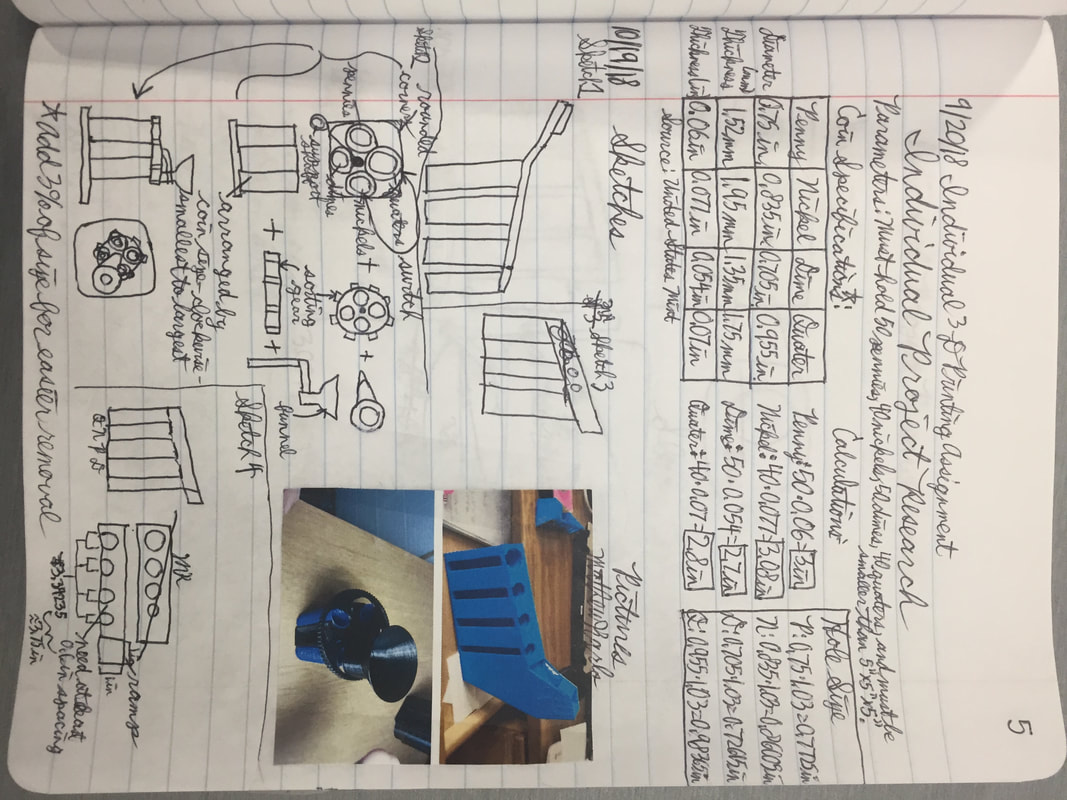
This page of my notebook contains all of my pre-research, such as coin dimensions, as well as my first sketches and sketch inspiration.
|
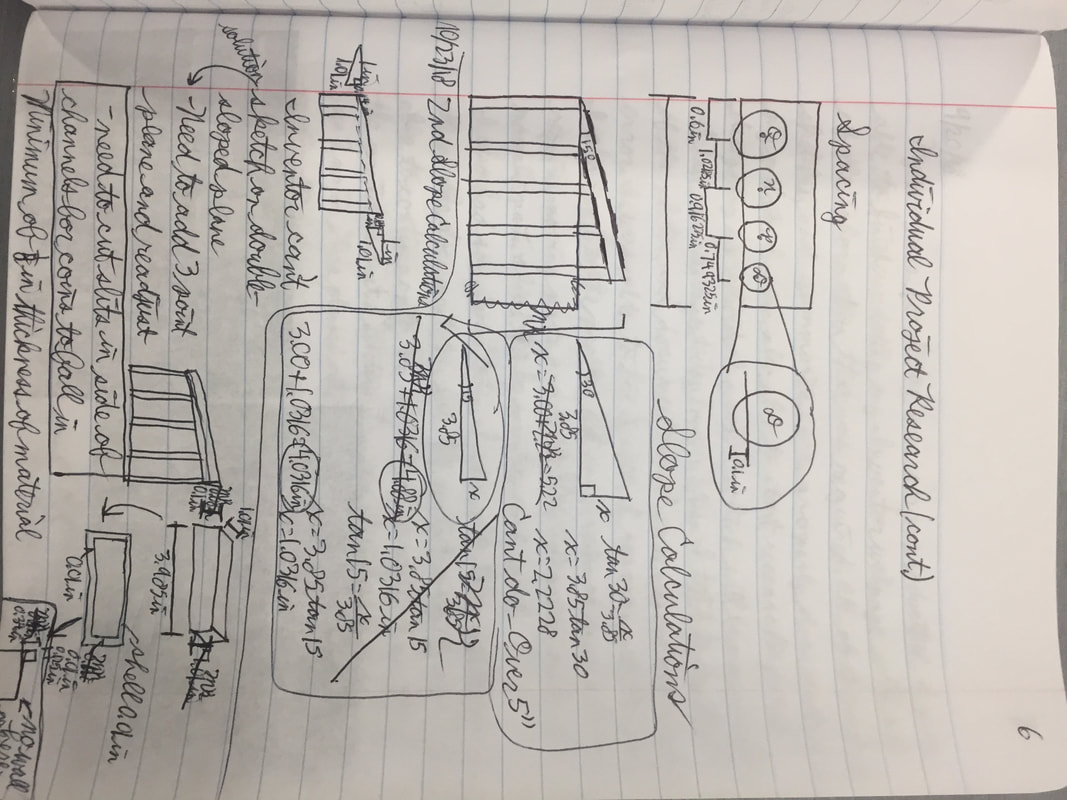
This page of my notebook contains all of the project-specific calculations for the coin sorter, such as the angle calculations. It also lists the criteria and constraints. For example, the project can't exceed 5" by 5" by 5" in size.
|
From Concept to File
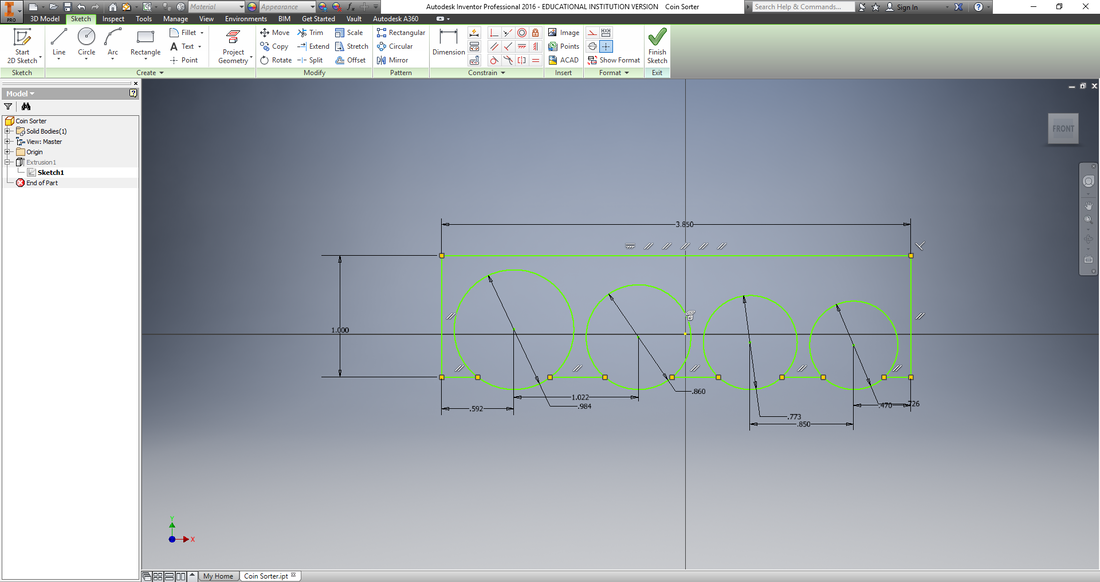
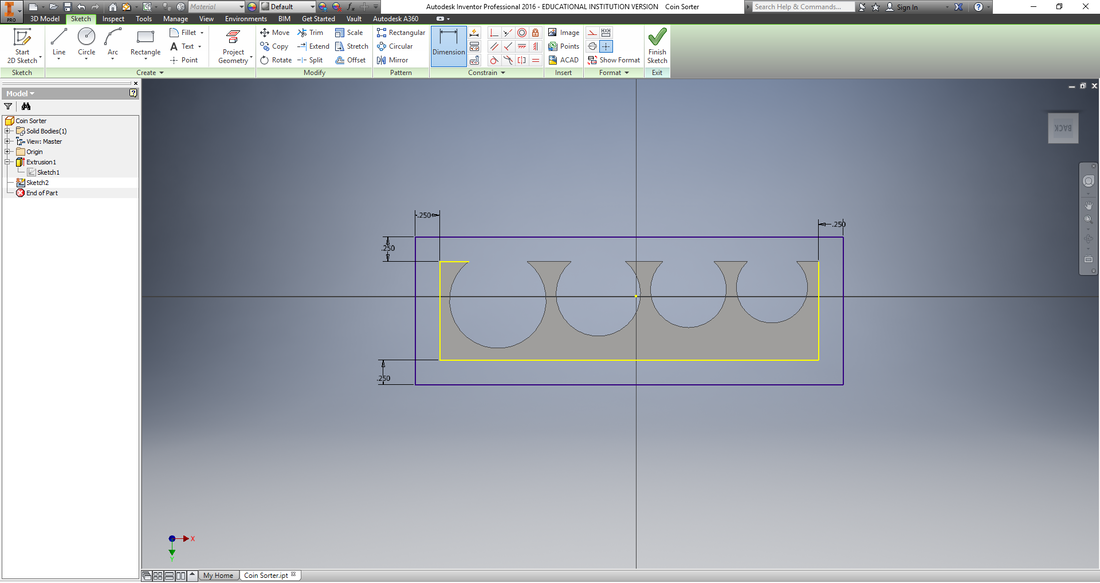
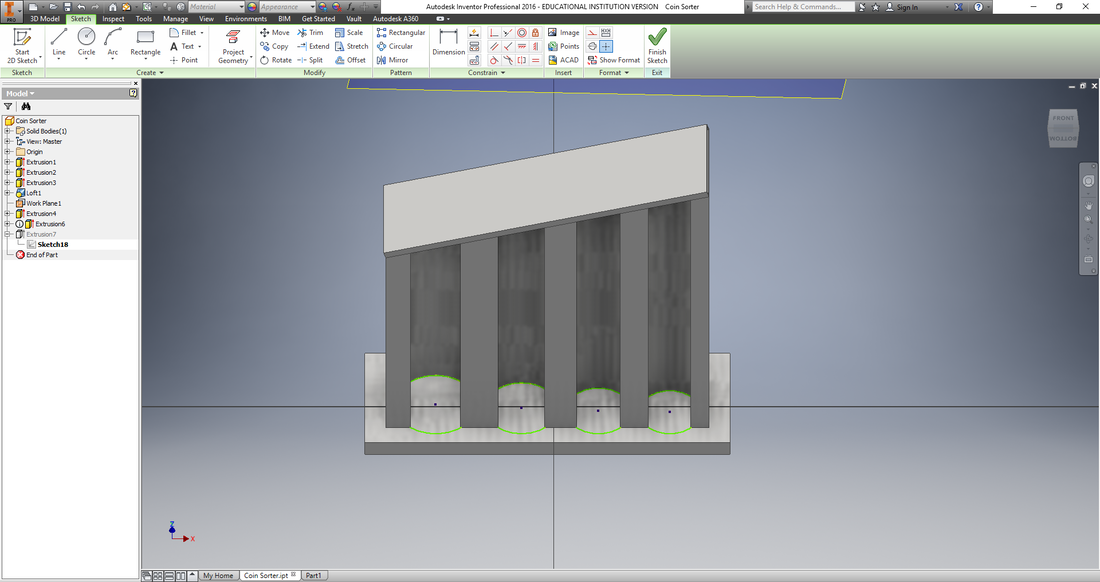
I first planned my project out in an Inventor 2-D sketch, accounting for the dimensions of the coins.
|
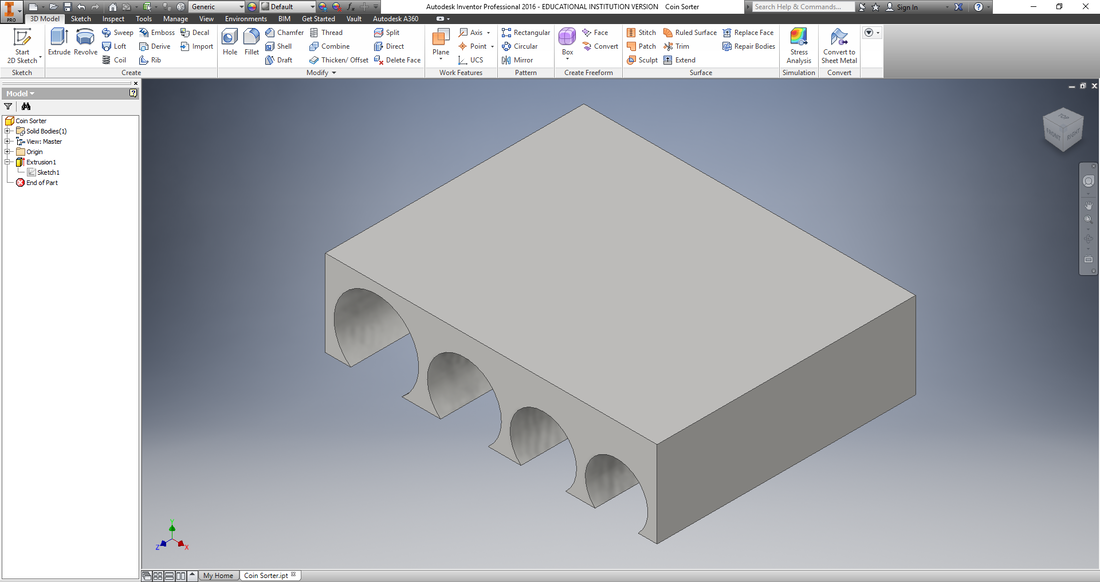
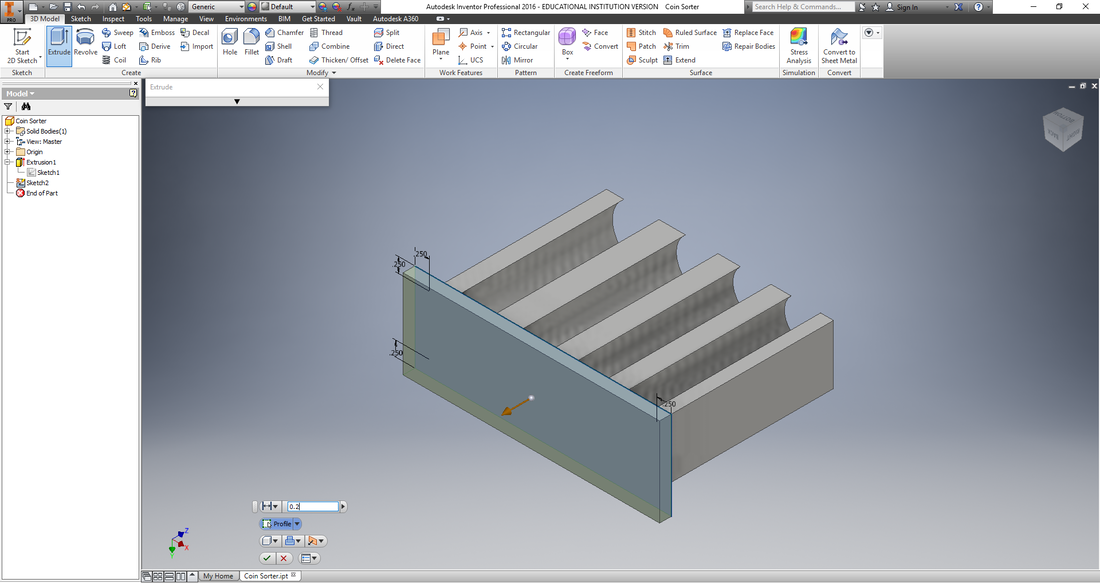
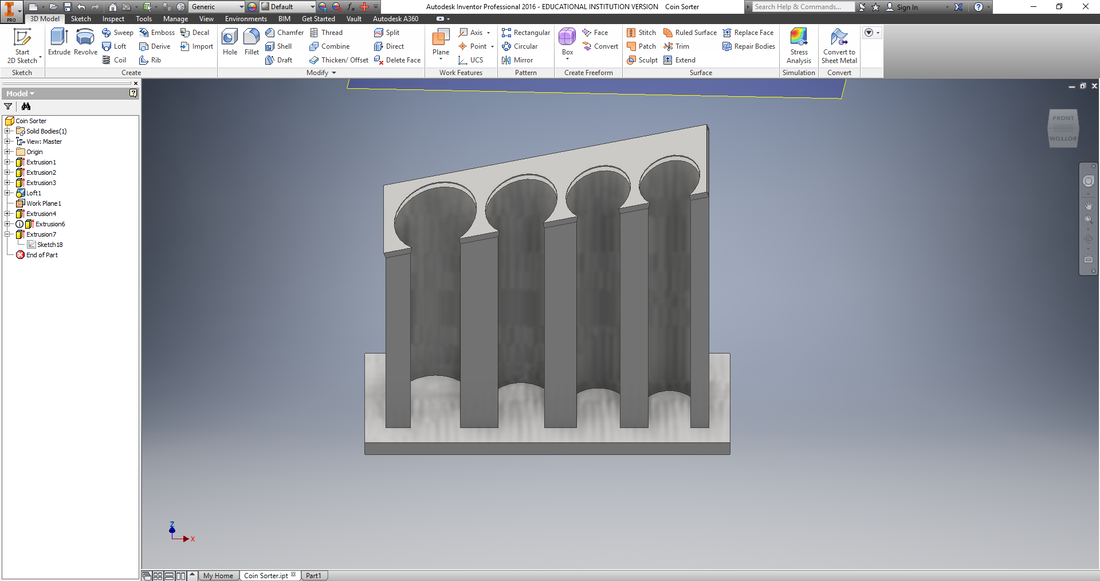
Then I extruded the sketch to 3 inches to create the coin wells.
|
Next, I sketched a base underneath the coin wells so it wouldn't tip over.
|
Then I extruded the base to 1/4 inch for stability.
|
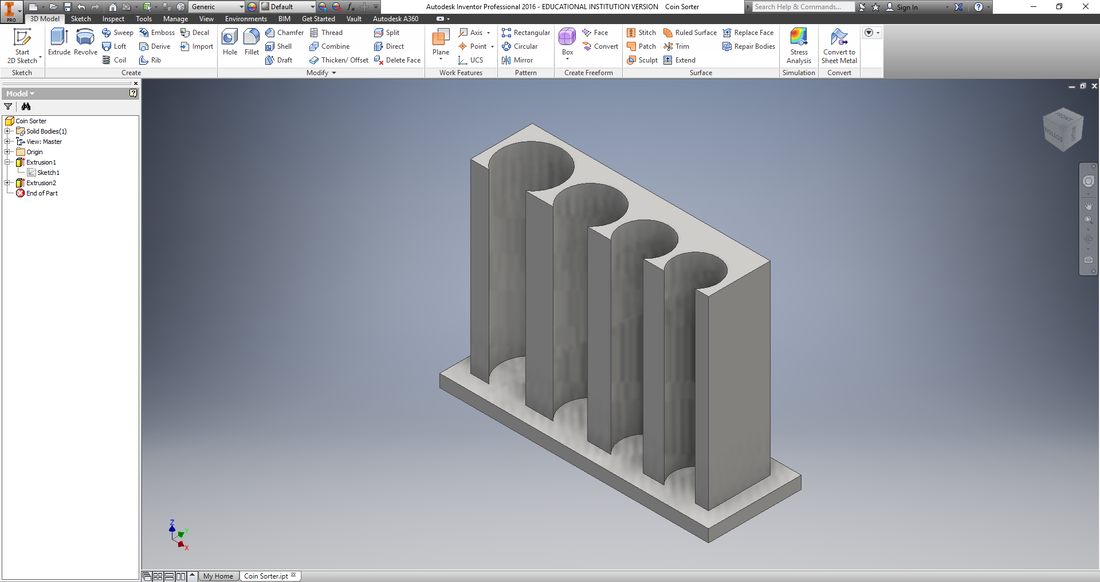
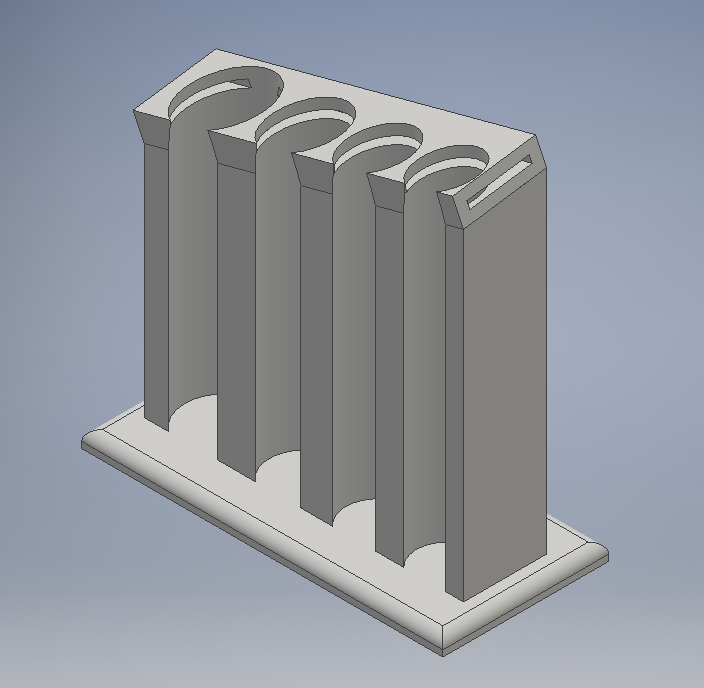
Here is the coin storage system thus far, before it was converted into a coin sorter.
|
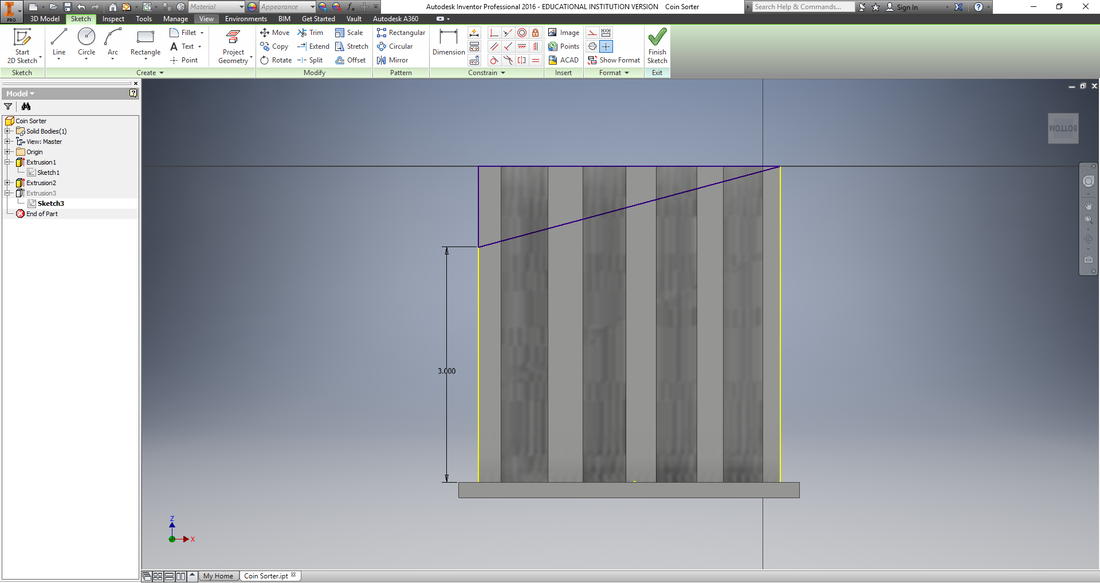
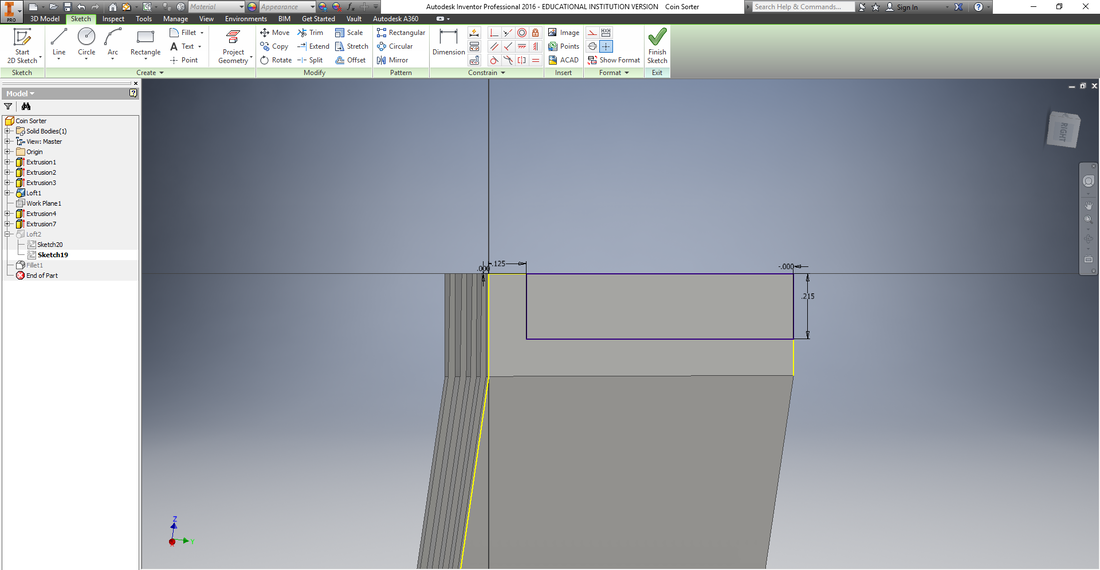
To figure out the 15-degree angle for the coins to slide down, I used trigonometry, and re-adjusted the extrusion of the coin wells accordingly.
|
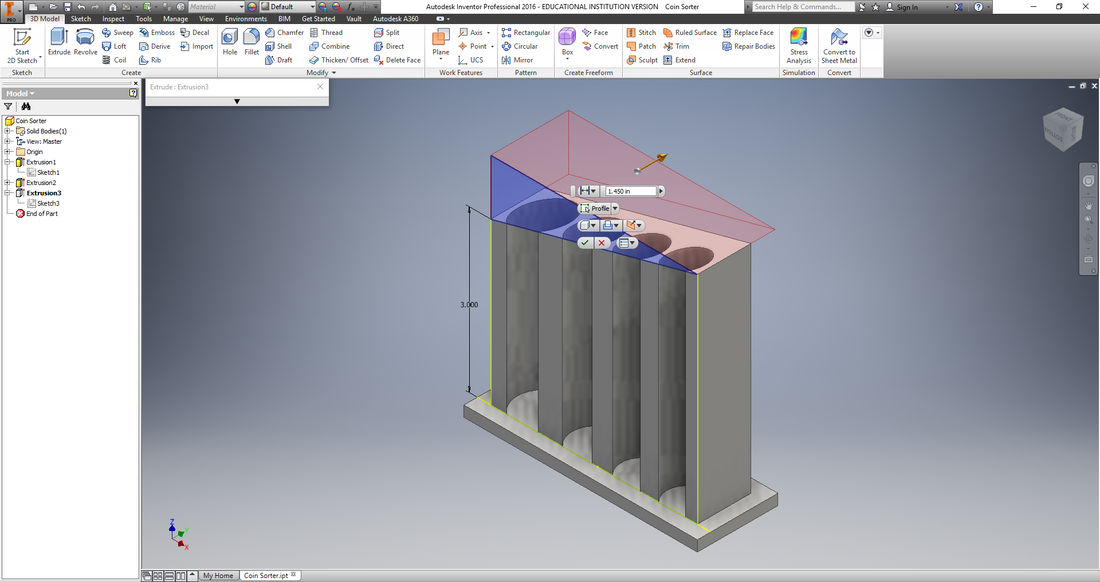
Then, I cut the triangle off, so the project would have a 15-degree angle of depression from the top edge of the project.
|
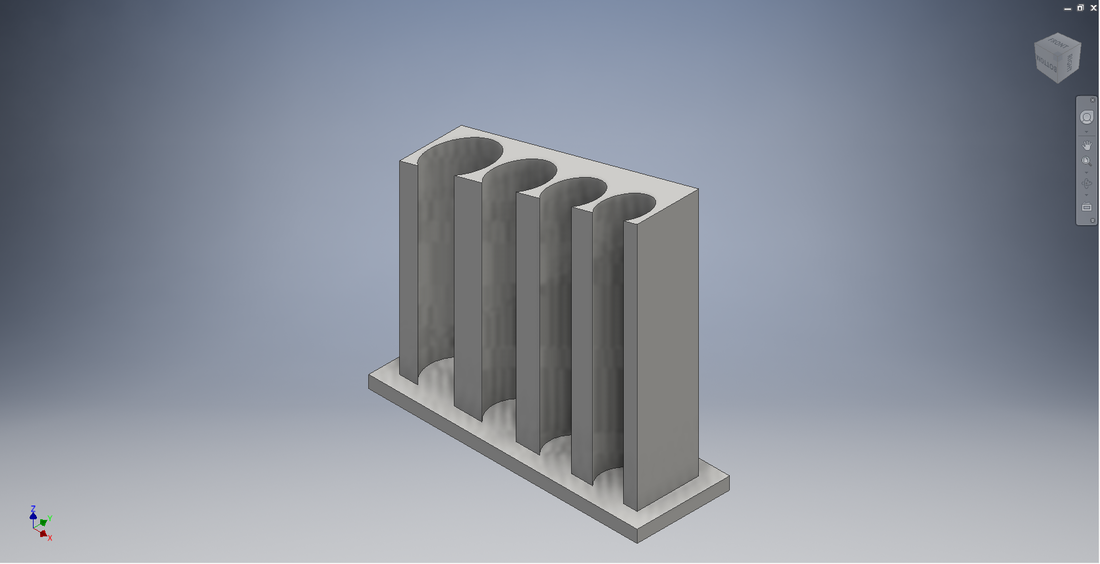
Here is the project with the first extruded angle.
|
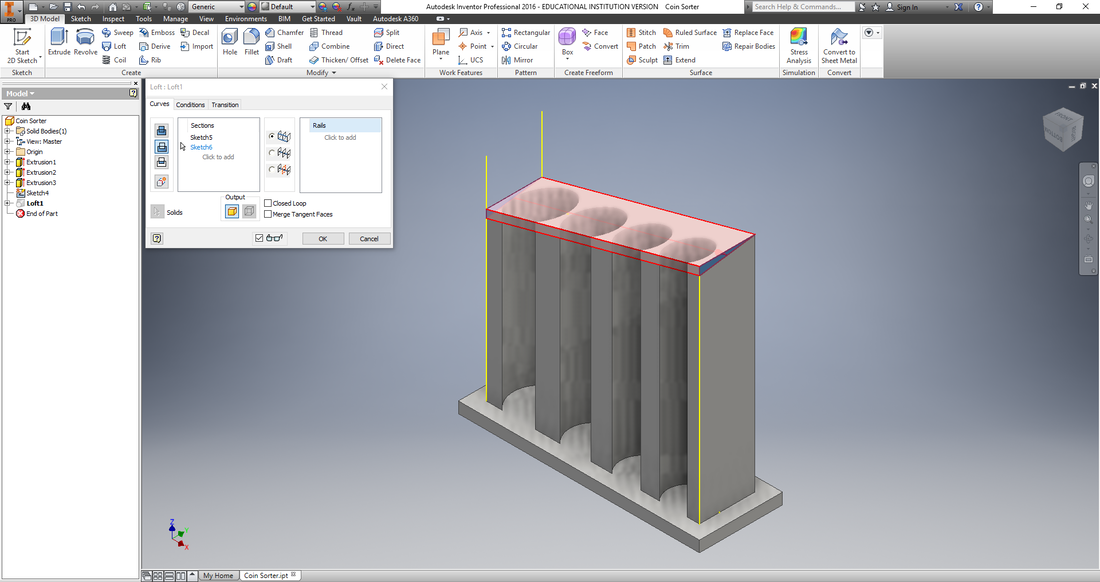
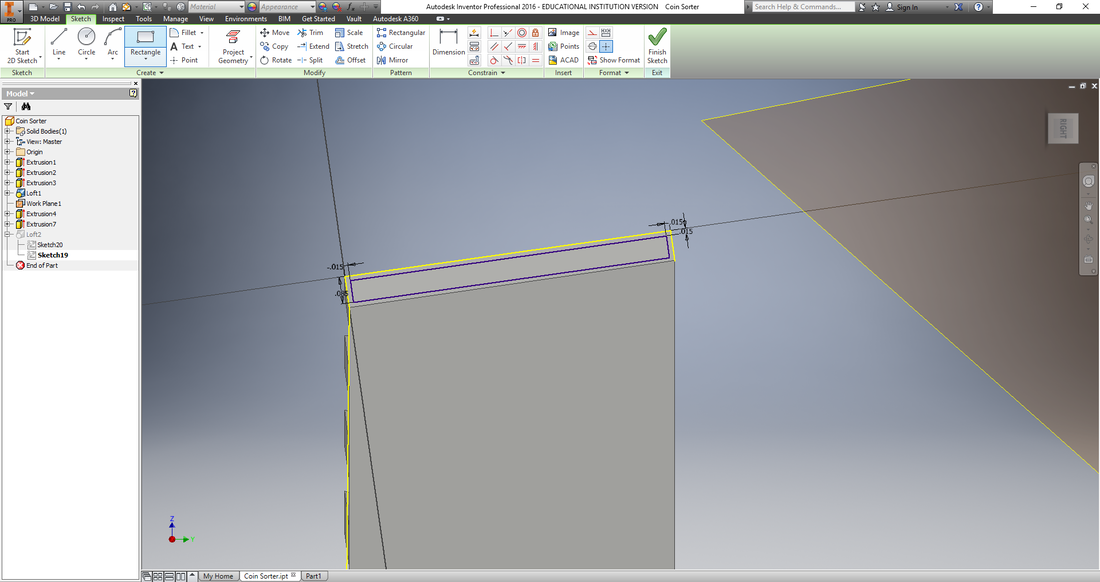
In order to keep the coins on the sorter, I angled the first angle approximately 5 degrees. I performed this action by drawing the triangles of both ends of angle, then by subtracting the material using the loft function.
|
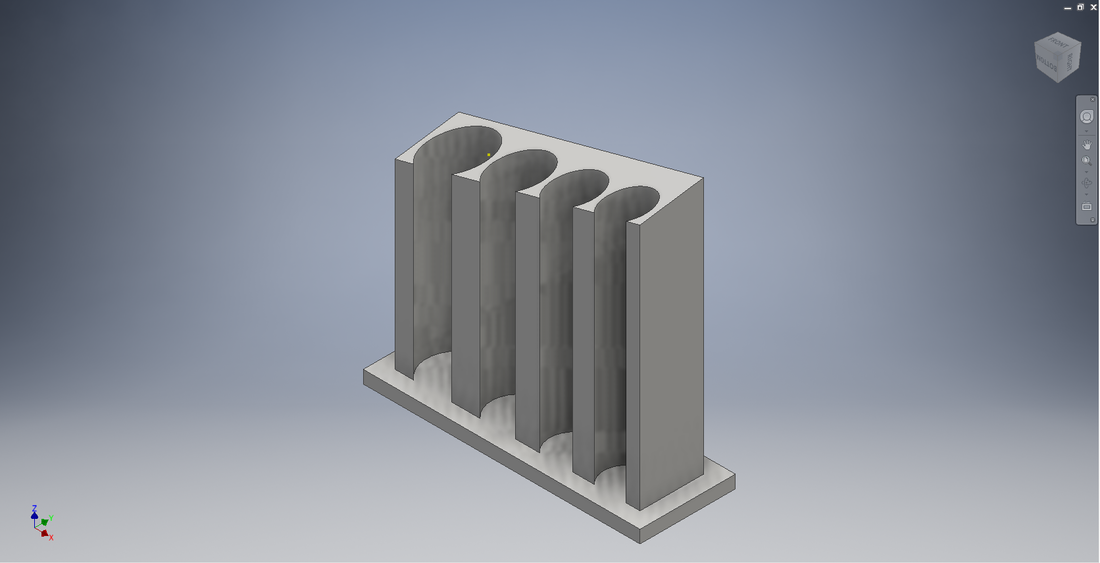
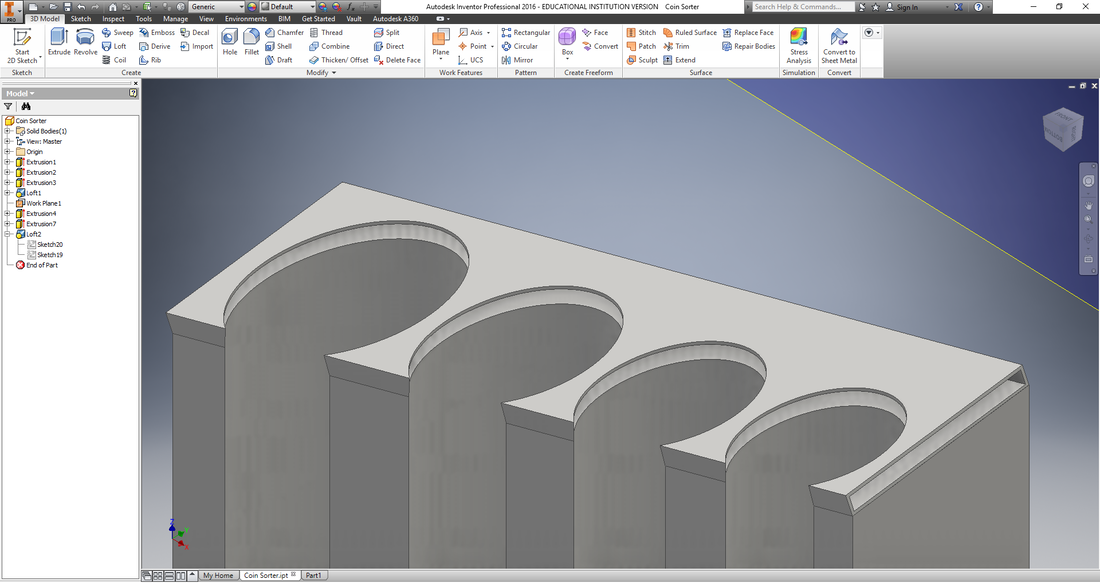
This is the project with both extruded angles.
|
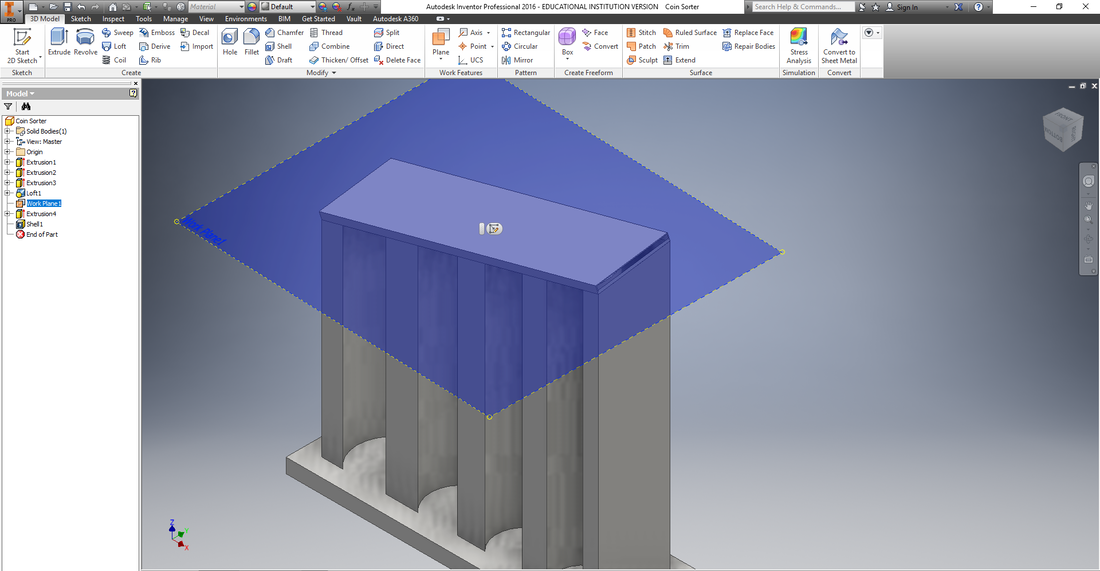
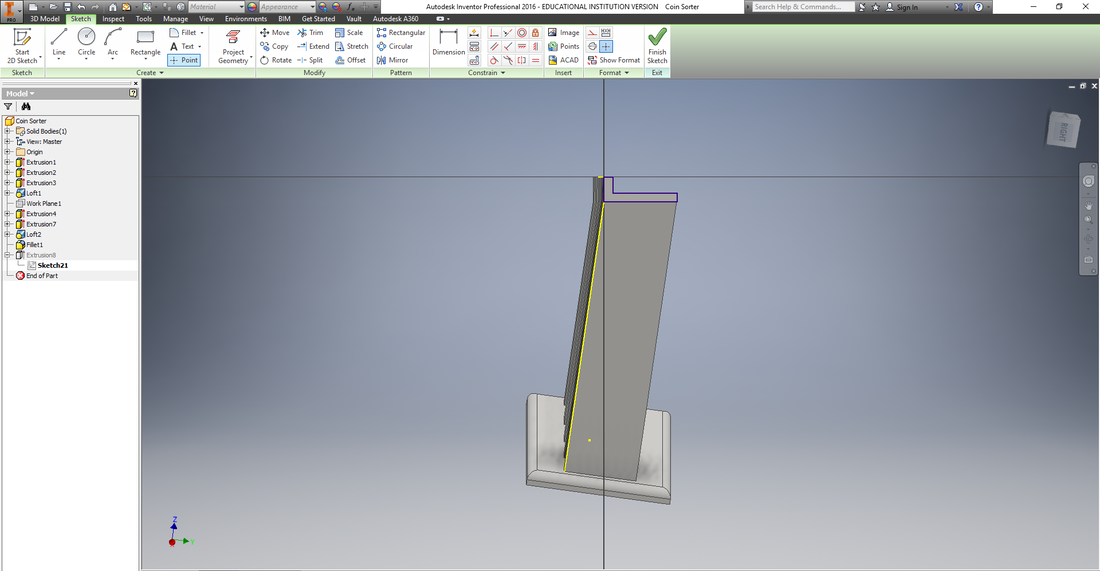
To create a sort of shoot for the coin to travel down, I had to create a plain on the double-angled face.
|
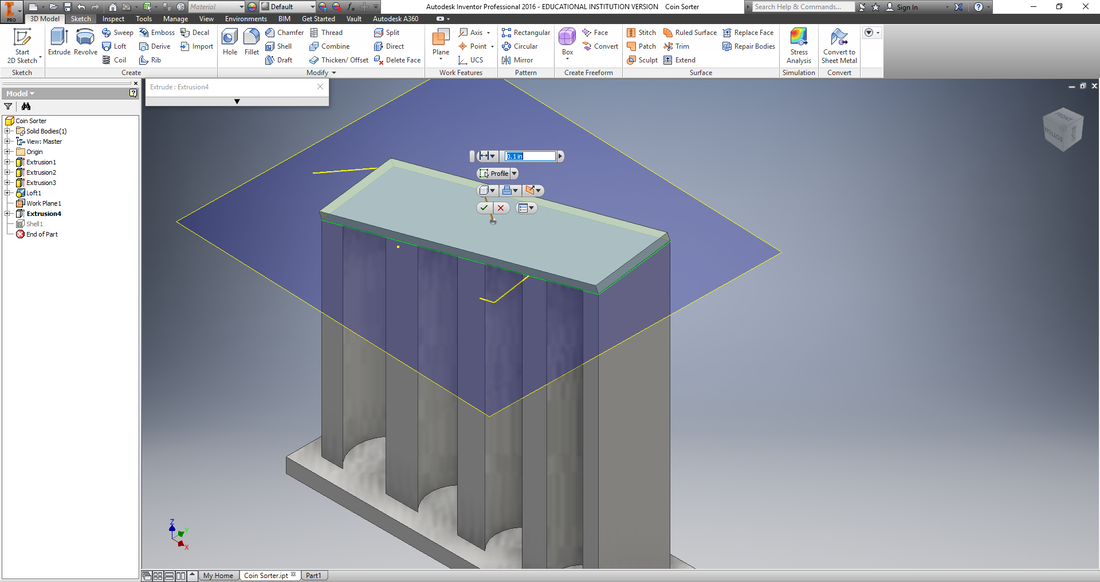
I then extruded it approximately 1/3rd of an inch.
|
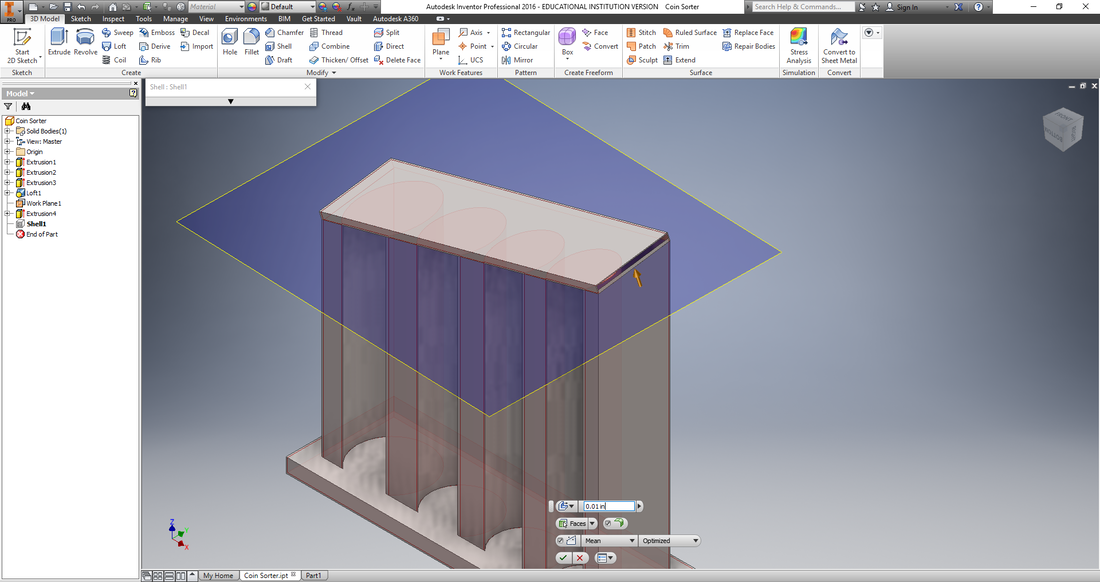
My first attempt to hollow the slide was to shell it. Unfortunately, it only followed one angle. This meant it cut through the side of the slide.
|
This is the project with the unsuccessful shelling. The function also shelled the entire project, something I didn't foresee.
|
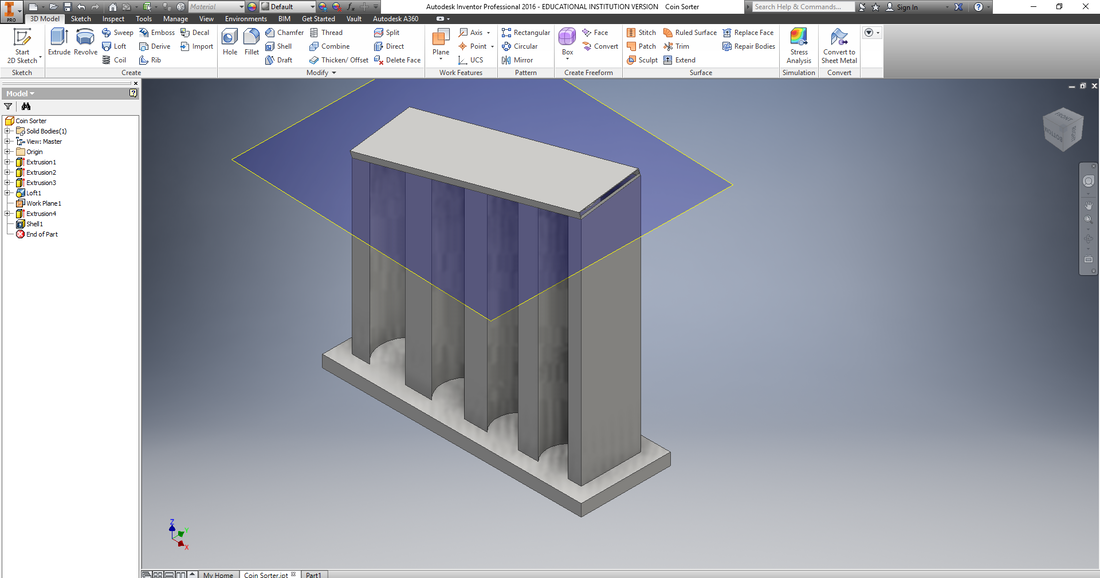
Here is the project with the completed extruded shoot.
|
I then created another sketch of the circles to cut through the shoot so the coins could fall in their respective wells.
|
I decided to use the loft function again to create the angle hole. On the top face of the slide, I drew a hole according to the coin dimensions.
|

I repeated that sketch on the other face of the slide.
|
I the used the loft function to create the slide through the extrusion.
|
Finally, I adjusted the walls to fit the minimum thickness of the 3-D Printer's ability.
|
After I realized the hole wouldn't account for the coins, I removed the back wall and roof of the slide, keeping the thickness of the remaining walls identical.
|
I then extruded the slide for the second time, with better results.
|
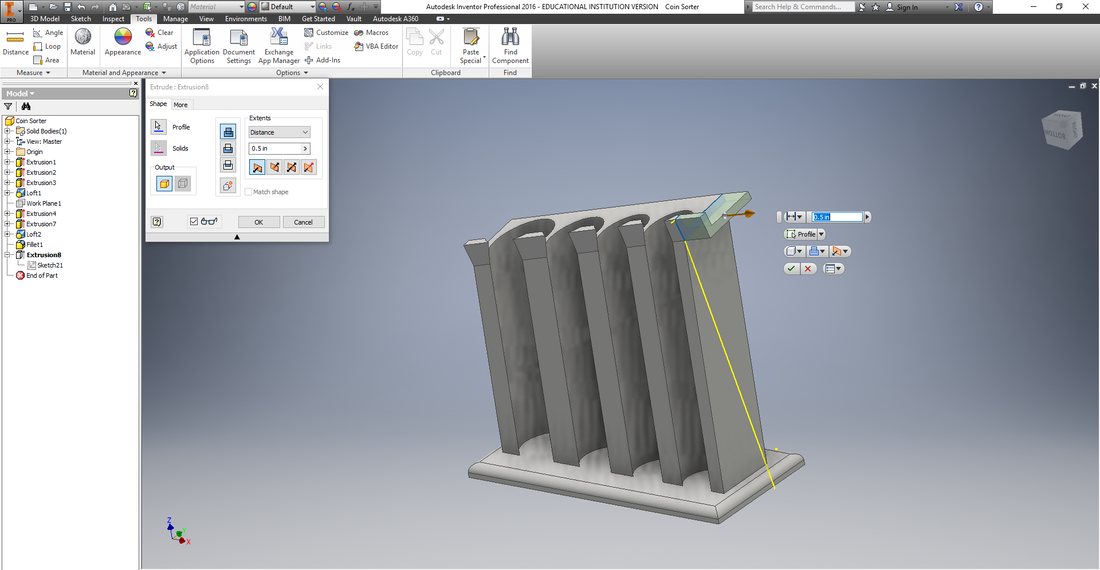
Finally, I added a 1/2 inch extrusion at the top of the slide to put the coin on.
|

Here is the final prototype file.
|
Converting the File
To start, I transferred the file to the MakerBot Desktop app.
|
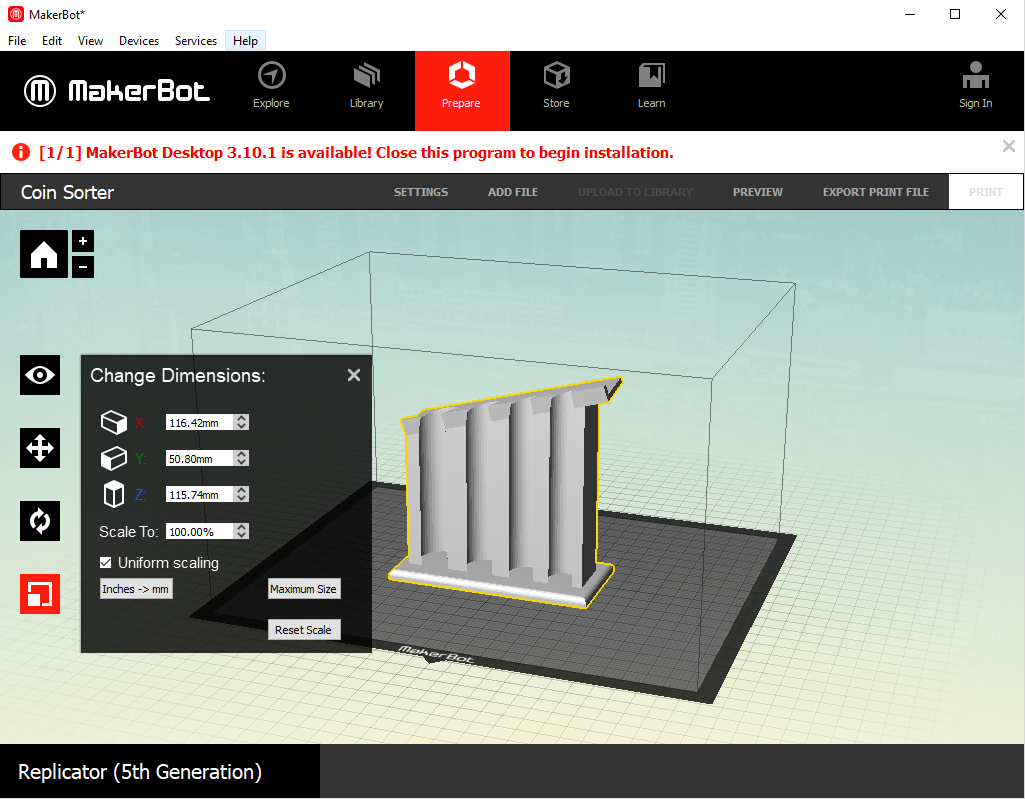
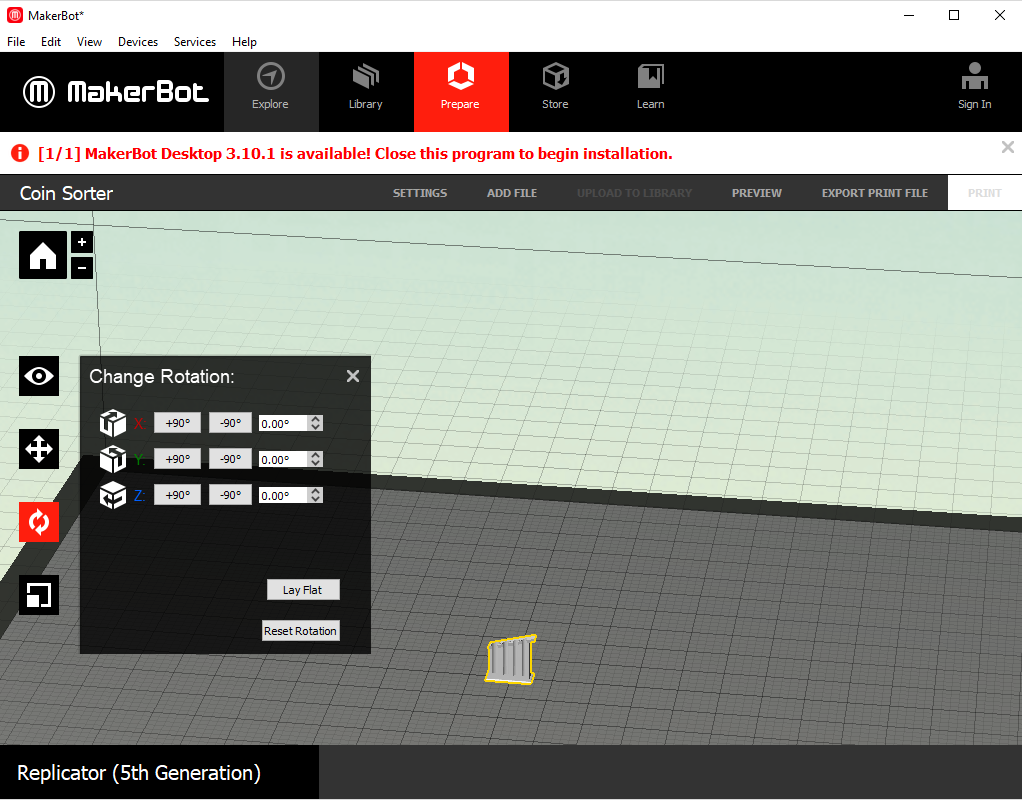
I oriented the part, scaled it to 1000% to get the correct size, and clicked the Lay Flat button
|
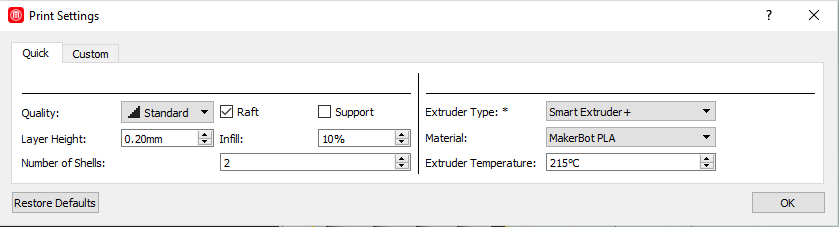
I finalized the setting for the printer, such as the Smart Extruder version, the thickness of the printer layer, and if my part needed supports or not.
|
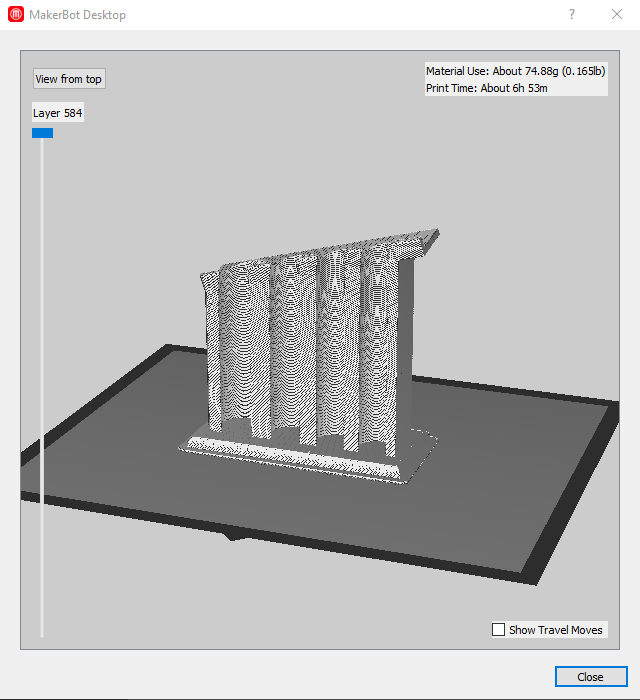
Here is the print preview screen of all of the 584 layers of my part.
|
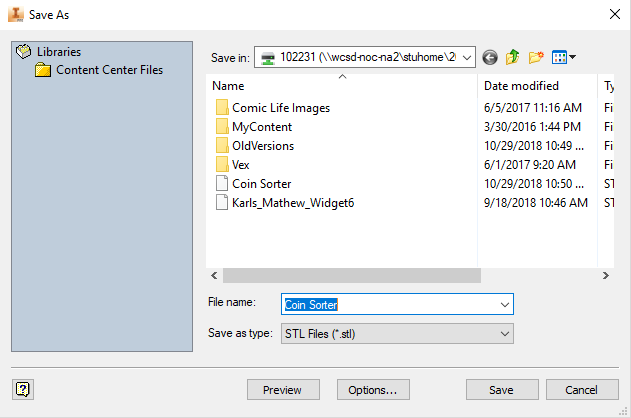
Finally, I converted the part to a STL file, then I saved it to my flash drive.
|
From MakerBot to Print

After I selected the part from my flash drive on the MakerBot, I double-checked the printer setting, then I started the printing.
|

This is the progress screen for the part. In total, it took 7 hours to completely print.
|
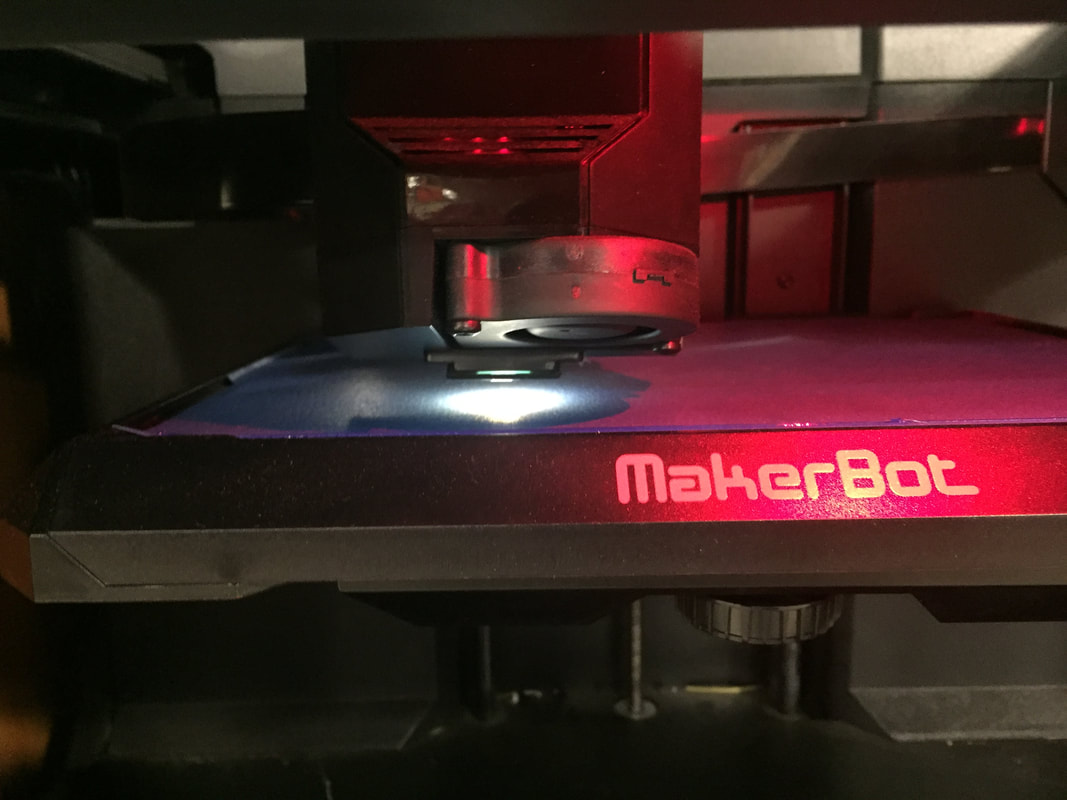
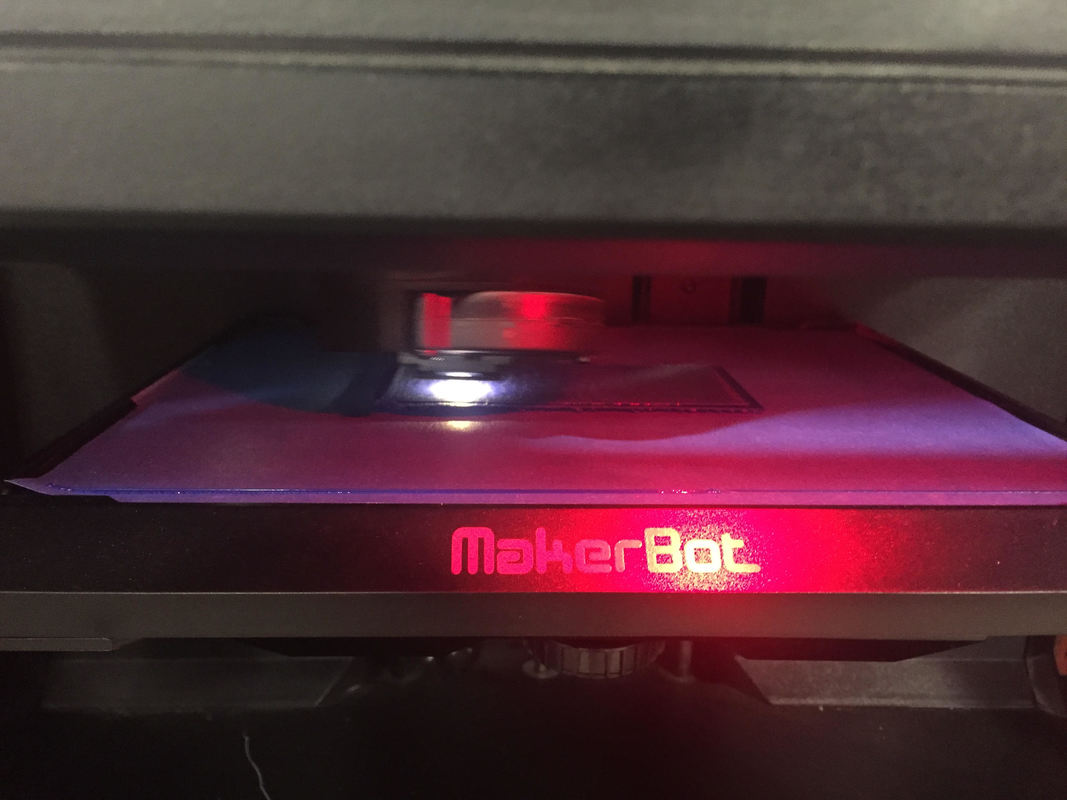
Before the MakerBot started printing, it printed a thin raft on the printer bed.
|
Then, the MakerBot started printing my part.
|
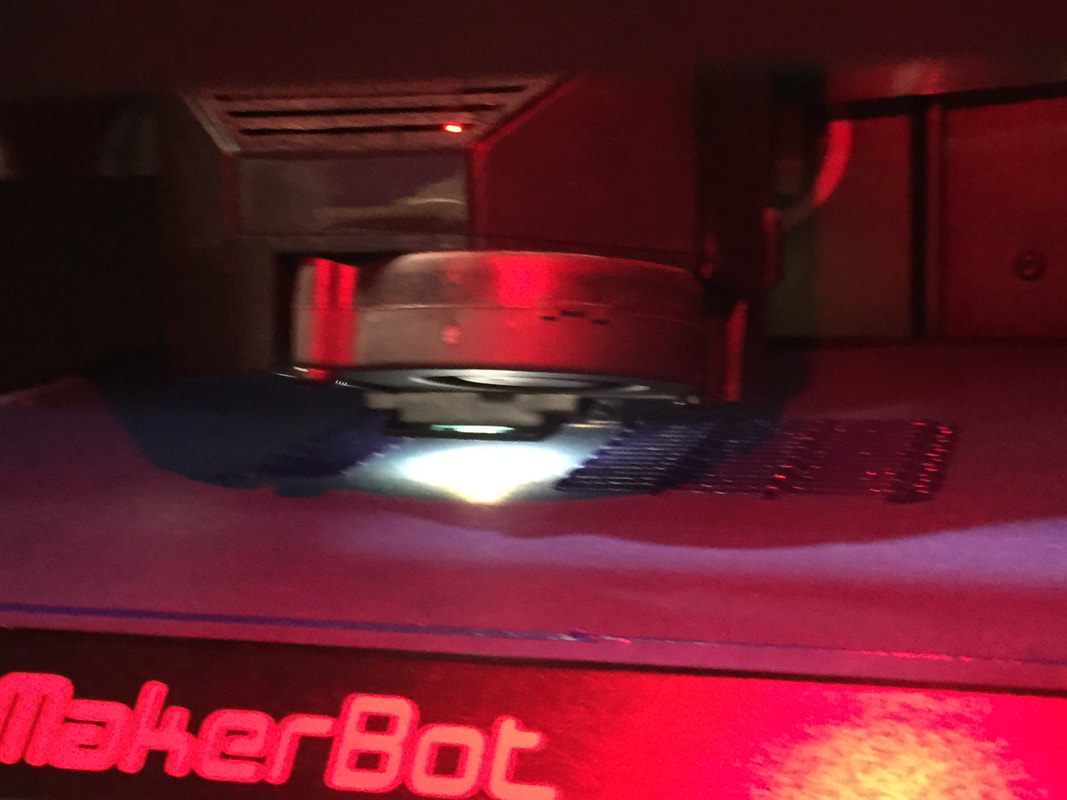
Here is an in progress picture of the part being printed.
|
Here is the coin sorter on its raft after the printing finished.
|
Testing the Prototype
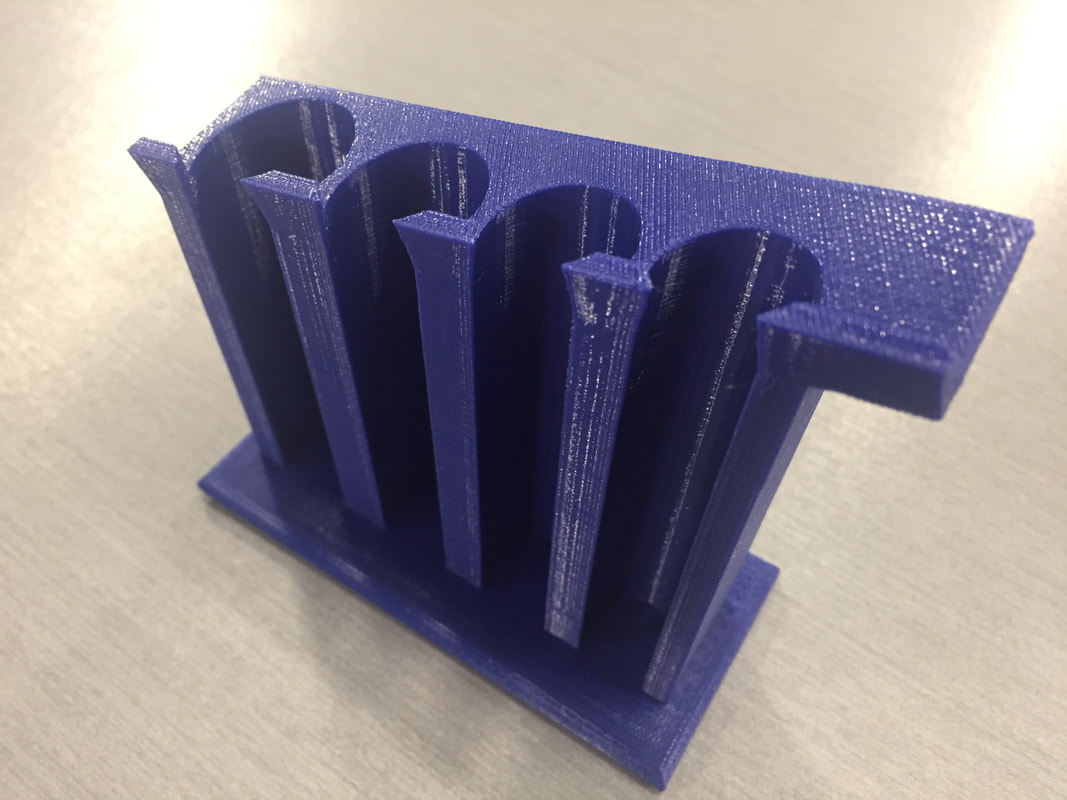
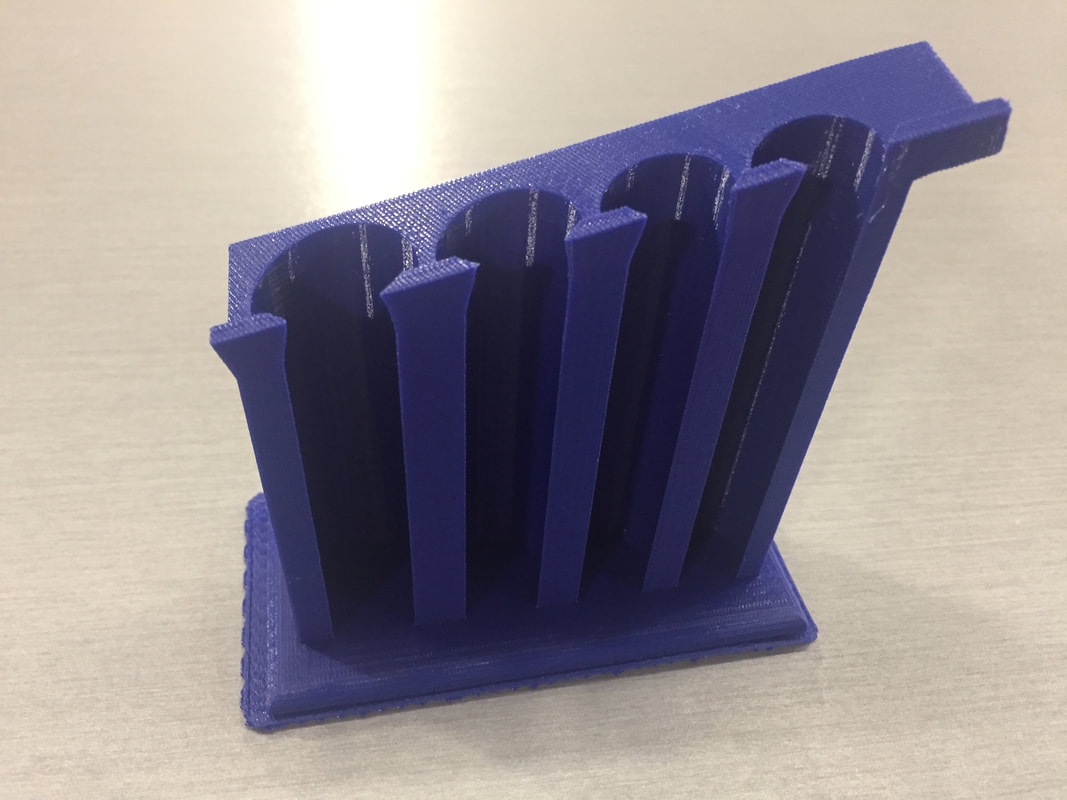
This is the coin sorter with the raft removed.
|
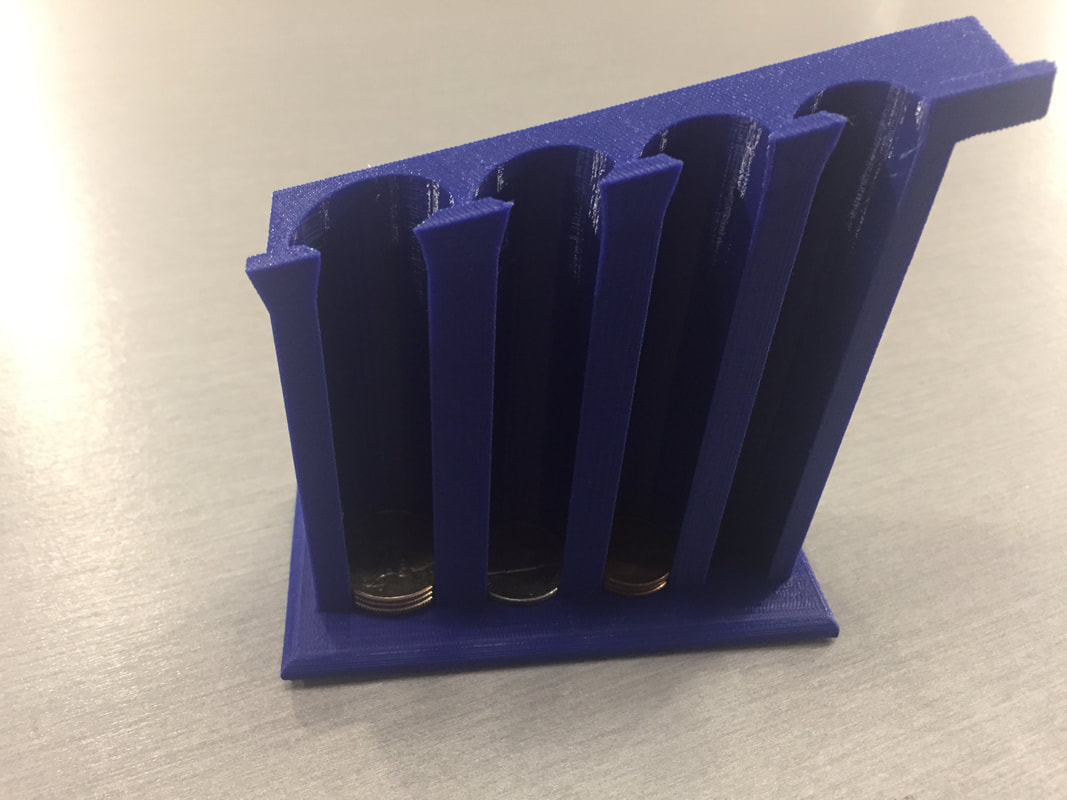
Here is the coin sorter after the preliminary coin testing.
|
Final Project In Use
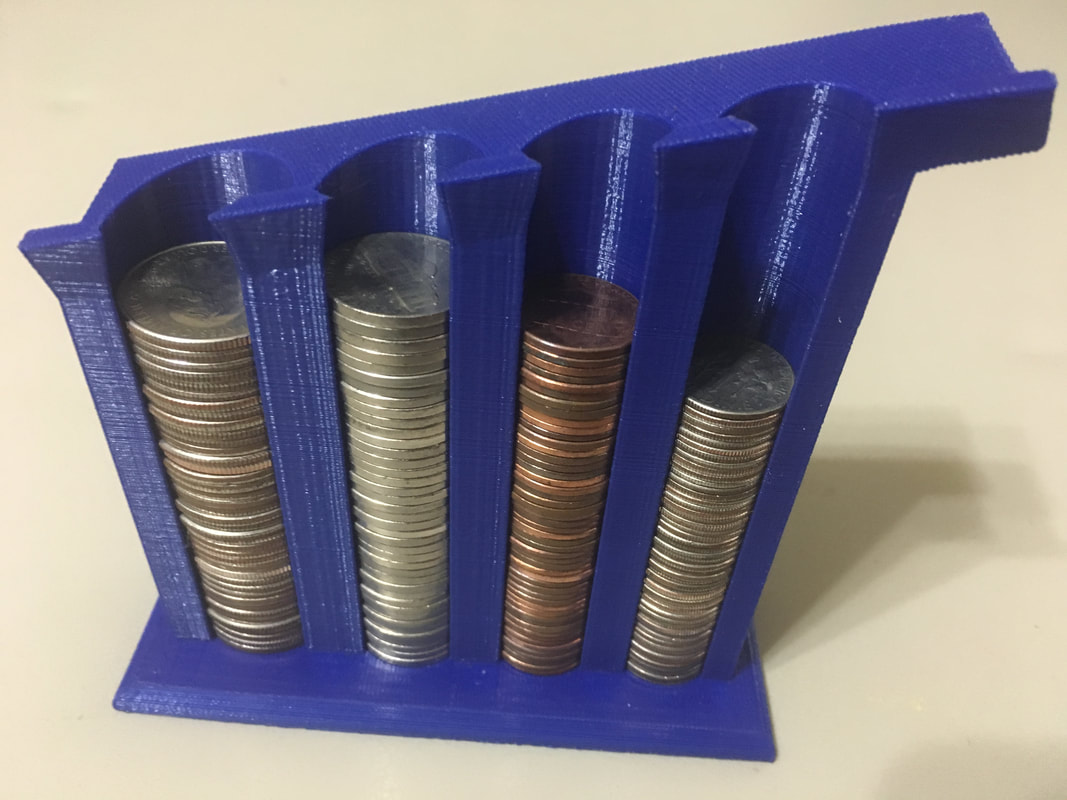
This is the coin sorter with the minimum requirement of coins: 40 Quarters, 40 Nickels, 50 Pennies, and 50 Dimes. It can be noted that the coin sorter fits within a 5' by 5' by 5' cube, and can hold more coins should it be deemed necessary.
Project Summary
In this project, I gained a lot of knowledge regarding Inventor and the MakerBot. First, I learned how to apply an angle to my part by using trigonometry, then by cutting a drawn triangle through my part. The most important knowledge I learned that greatly contributed to the overall success of the project was that I learned how to model on a double-angled surface by adding a 3 point plane onto it. This helped me model an efficient design. I also learned that my coin sorter did not need supports under the tallest extrusion, due to its upward slope. This is the case because the MakerBot was able to print the layers of material on top of each other without it collapsing. Finally, I learned that a 15-degree angle was too steep for this specific project. I came to this conclusion because sometimes during testing, a coin would either miss its well and go into another well, or it would miss the wells completely and shoot off the end of the coin sorter if it was a quarter. Overall, the knowledge I gained from this project was very educational, and I know that it will benefit me tremendously in the future.
